User Stories
real people with real-world installations
Kansas
Dallas Huber
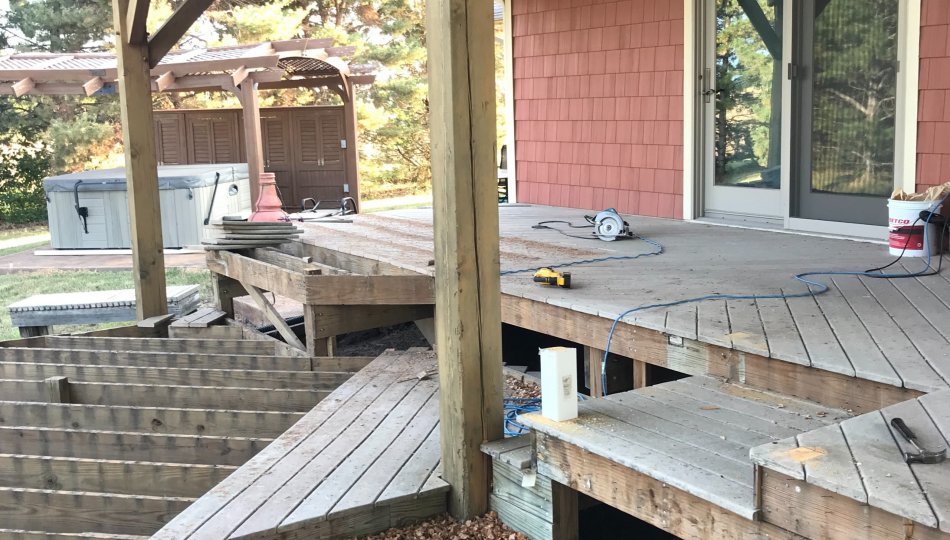
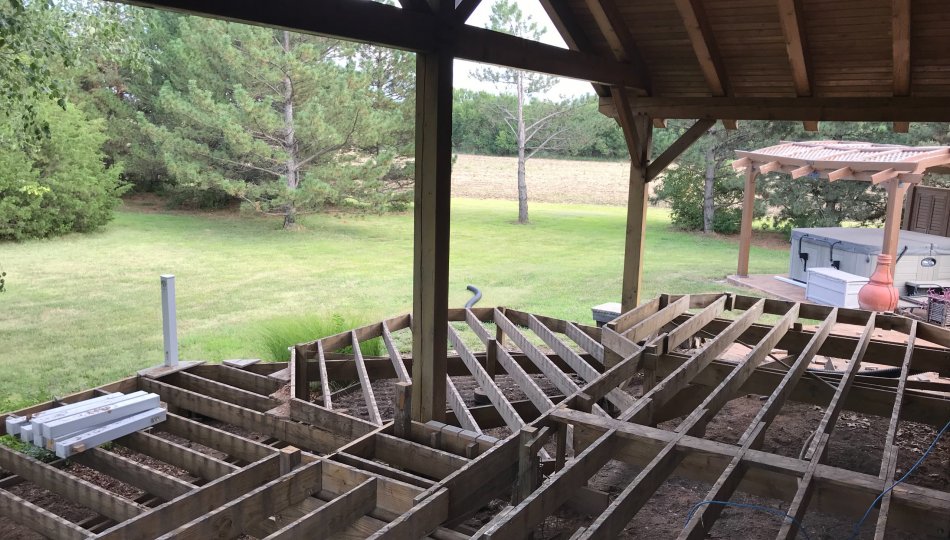
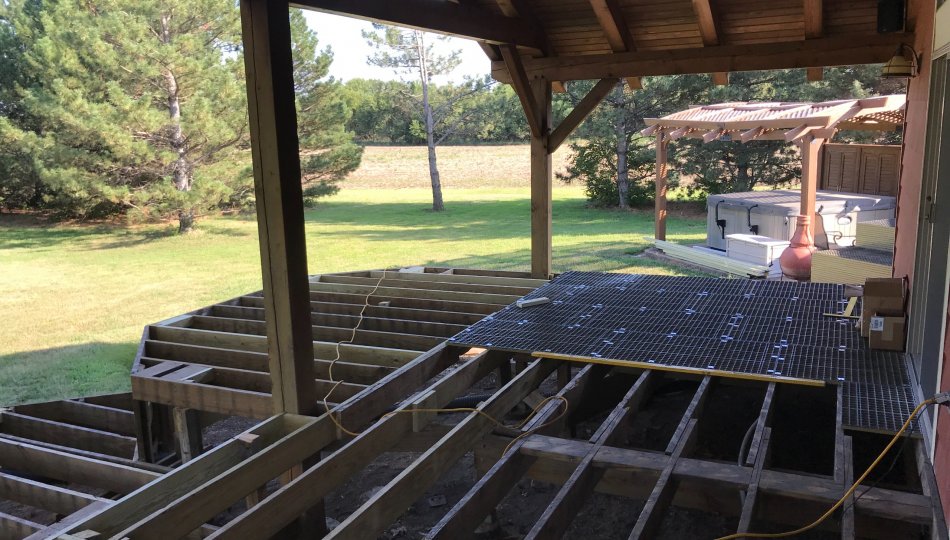
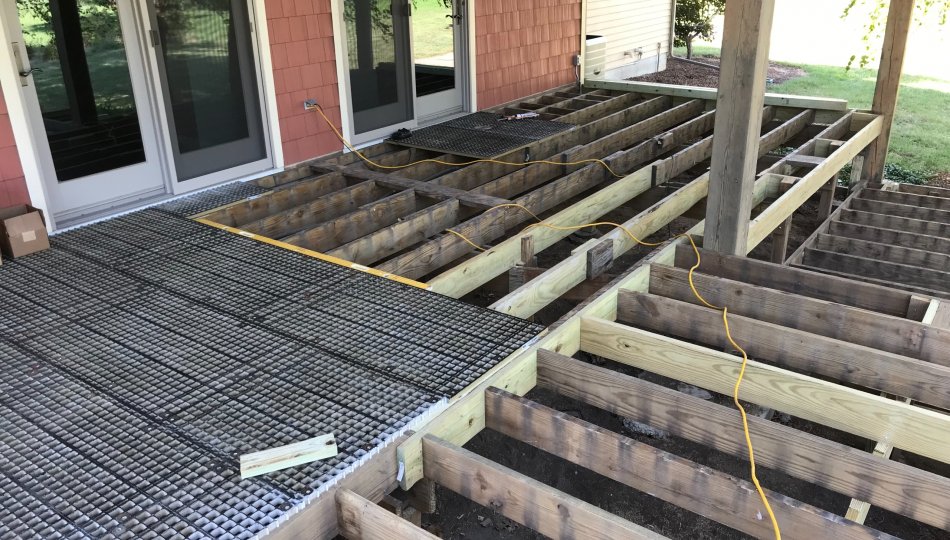
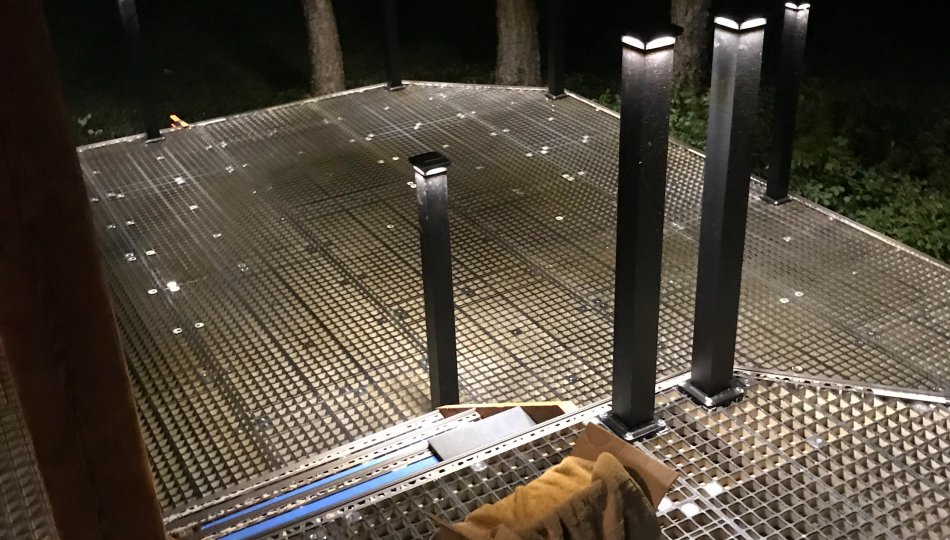
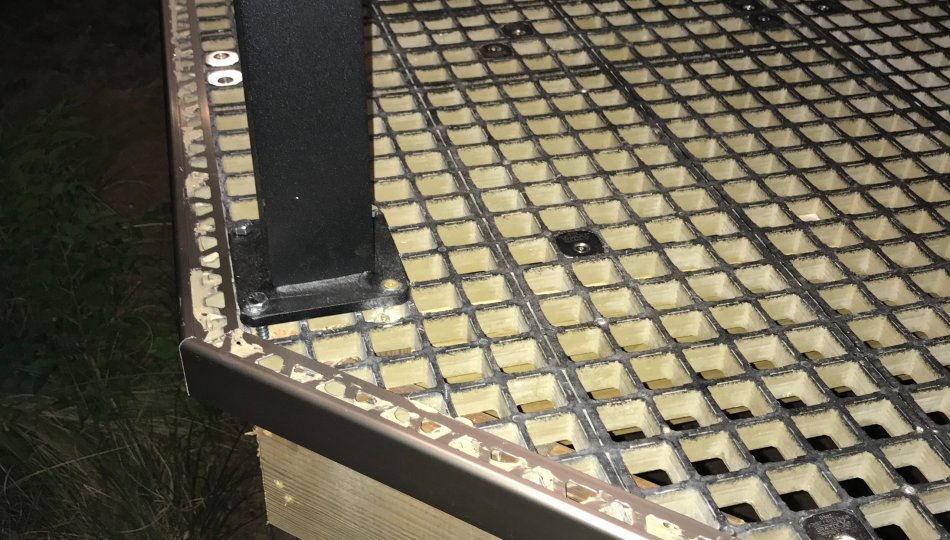
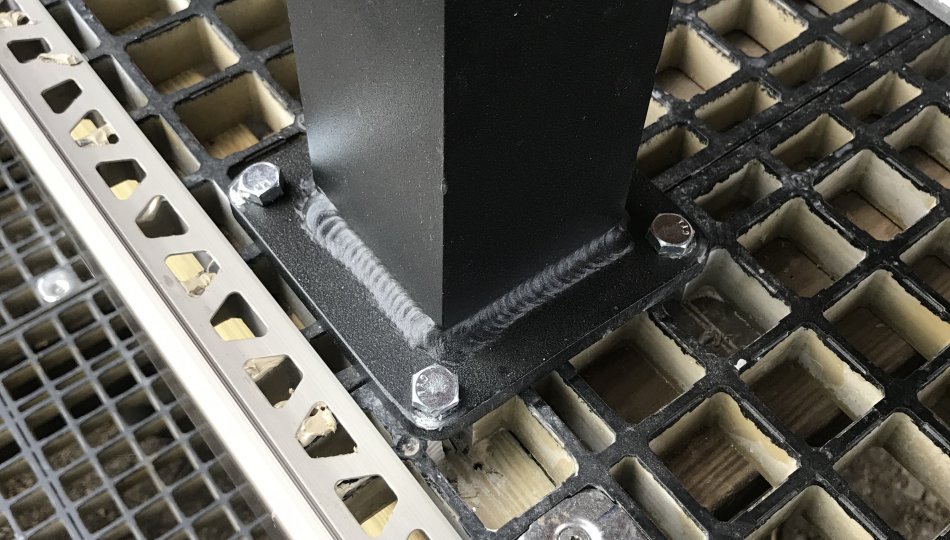
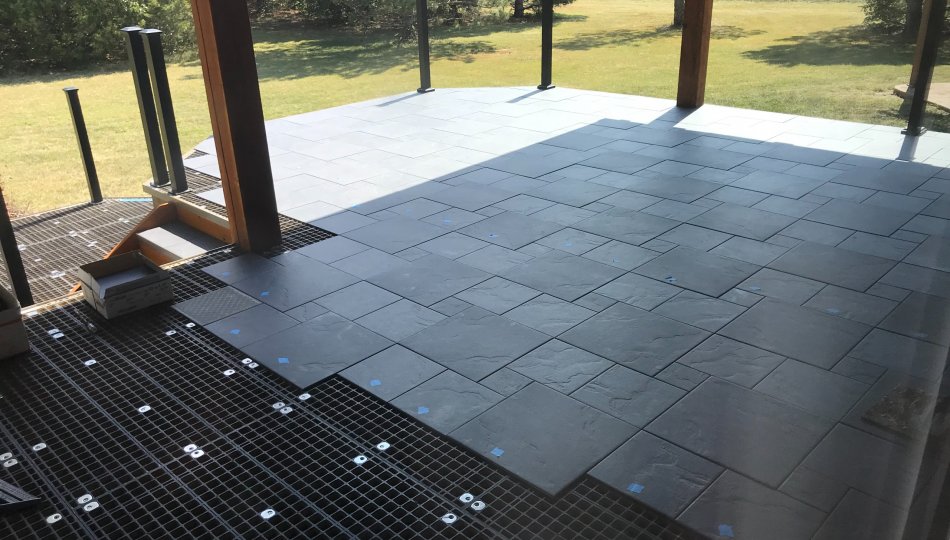
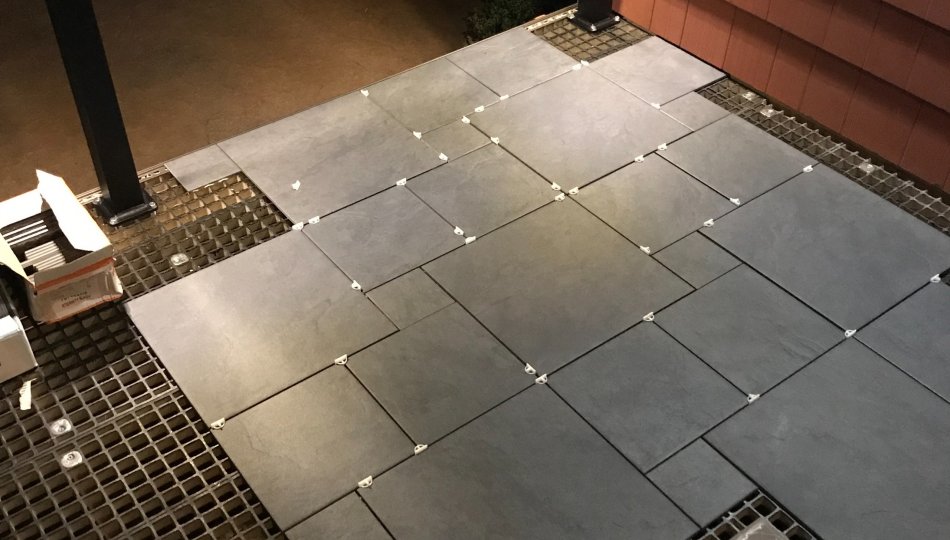
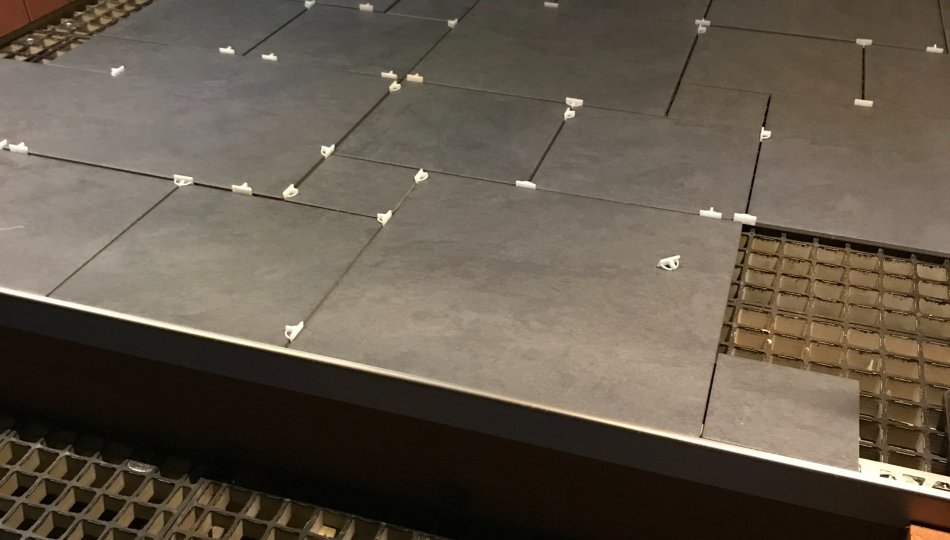
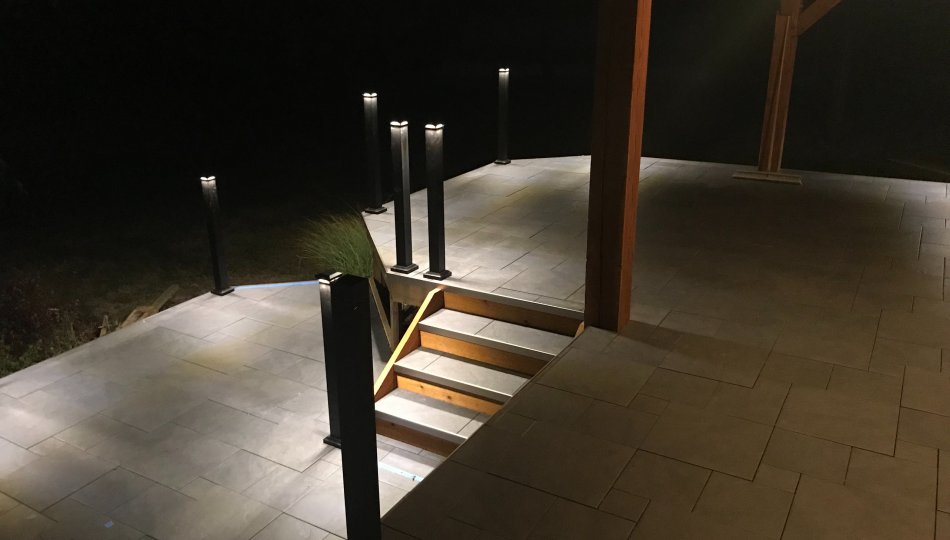
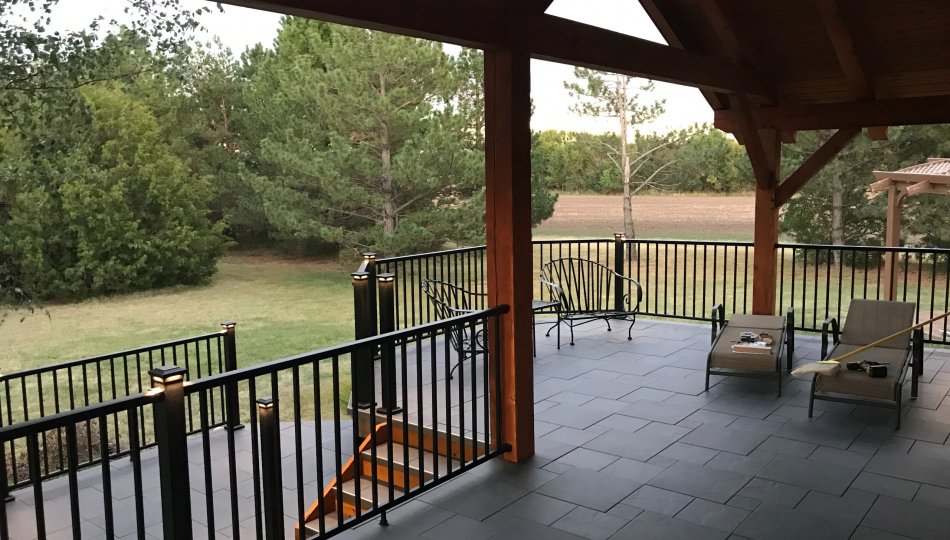
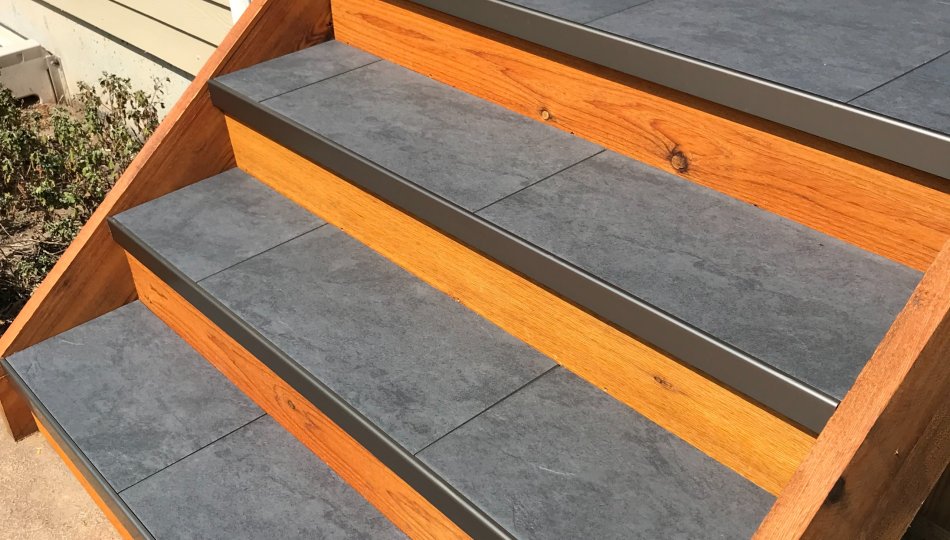
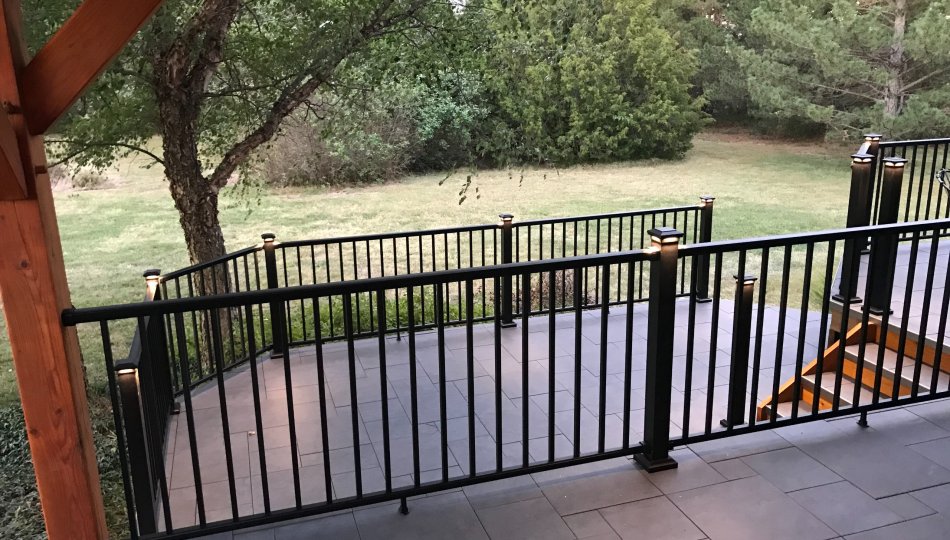
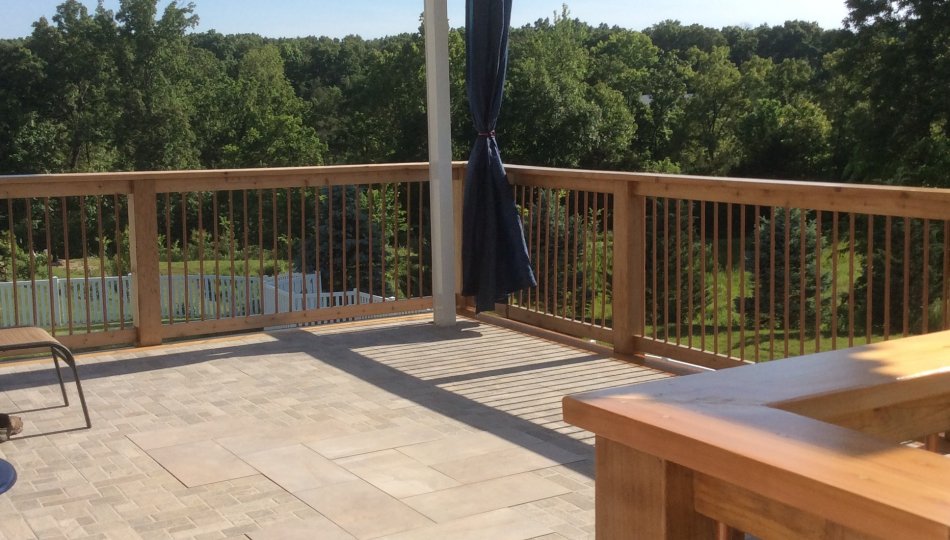
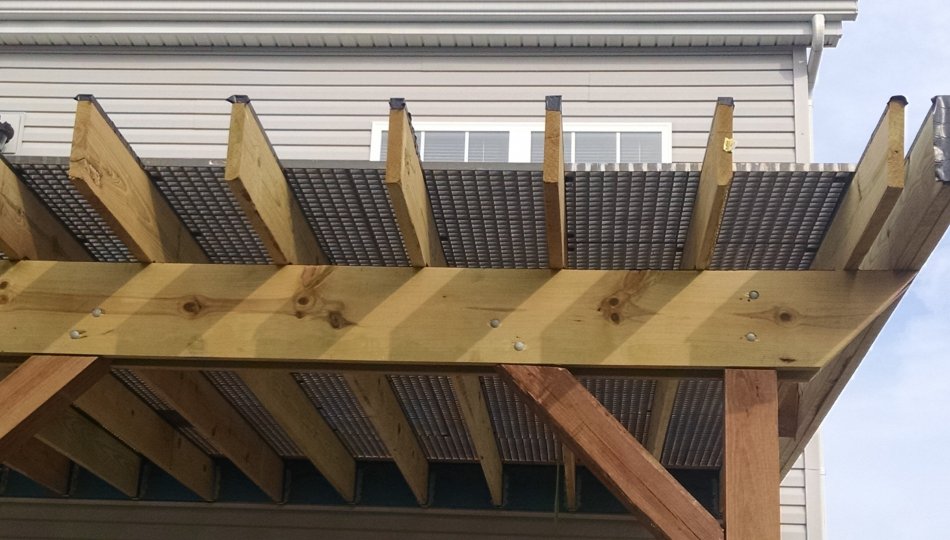
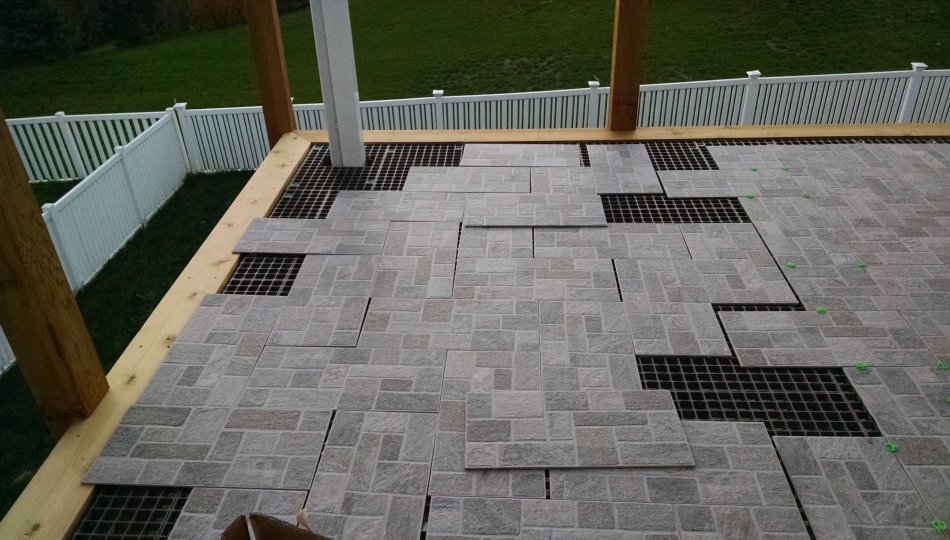
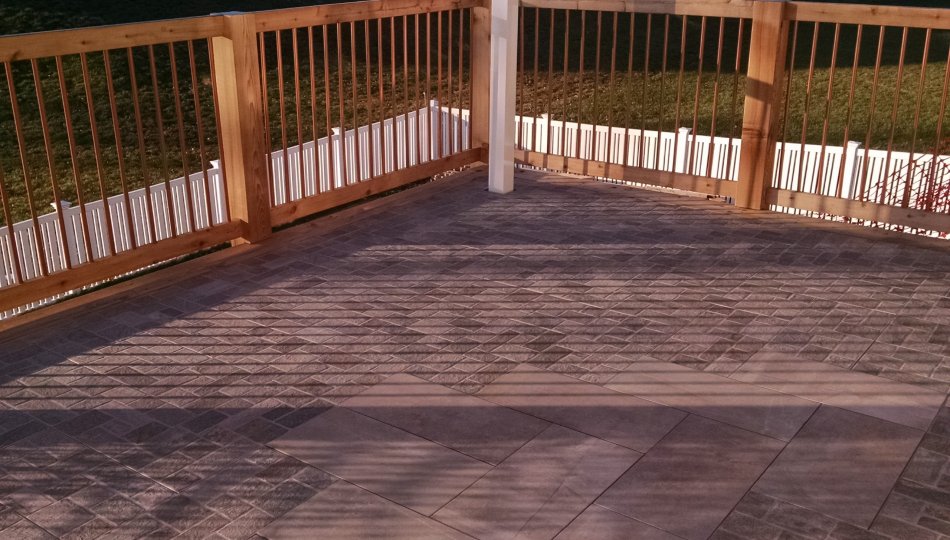
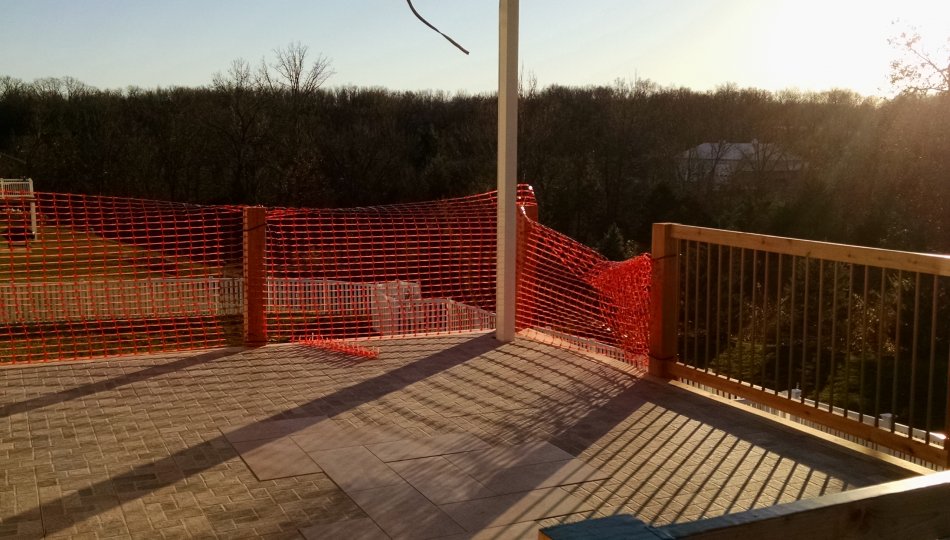
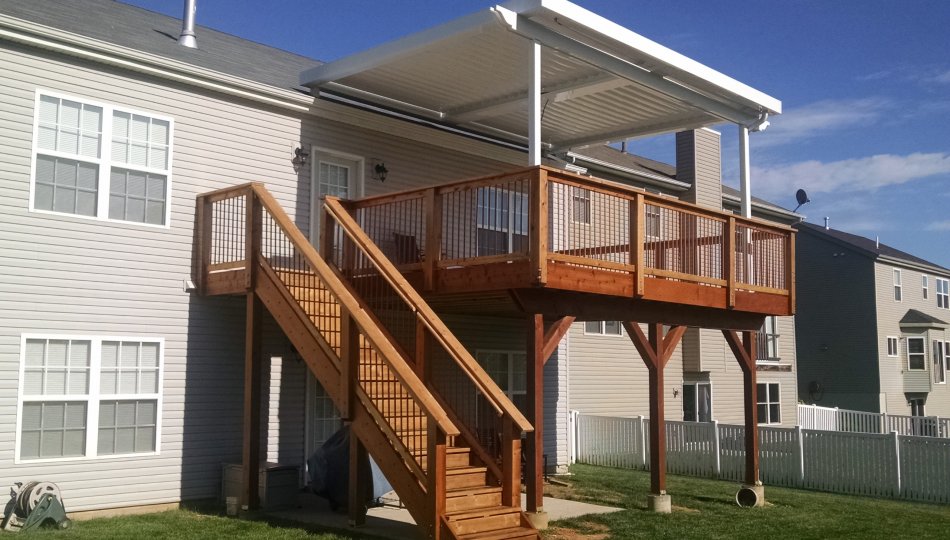
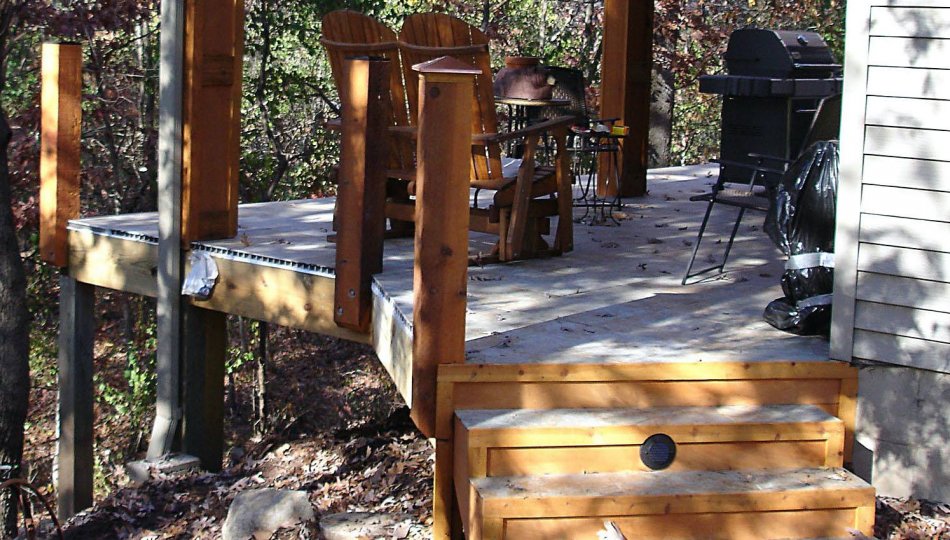
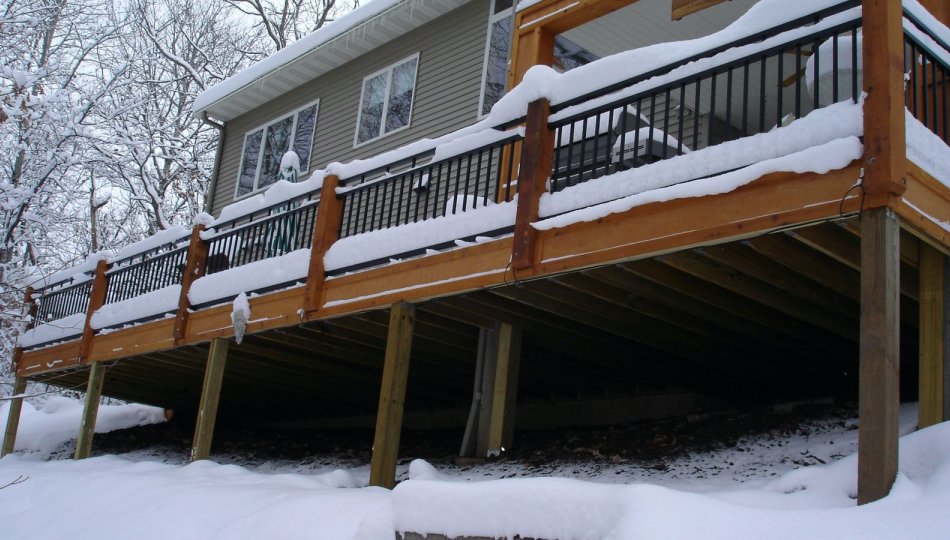
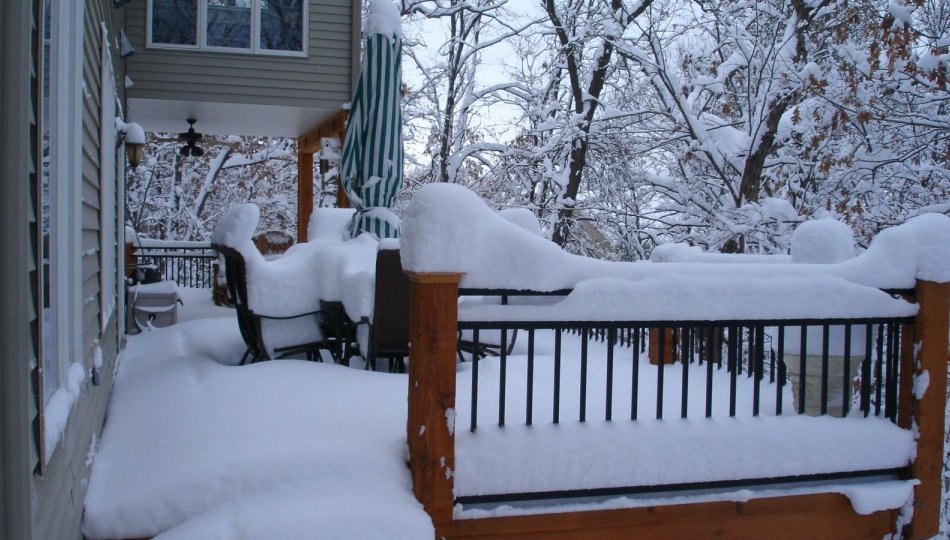
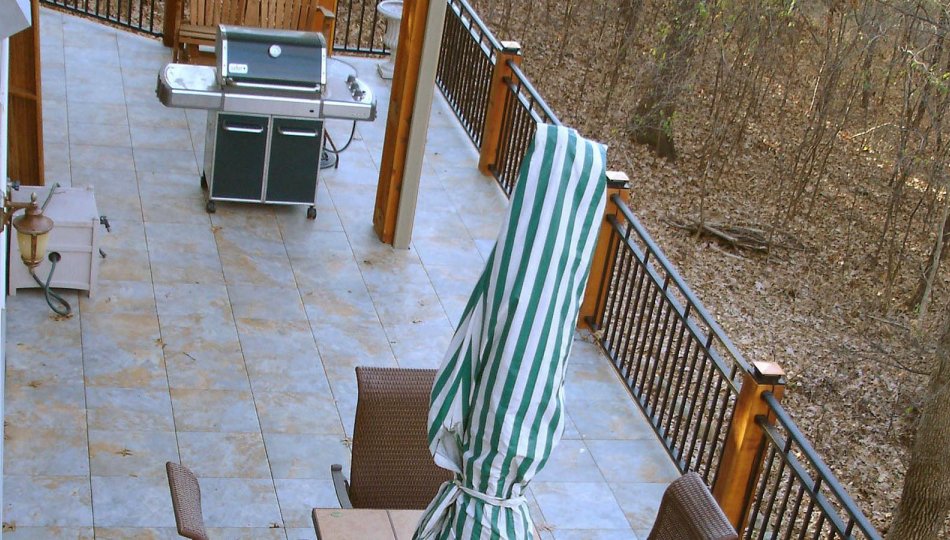
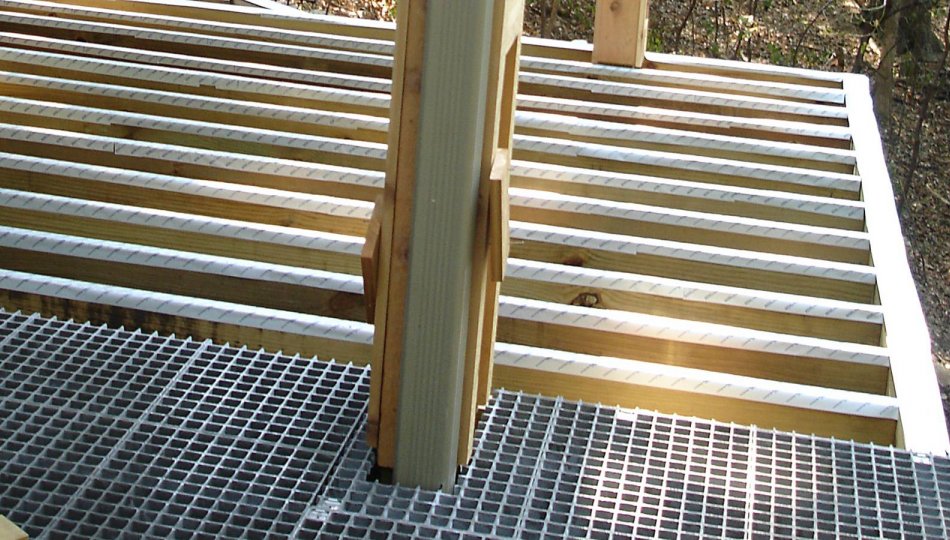
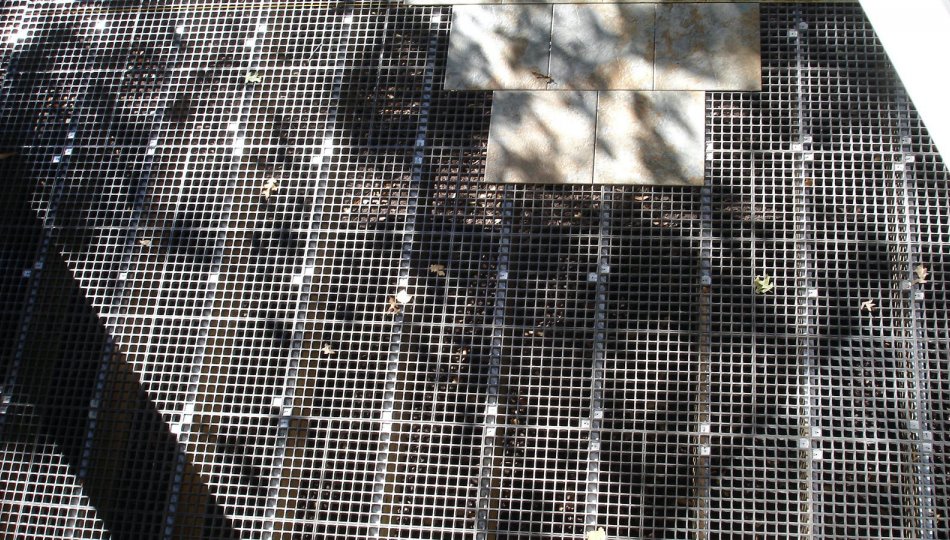
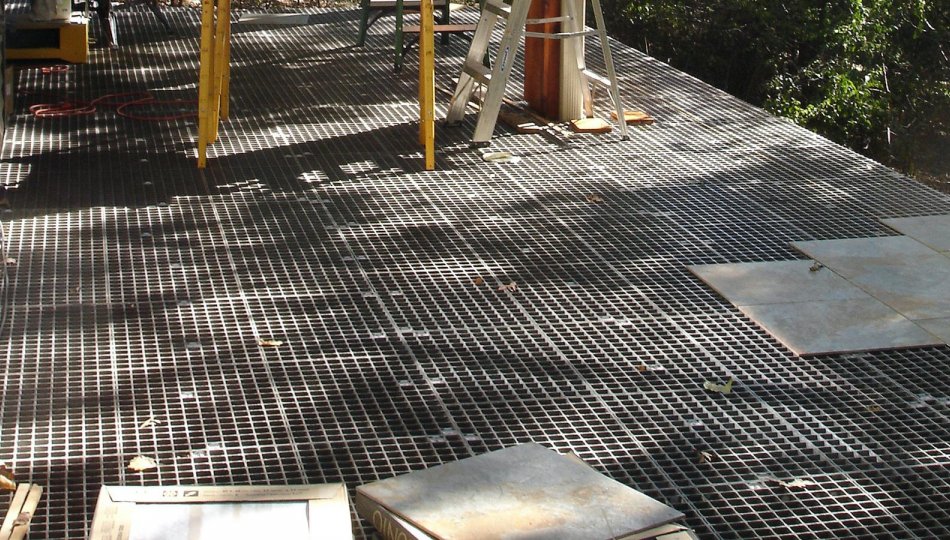
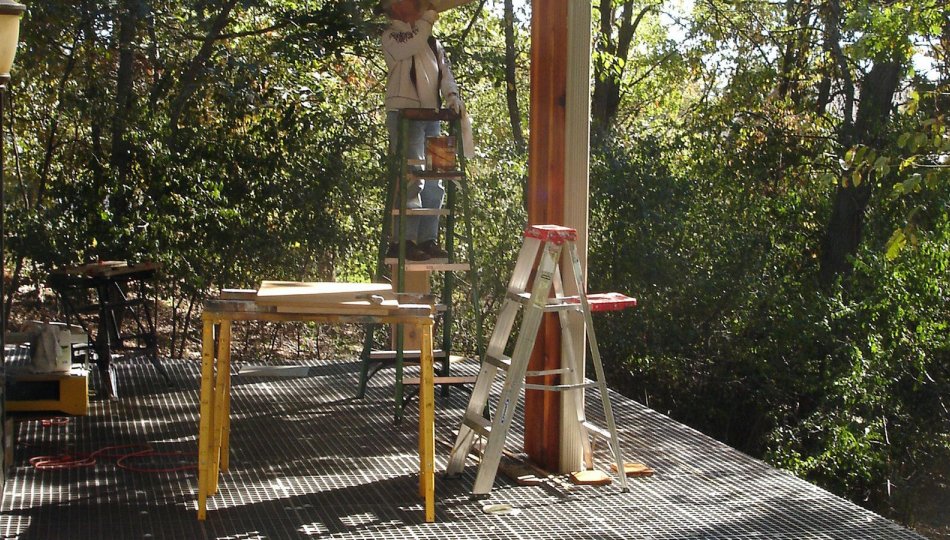
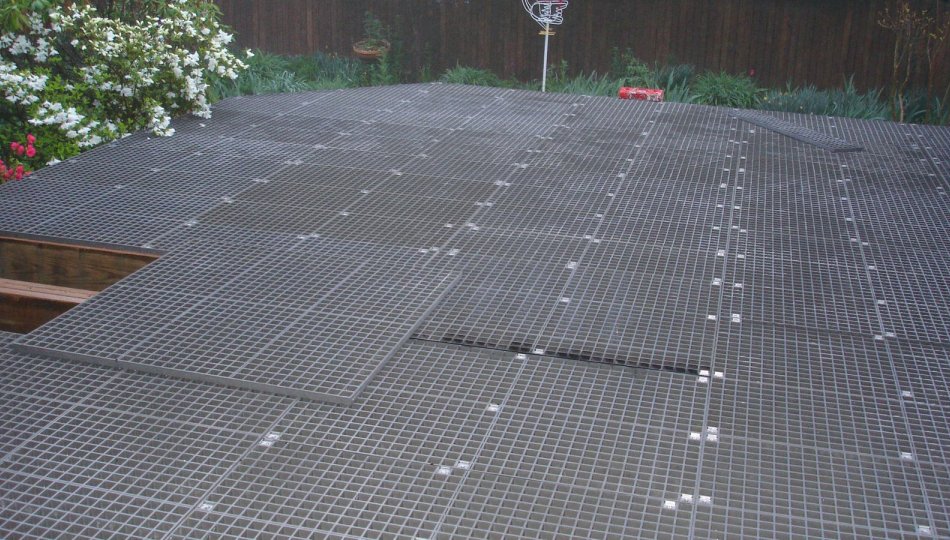
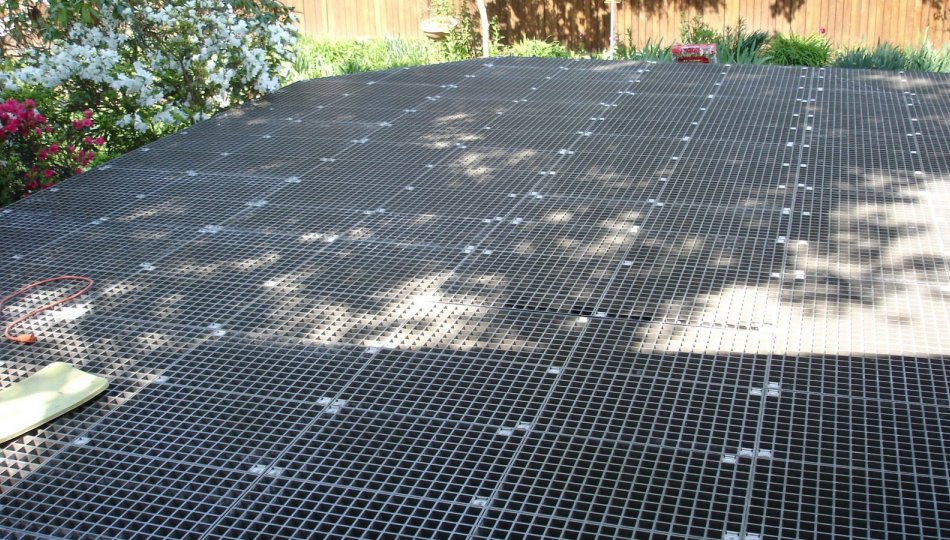
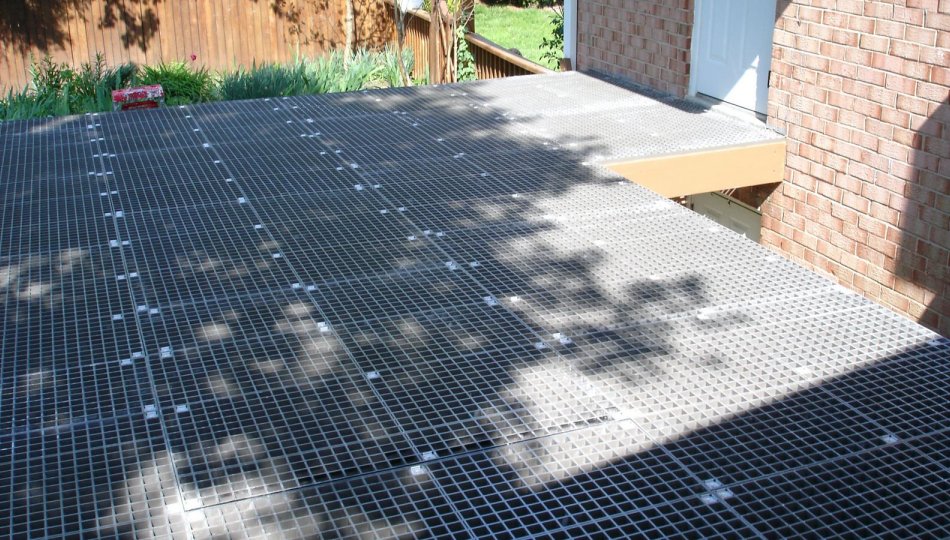
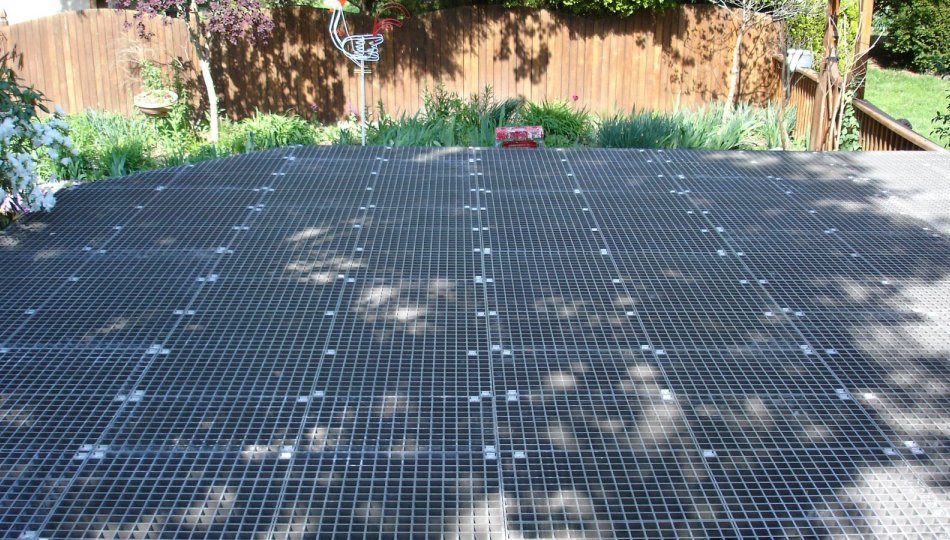
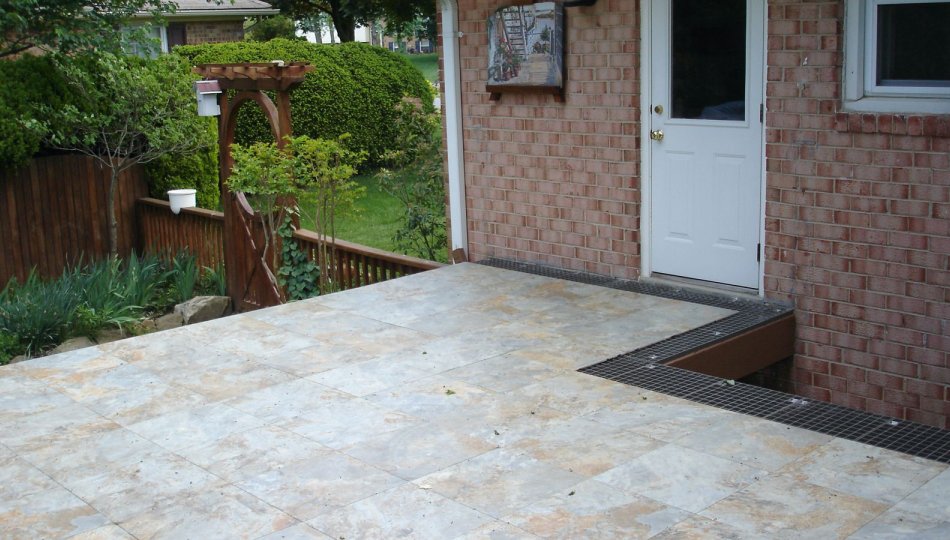
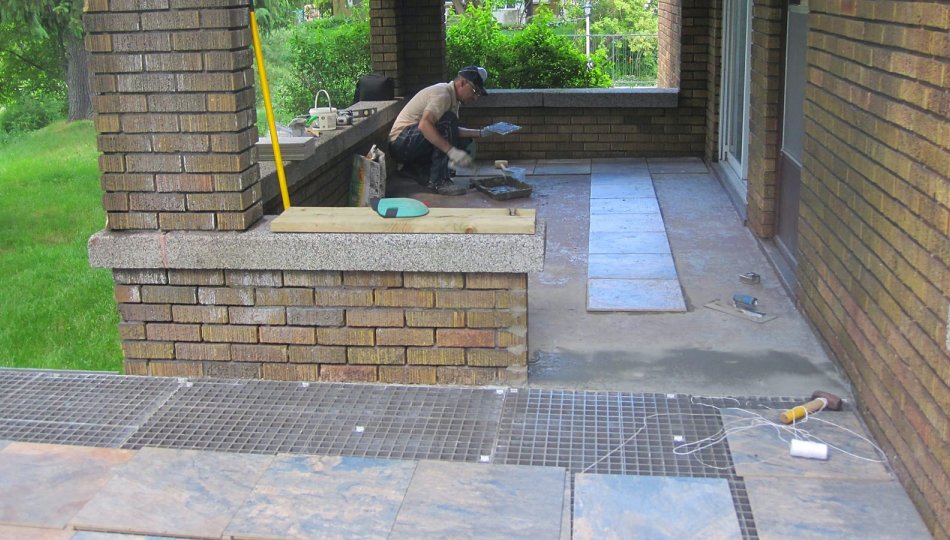
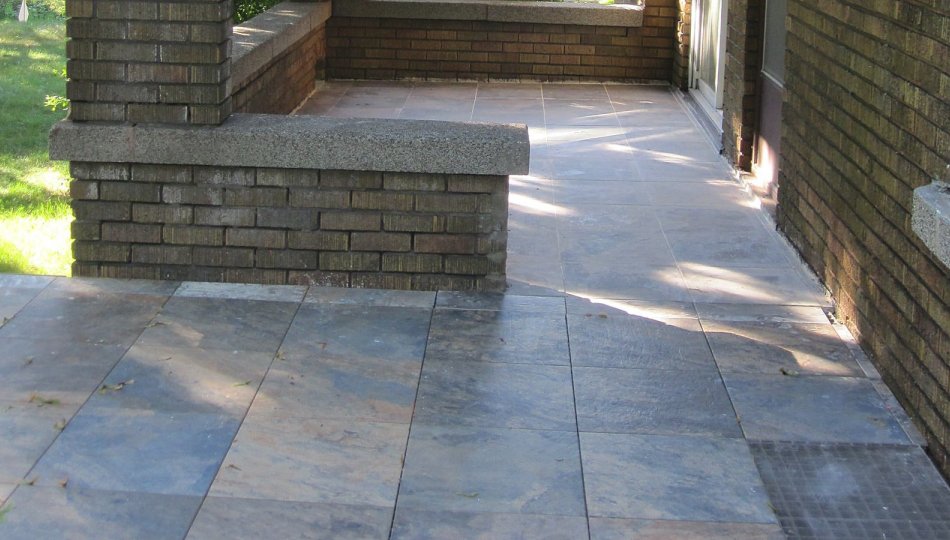
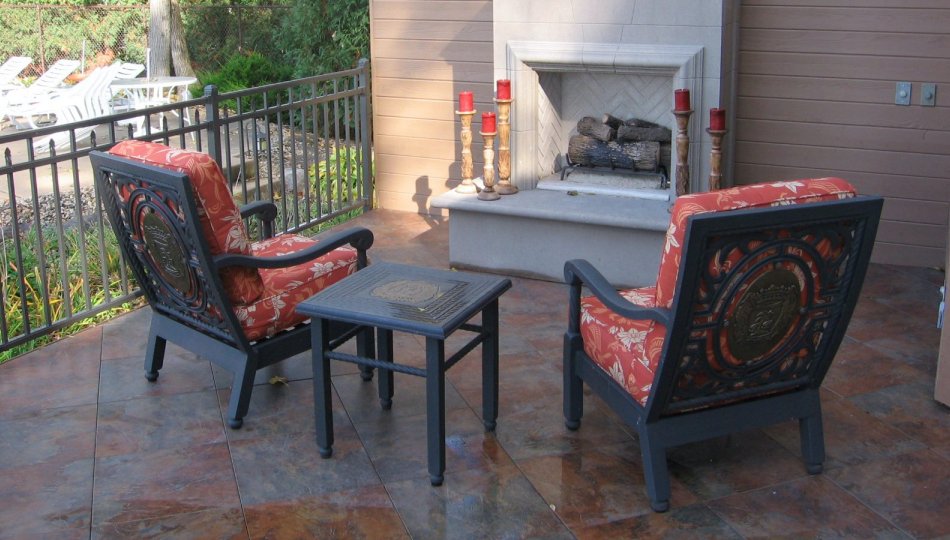
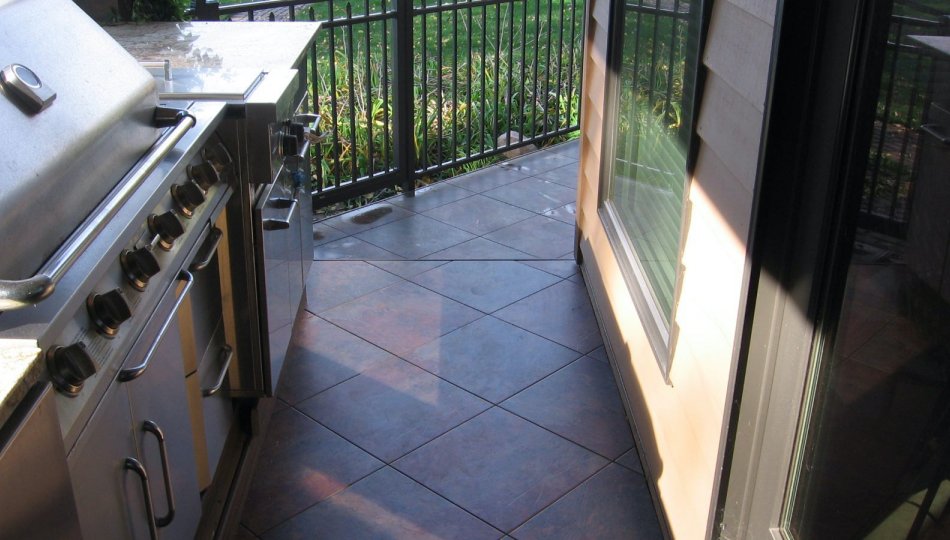
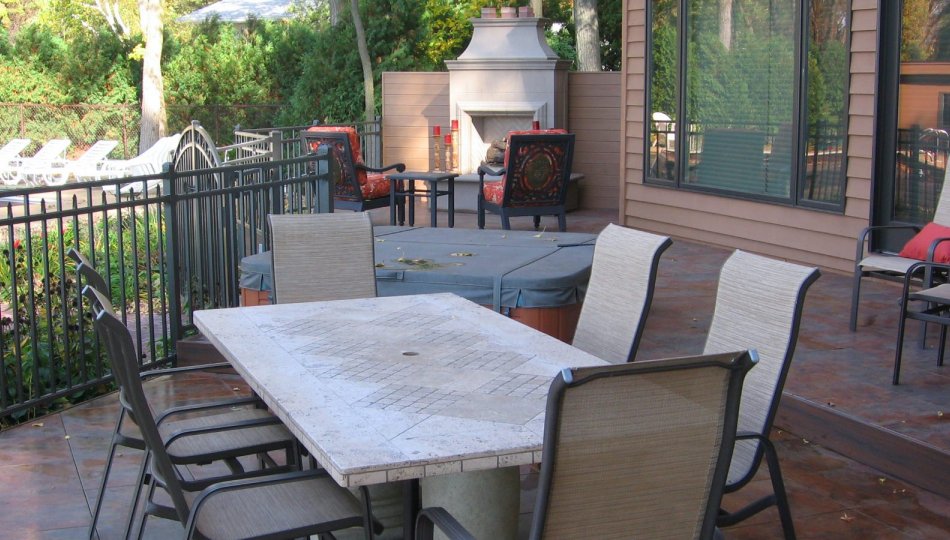
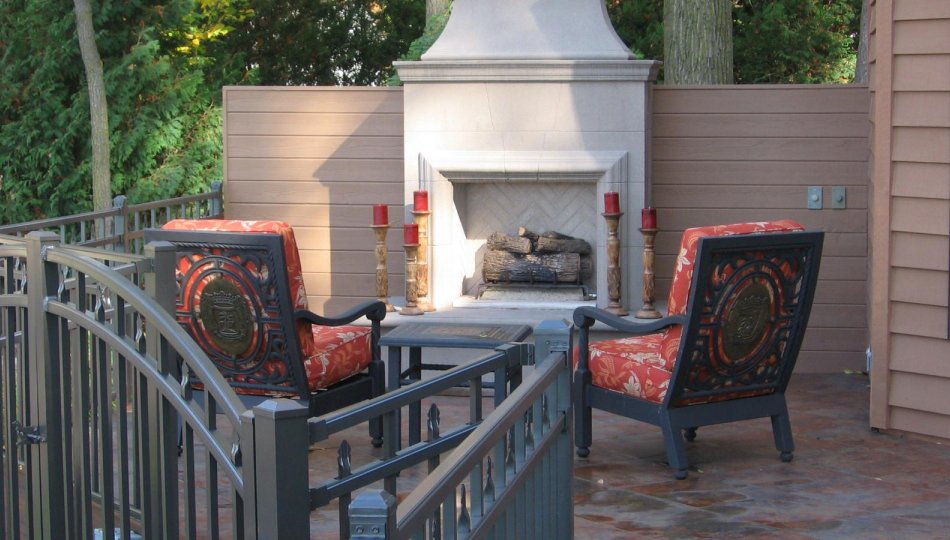
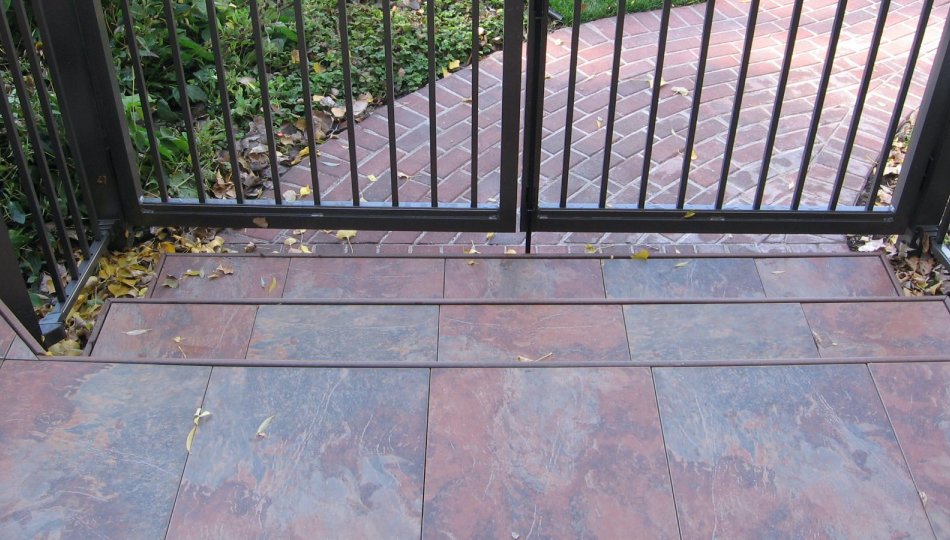
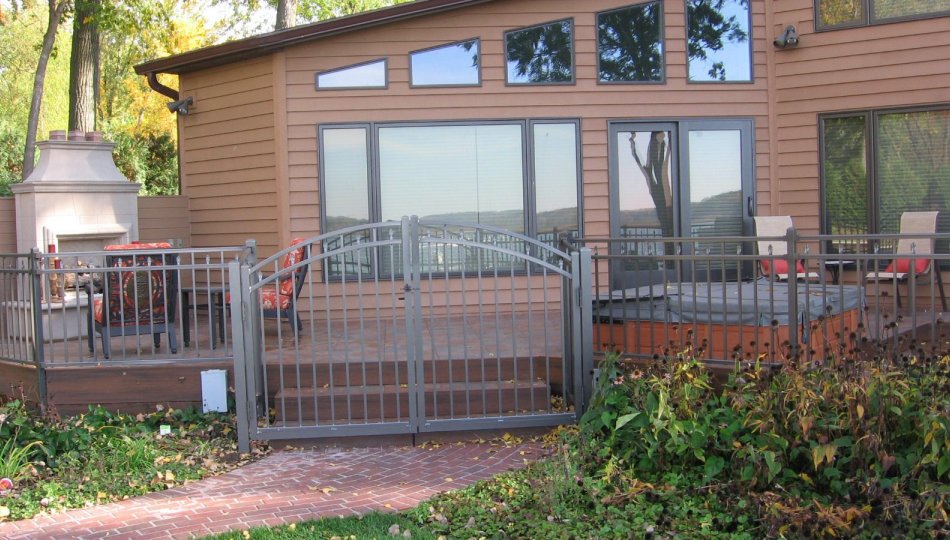
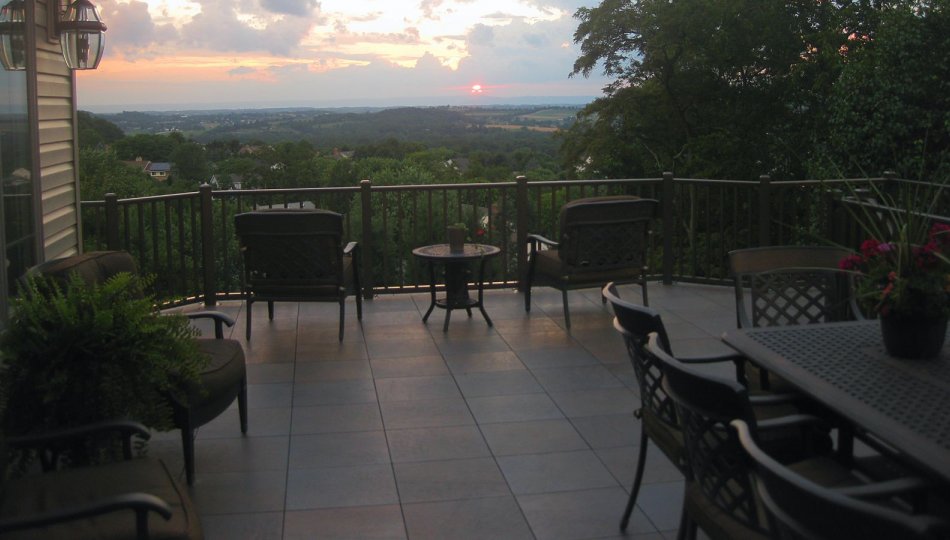
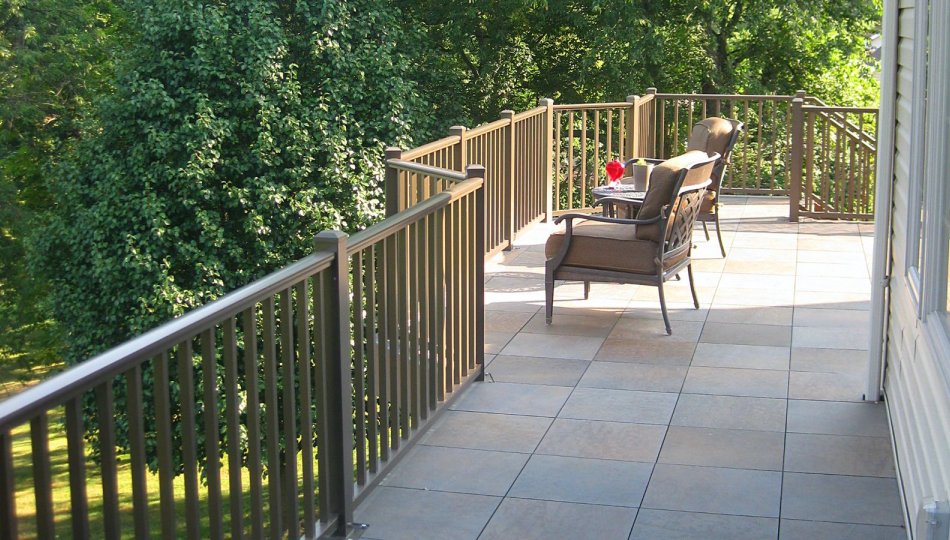
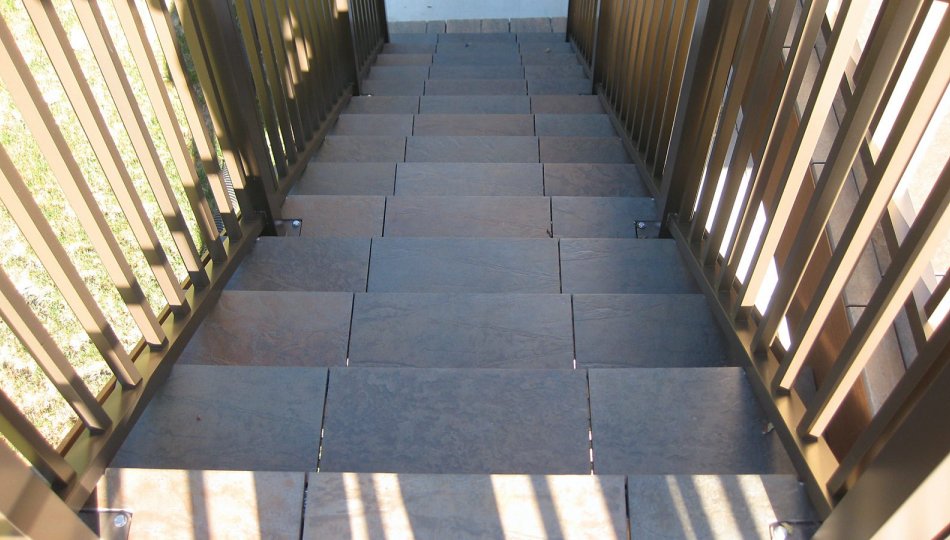
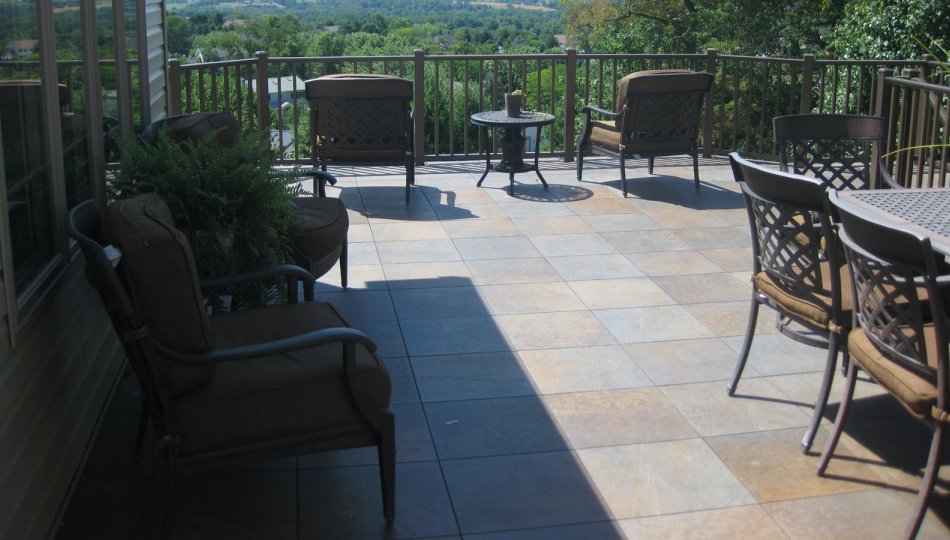
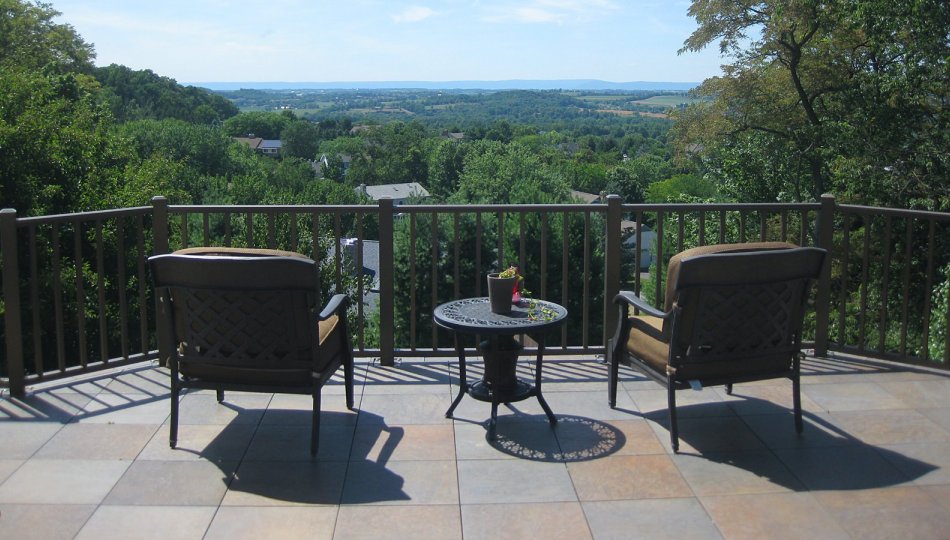
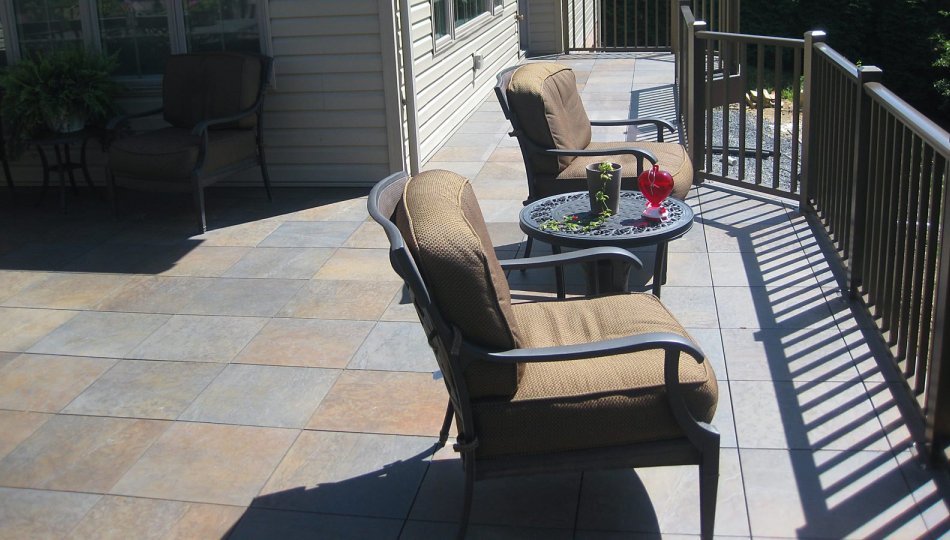
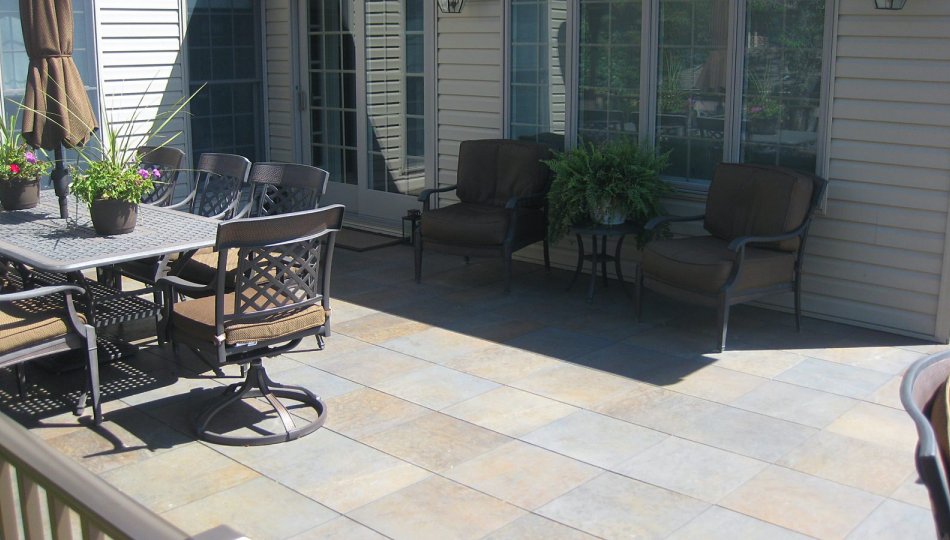
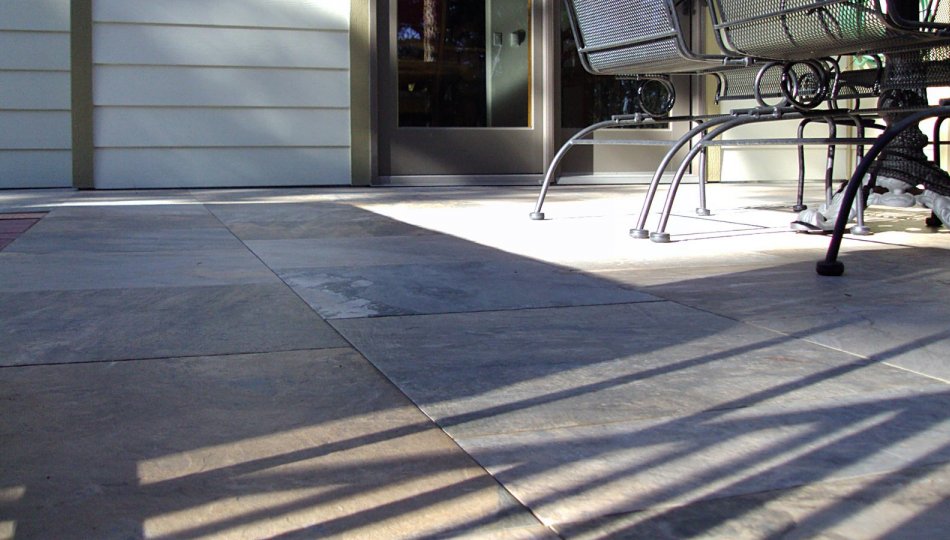
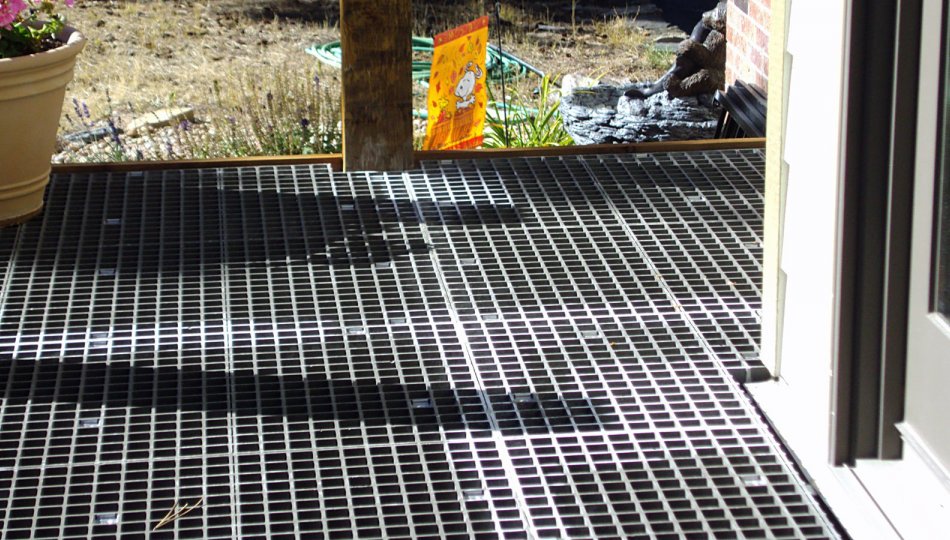
A little more than a year ago our project was completed. We have fully enjoyed the outdoor space that Outdoor Floor Systems helped us achieve. To finish off the edges of the deck I used an anodized aluminum Schluter stair nosing. We think it was worth the money finishing off the edges of the grating with such a clean transition. The addition of the black primer on the surface of the grating really helps to better shadow line the grating. In conjunction with that, I think if there were a way to do the same to the stainless steel fasteners would be a great addition. We are looking to build a new house in the next couple of years and will look forward to using Outdoor Floor Systems again in our design.
Missouri
Steve C.
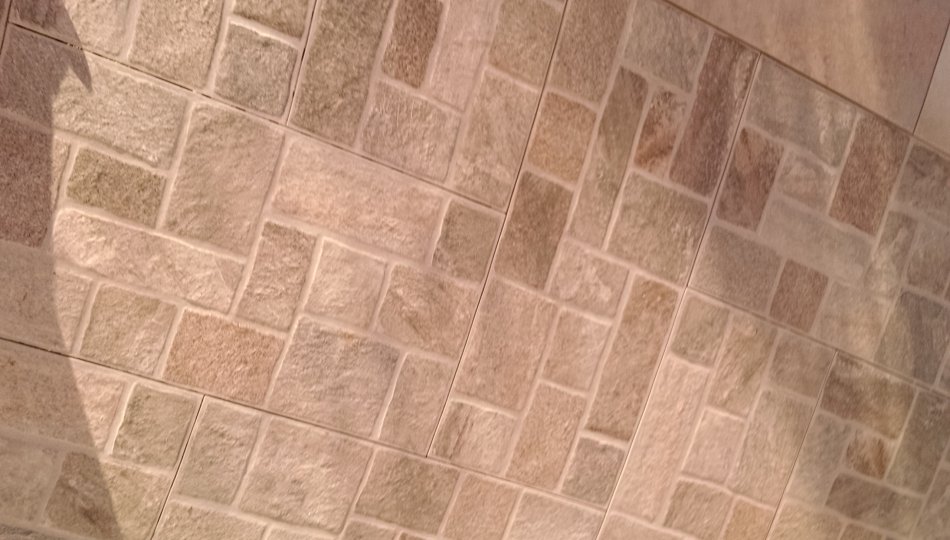
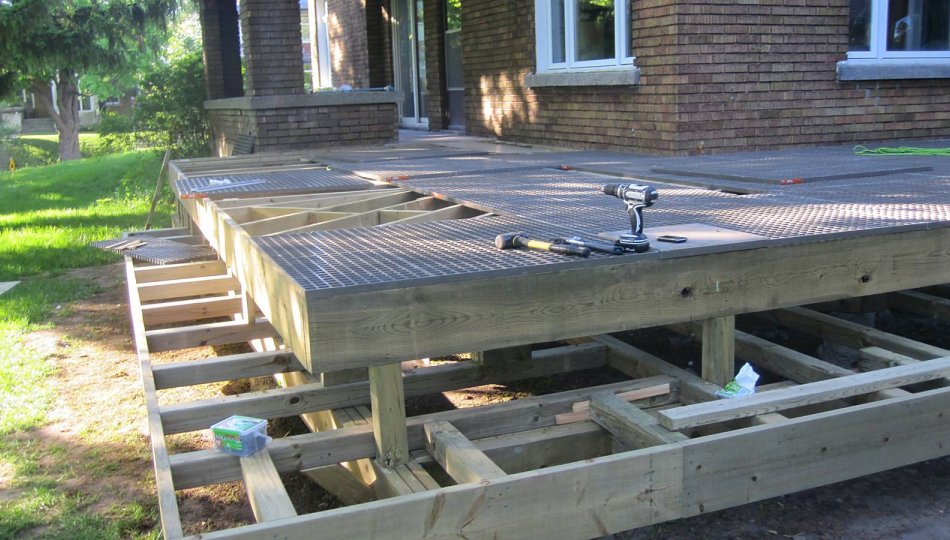
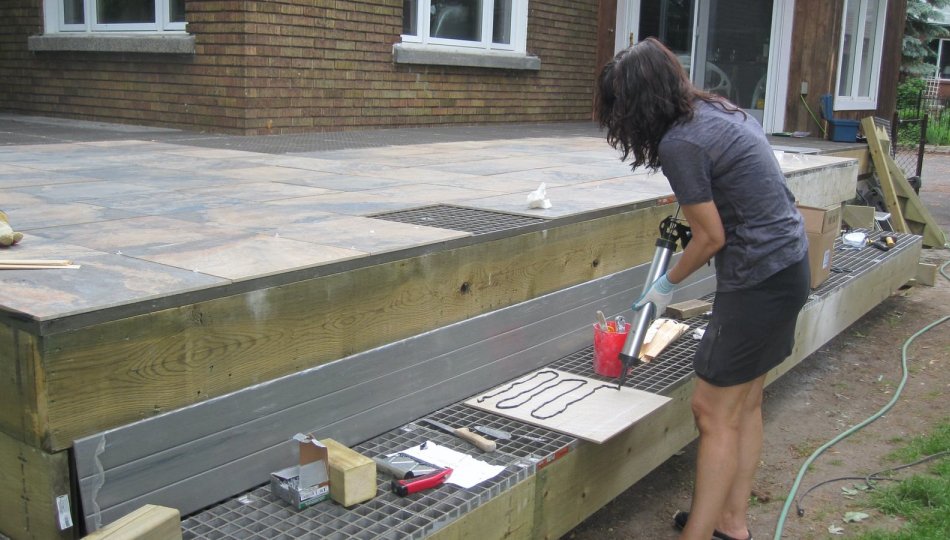
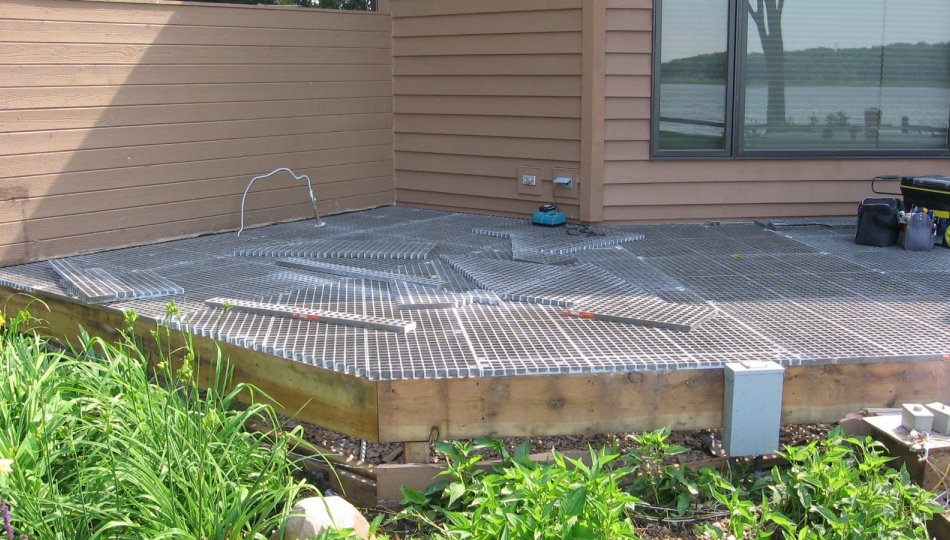
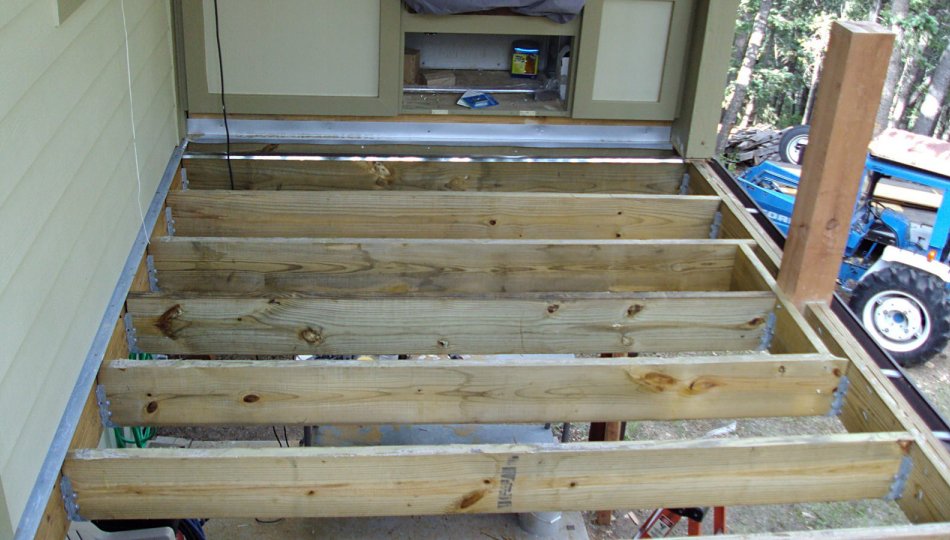
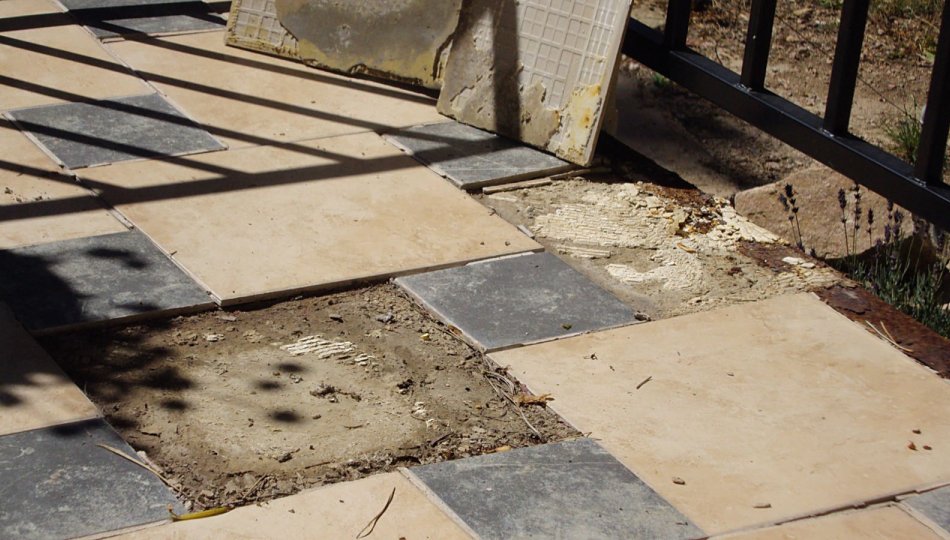
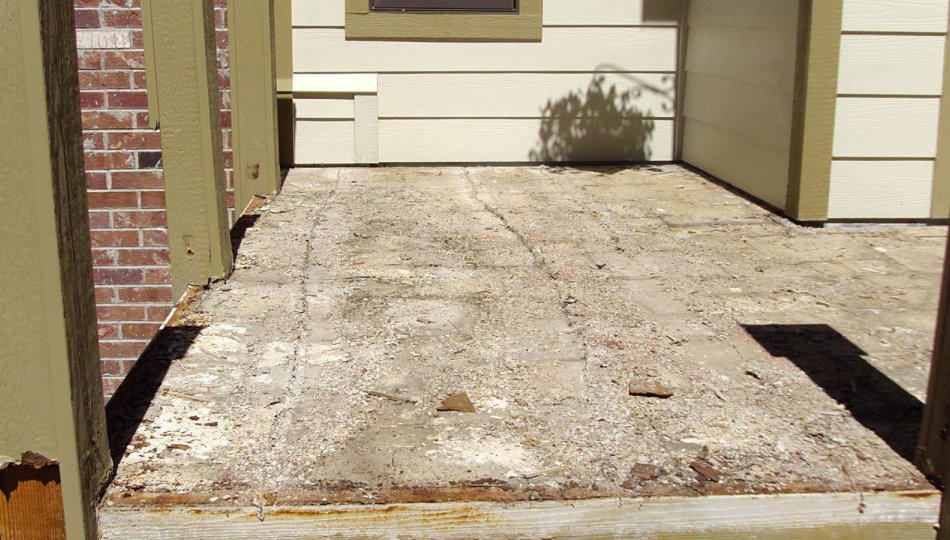
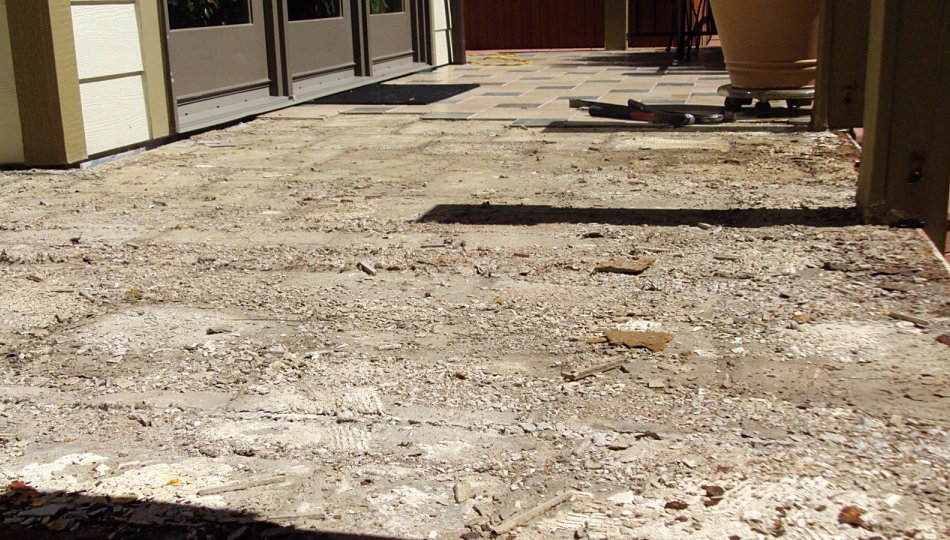
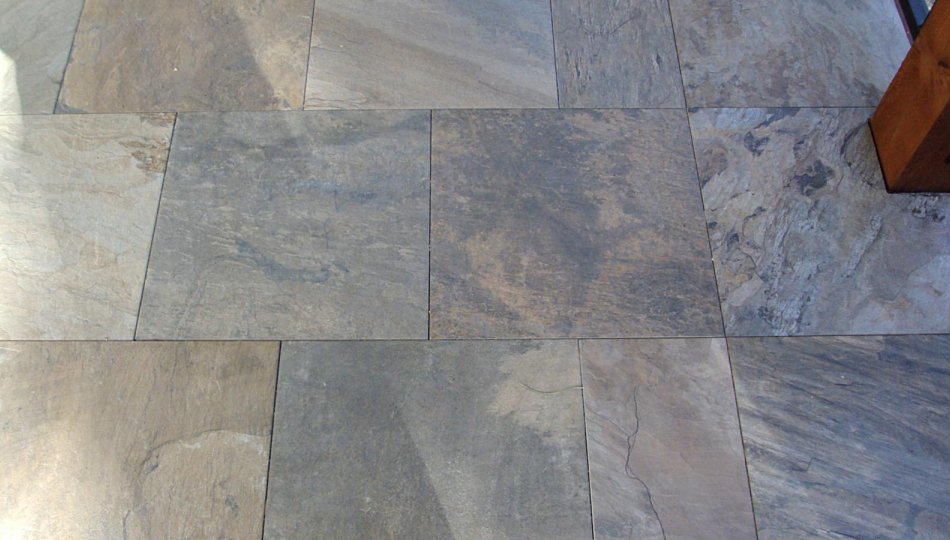
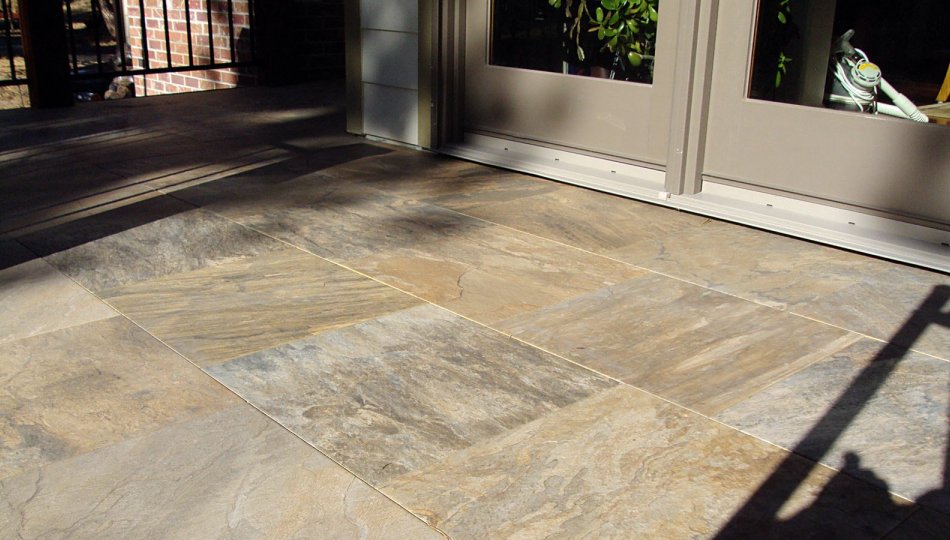
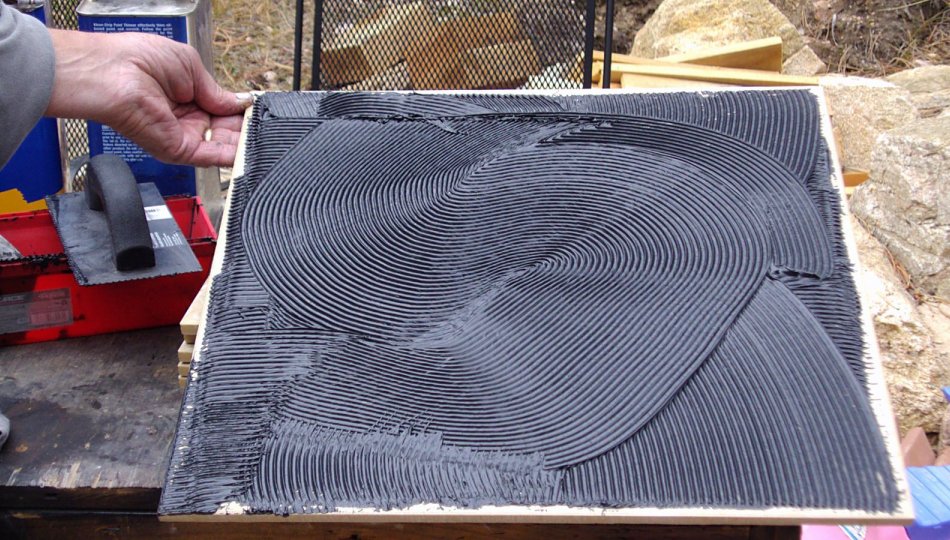
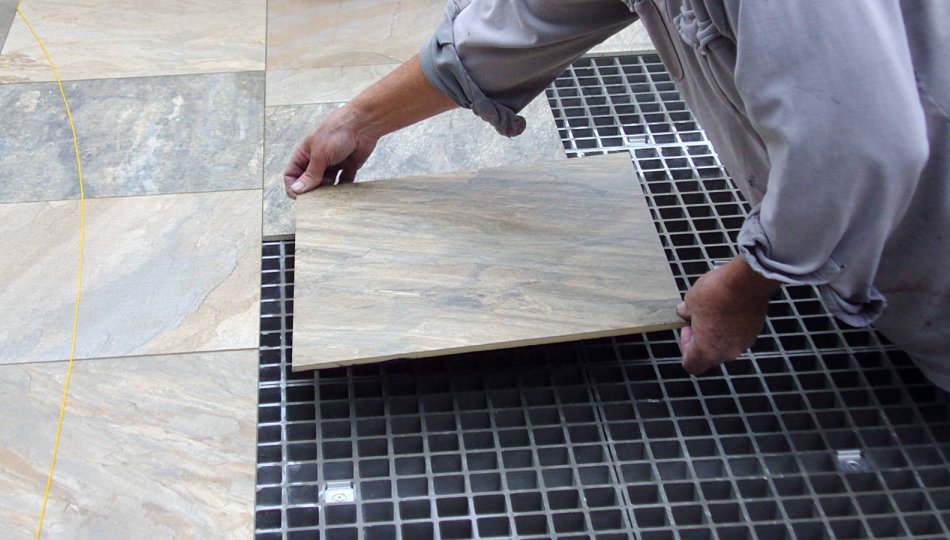
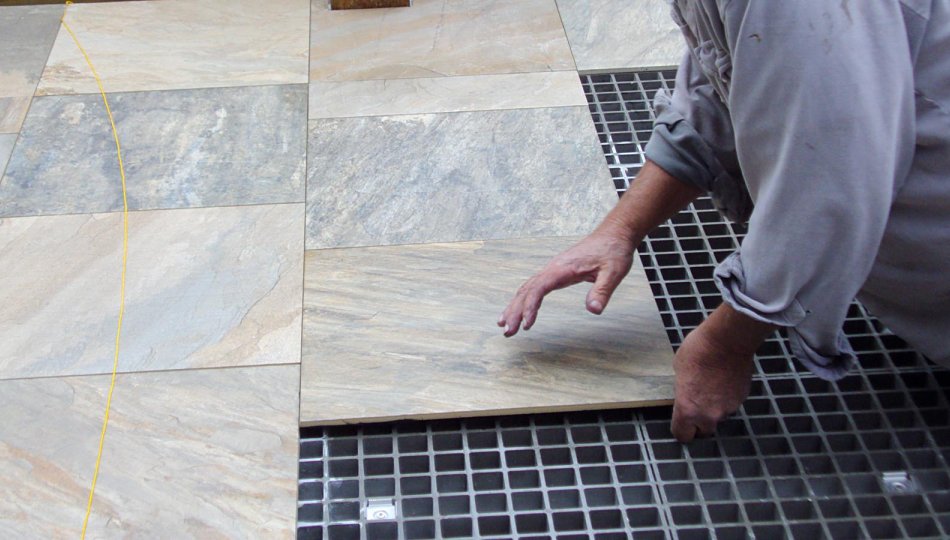
After quite a bit of research I chose your GRATEDEX product due to ability to install tile with normal framing dimensions (i.e., did not require sizing timber up for the weight). Pricing was acceptable to us given the result and maintenance advantages over other options. I discovered the product through internet research after I started looking at tile and masonry deck options. I did not want the traditional cumbersome heavy mud bed/underlayment approaches. It took a little searching to find your product. I ended up hiring a general contractor to help with the framing while I did everything on top and finished railings. We also took extra steps to top joists and beams with butyl tape to slow rot given the expected lifespan of the decking itself. We learned a few things during installation of the large panels and tile, but installation was straightforward. I did most of the work without help though I recommend a partner for initial placement and maneuvering. Once secured the rest goes smoothly. The adhesive does tend to generate very thin strings during placement and adjustment, but mineral spirits quickly cleaned those up.
Price Take 2
Hudson, Wisconsin
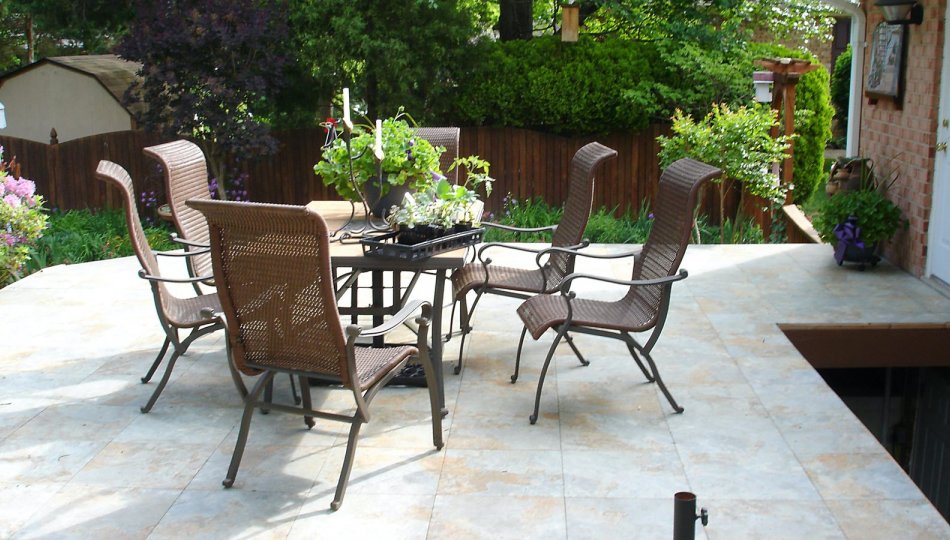
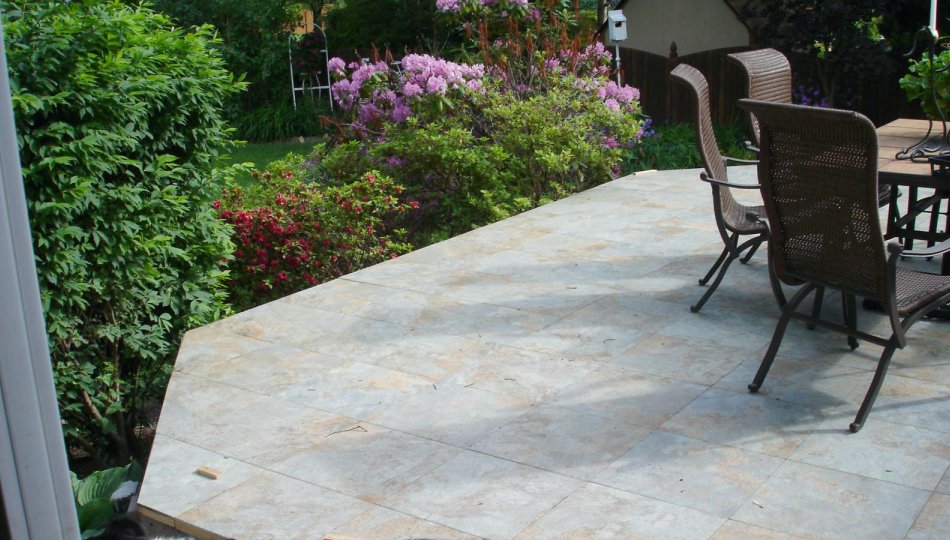
70 year old senior happy with his second installation and the improved GratedeX® fastening system.
Read Full StoryHudson, Wisconsin
Price Take 2
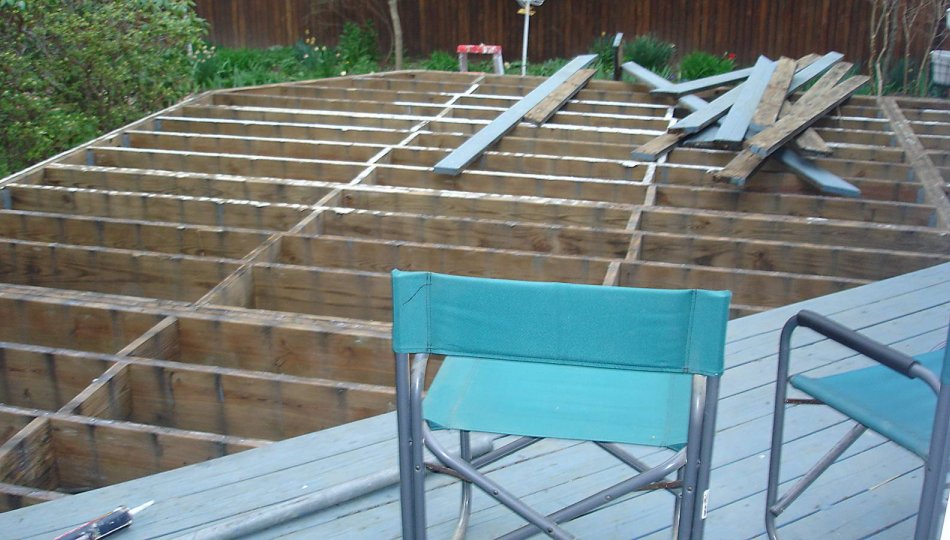
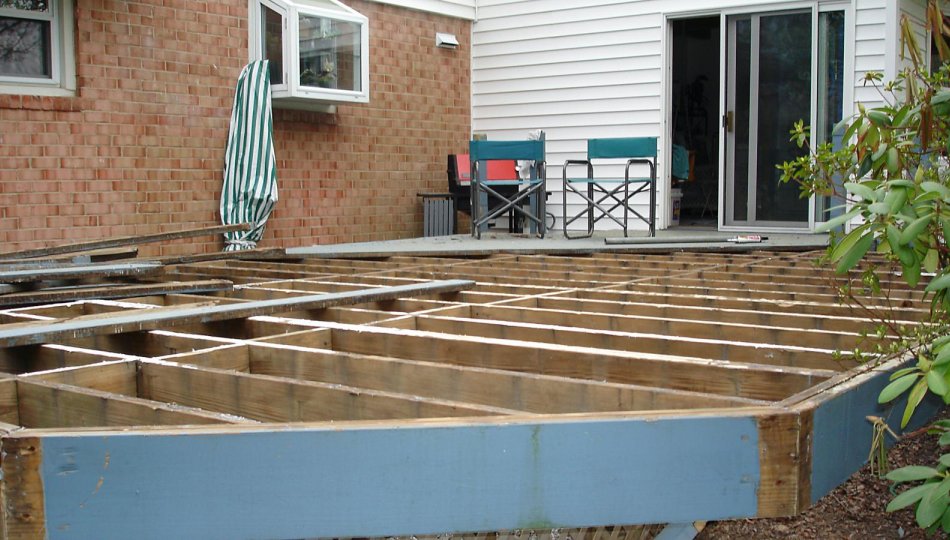
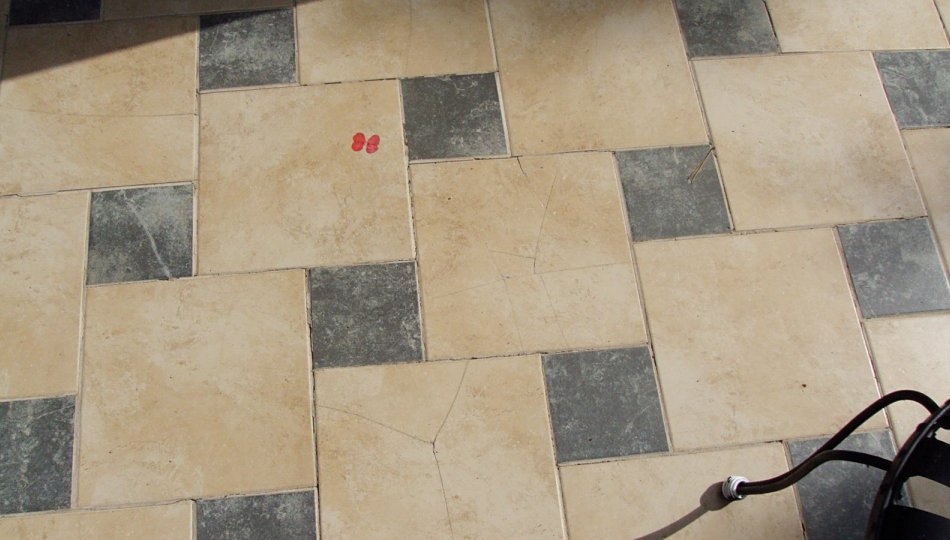
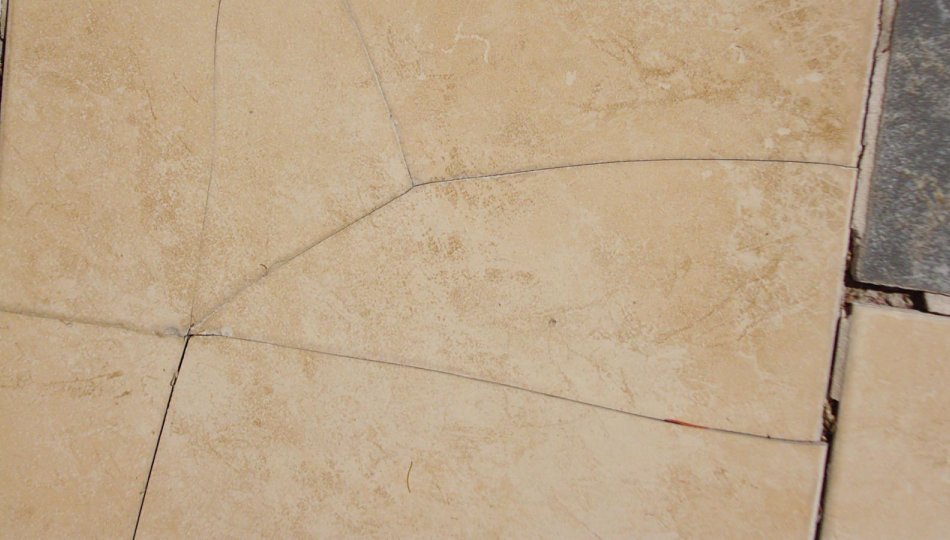
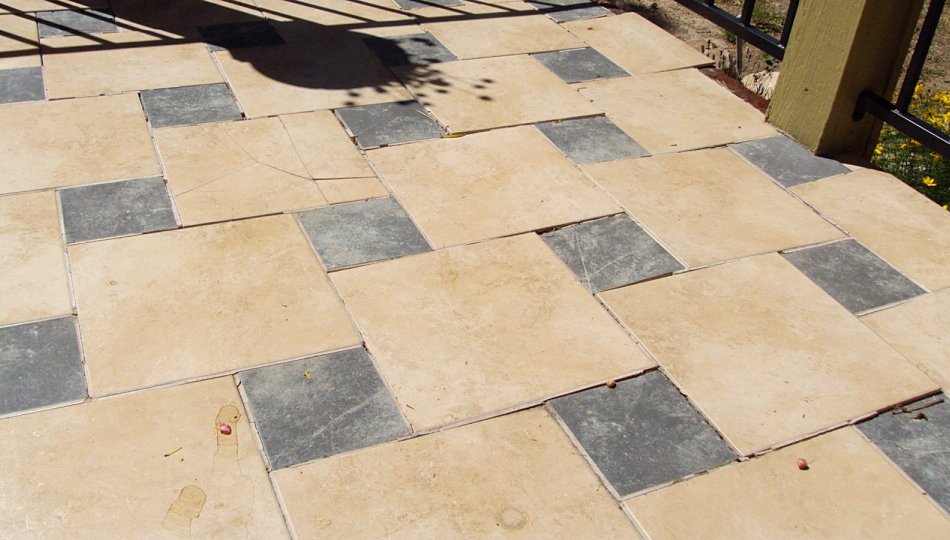
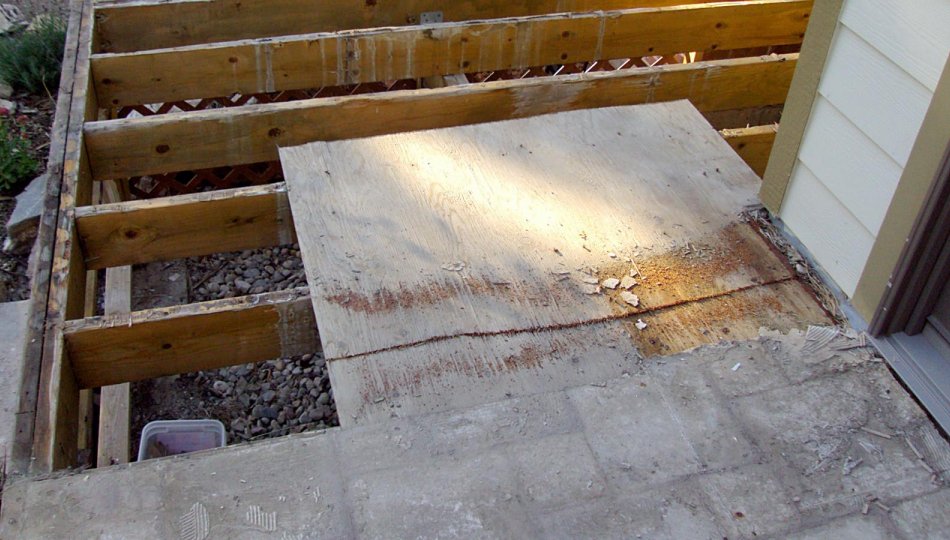
In the summer of 2010 my wife and I built our first GratedeX® deck in Olney, MD. We selected this system at that time because the deck would be maintenance free for the rest of our lives. In the summer of 2012 we moved from Olney, MD to Hudson, WI. Because of the success of the first deck, we decided to use GratedeX® for a second time.
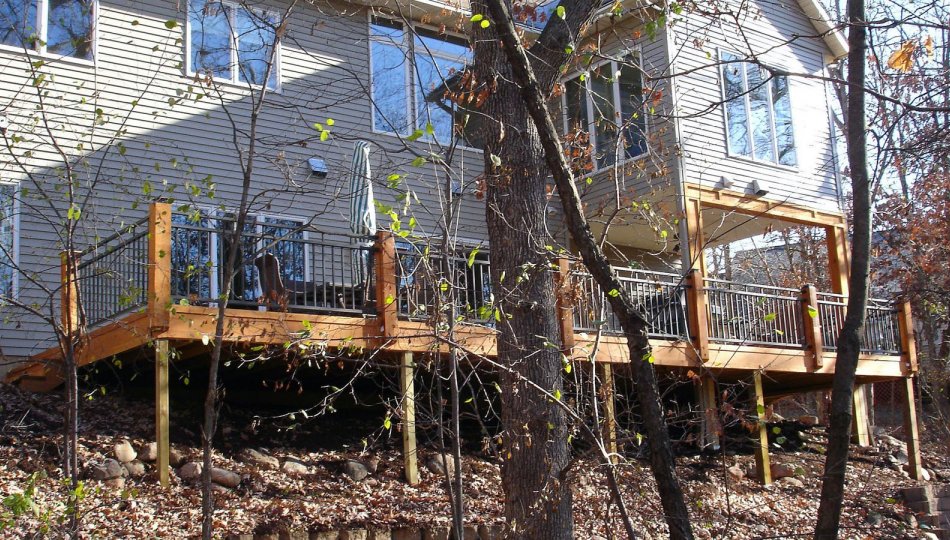
The existing Wisconsin deck was about 80 sq. ft. Our Maryland deck was 440 sq. ft. In Maryland the backyard was flat and open but in Wisconsin the backyard pitched downward at an angle that heavily favored cloven hooves and it was covered with scrubby oaks and buckthorn. The good news was there was little to no grass to cut in this Wisconsin home; the bad news was one could only look at the backyard from inside the house. Only a large deck could provide a level surface to enjoy the outside.
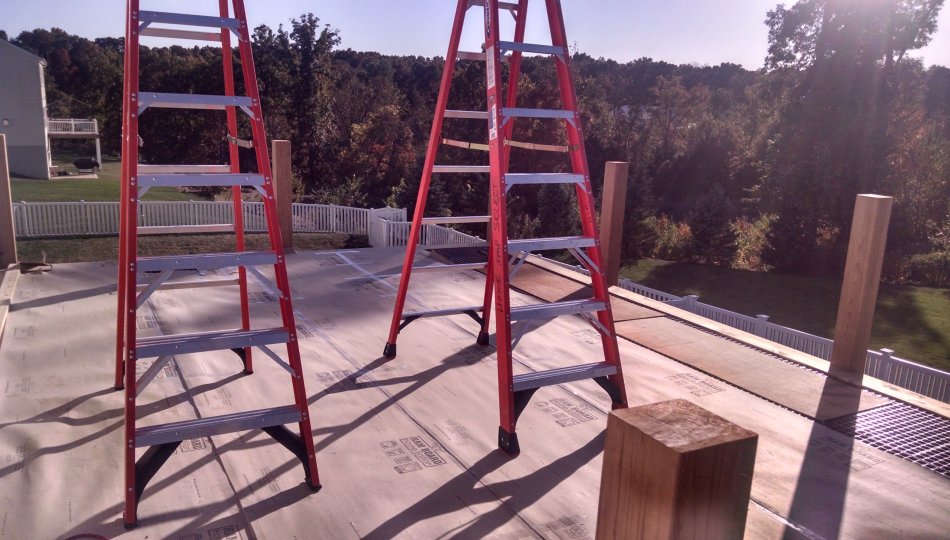
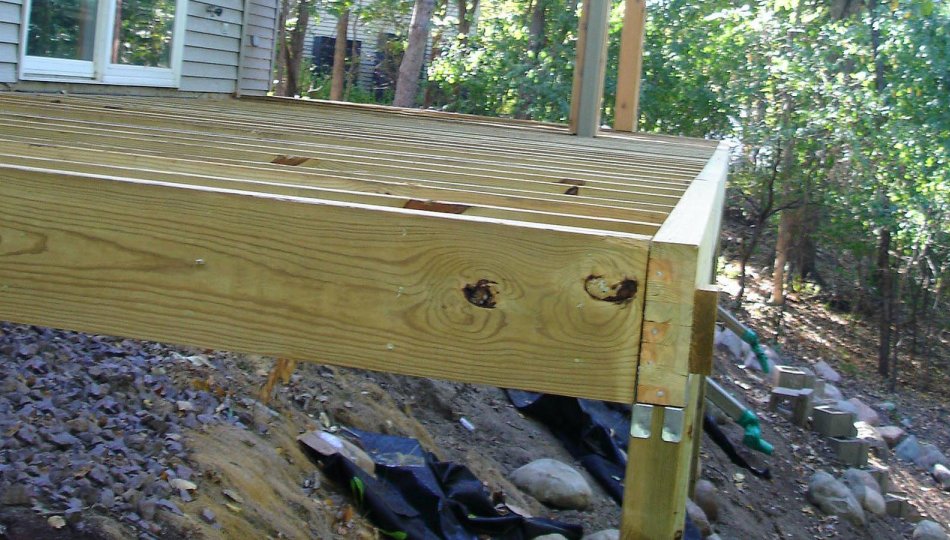
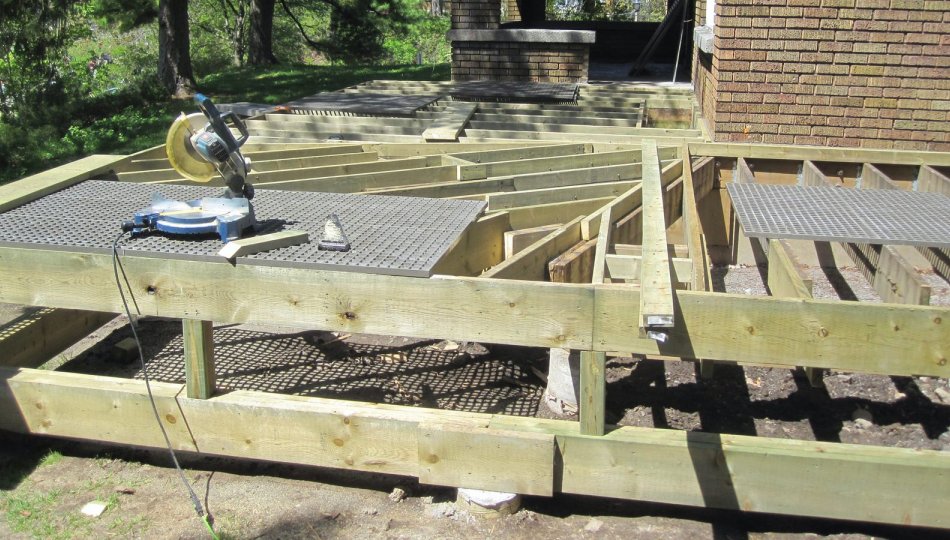
Closing in on my 70th birthday and recovering from congestive heart failure, I was not in the mood to heft the 2x12 joists into place, especially on a slope that dropped at about 45 degrees. Younger carpenters were hired to do that chore. The deck is 42 feet long and 12 feet wide except for a third of it which was 15 feet wide, a total of 545 square feet. The joists were covered with window flashing sealant applied by my more agile and nimble spouse. The deck has entrances on the north and south sides plus the sliding glass door from the lower level of the house.
After we were done building the deck my wife thought we should have made it bigger. However, while we were laying the GratedeX® underlayment panels and tile I wondered why we made it so big. But with Wisconsin being a more northern climate than Maryland we were in a race to complete the deck before snow.
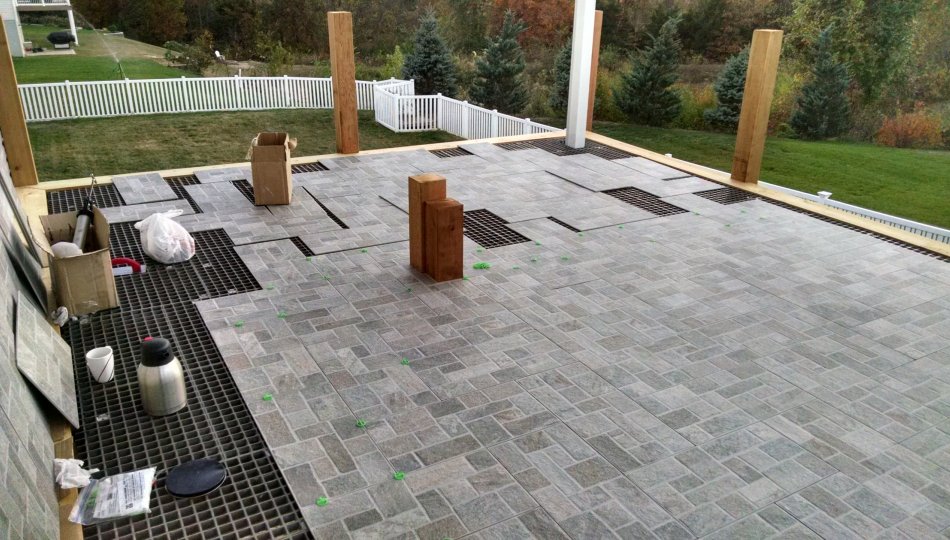
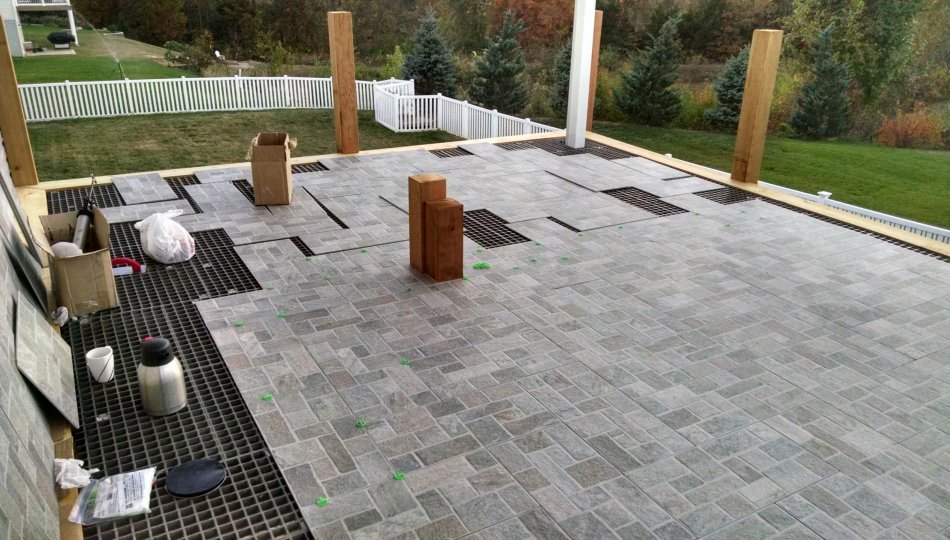
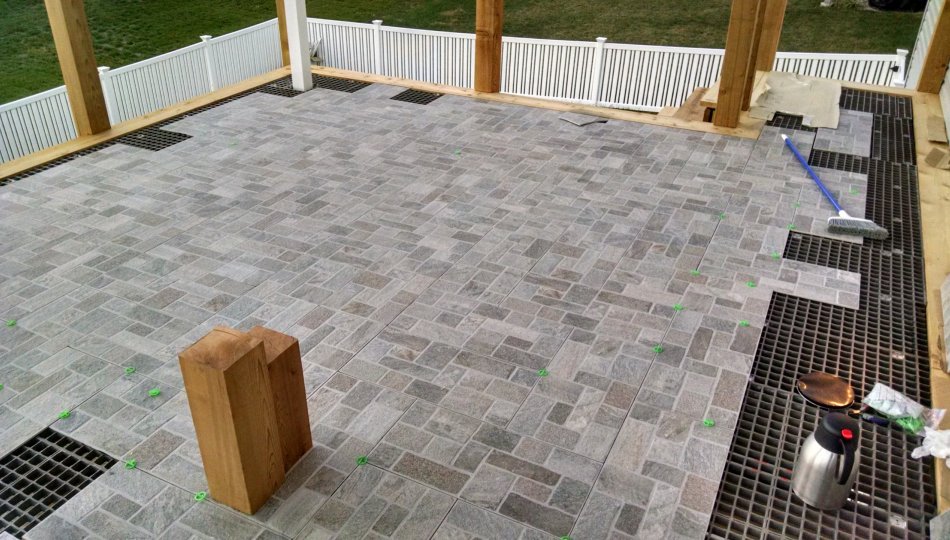
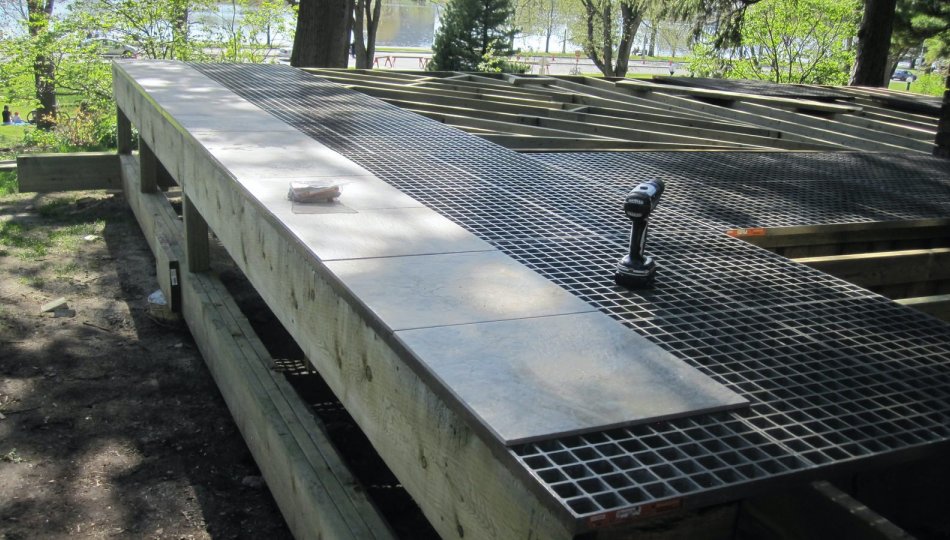
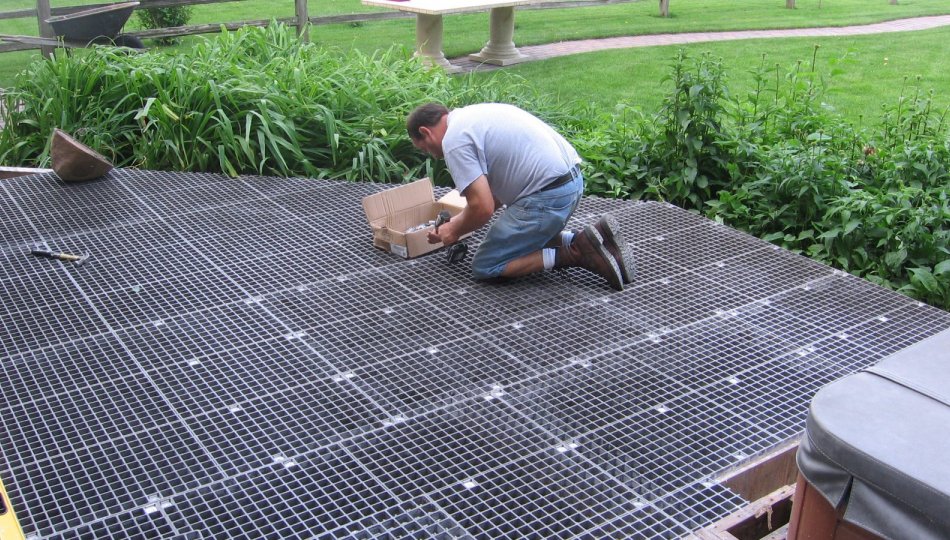
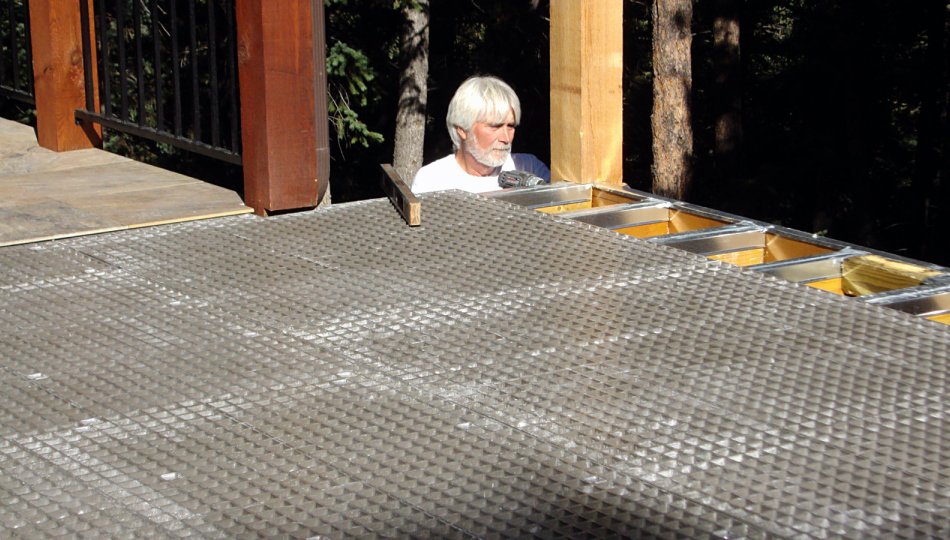
During the process of placing the GratedeX® panels, I fell through the deck and ended up with emergency surgery to relieve internal bleeding. I hired a carpenter to help lay the tile but laid most of the GratedeX® panels myself and some of the tiles; I buttered the tile backs and kept my carpenter helper on the deck laying them. This assisted process made everyone happy.
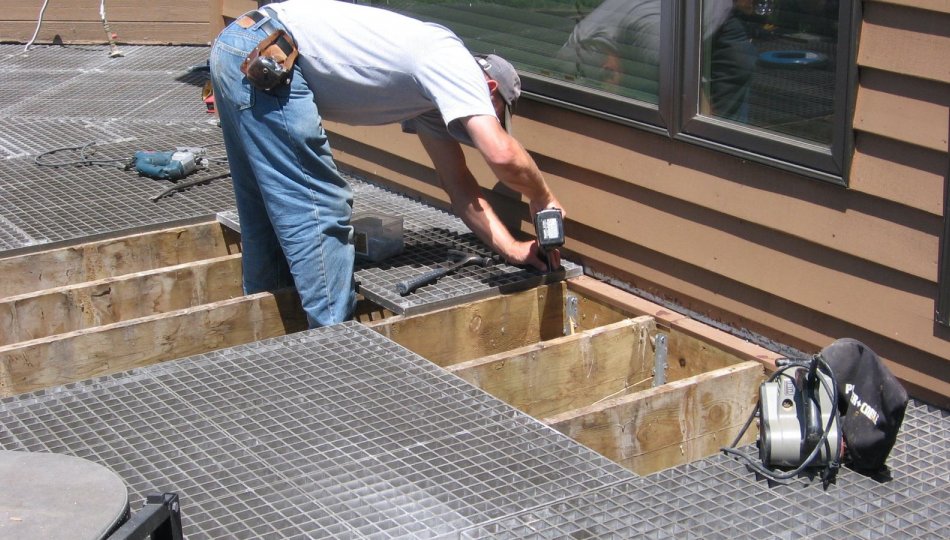
This second installation of the GratedeX® system had been improved. The GratedeX® panels now have a recessed notch. The new Bite-Tite® fasteners drop into the recessed notches with only the screw drawing them into position and flush with the surface. These new clips are definitely an improvement especially the two holes which help to secure a better access to the joists. Also the clips seated into the slot without a fuss or coaxing. (As you know, in construction the solution to most problems is a bigger hammer. At least for me it is. And I didn't need a hammer at all.) The screws seemed a little soft as I stripped the heads on a couple of them. My carpenter helper had an impact drill (Bosch) which worked flawlessly not like my 18 volt DeWalt which liked to power out the square slot.
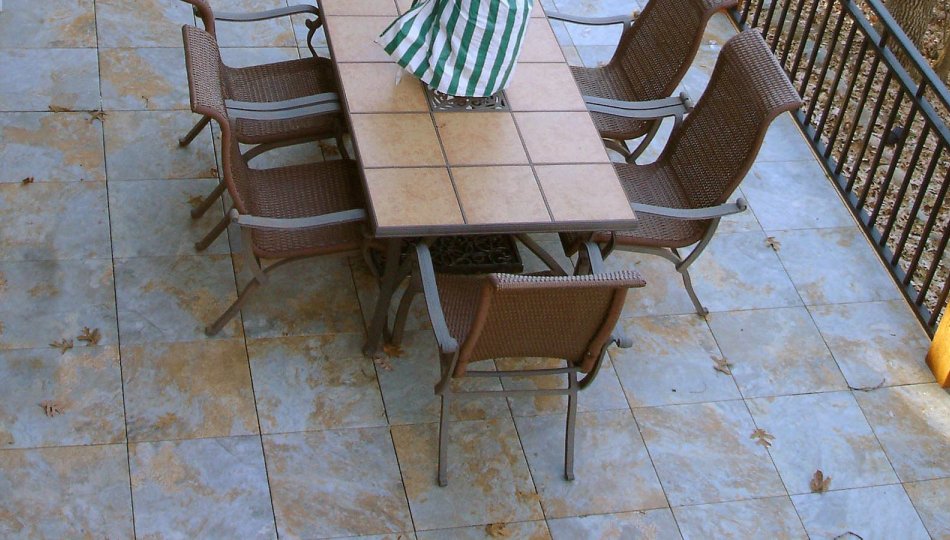
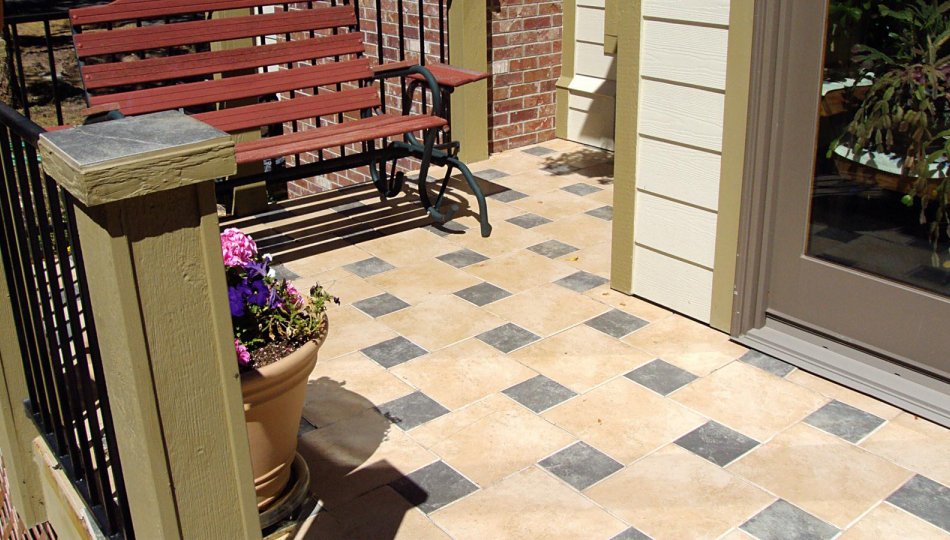
We placed porcelain tile on the grates which we bought at the The Tile Shop, the same franchise and same design we bought when we built the first Olney deck. It's not that we lacked imagination, we simply liked our first choice. Regardless of what Total Quality Management says, you cannot improve on perfection. Right?
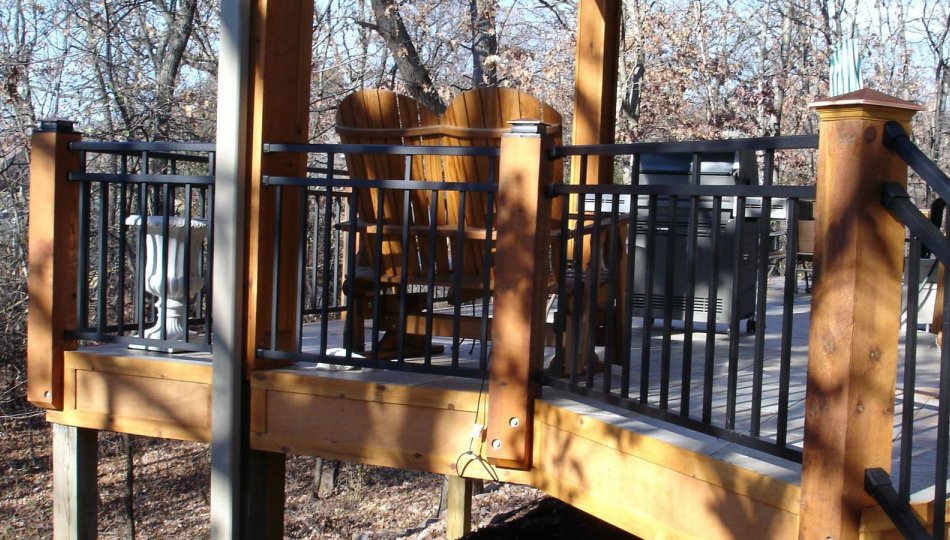
For railing we used 6x6 rough cut cedar posts and Westbury Aluminum railing both purchased from a local lumber yard.
Very pleased again with the results.
DexSystems was the former entity name for ODF Inc. Early production GRATEDEX® panels were 48”x48”.
Price
Olney, Maryland
In a bedroom community between Washington D.C. and Baltimore, a 60 plus year old couple tackles the physical challenges of constructing a stone deck rewarding when Google search finds DexSystems new stone decking technology.
Read Full StoryOlney, Maryland
Price
With summer decking season in full swing, the memories of winter cold melt away with feet up and a cold beverage in hand. During the winter of 2010, a record snow fall in Washington, D.C. buried Tom and Steph in cabin fever. The delirium of the season gave Steph visions of a new decking surface over their snow covered 22 year old deck. "How about slate, stone, tile or some extremely low maintenance but aesthetically pleasing surface" was the the discussion. "But what about contraction and expansion?" Tom was determined it couldn't be done without issues. Steph would see no other option. "I'm not going to paint those soggy old deck boards one more time. You can do the painting." Not wishing to do the same, Tom got to work.
He talked to employees of Lowes. They suggested plywood plus cement board plus tile and grout. Tom realized tile damage occurs when moisture gets under the tile, freezes and breaks the grout, bond or even the tile itself. In addition, where his deck connected to a sun room, there was only 1-1/2" clearance for a new stone surface or he would have to lower the existing deck framing. That was not going to happen. "We didn't like Lowe's suggestion." After a brief sulk, Tom got back to action, this time with a new approach Google internet search. After a lengthy review of many options, none were satisfactory until DexSystems® appeared in the search results. "I read all of the online literature and concluded that the GratedeX® Outdoor Floor System® with a 48" x 48" x 1" underlayment panel, stainless steel fasteners and Hold-Tite® TA adhesive provided the best solution for me." And with the tile finish, it wouldn't exceed his 1-1/2" decking height limitation.
So the two retirees, Tom and Steph, at 60 years plus, set about the task! She's an artist and designer of many different things. Tom is a woodworker by hobby. He built the original deck in August of 1988 with two 4x12 beams supported by 6x6 post and 2x10 joist 16" on center. Total square feet : 420.
"I ordered (27) 48" x 48" x 1" GratedeX® system panels, which included the fasteners and adhesive, on March 30, 2010. We had already ordered the tile from The Tile Shop on March 23." The tile was a porcelain 17.5" square, frost resistant with a textured anti slip surface. While waiting for the GratedeX® package to arrive, Tom set about removing the existing decking boards. A wrecking bar, 5 lb. hammer, and an iron pipe to slip over the wrecking bar for additional leverage did the deed. No worse for wear except for the sore shoulder muscles.
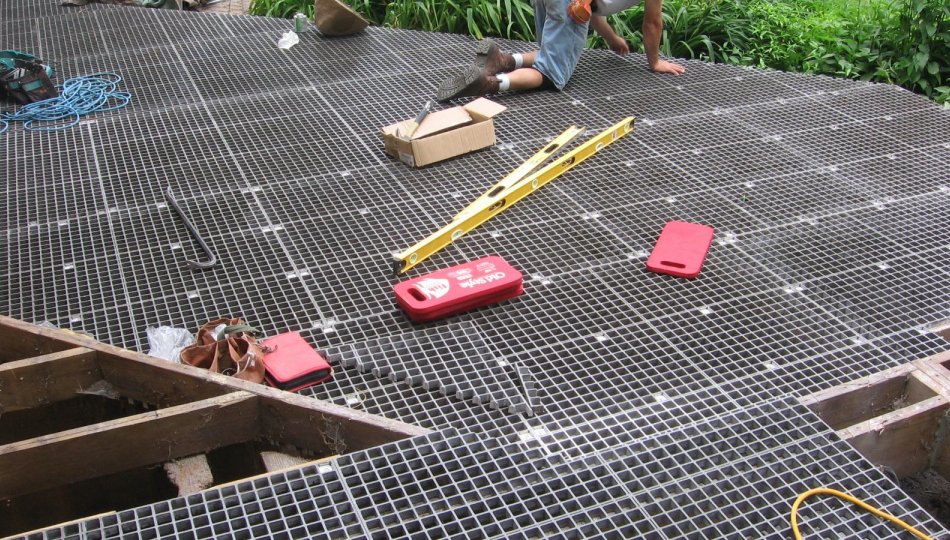
Now for something new. With the old decking removed and the existing framing inspected, the GratedeX® underlayment panels "went down with ease and if I were in better condition they would have gone down very fast. A life of desk work as a college counselor and administrator is not great preparation for the up and down of construction work. Even though I worked at retired speed, it only took a few days to cover the entire deck."
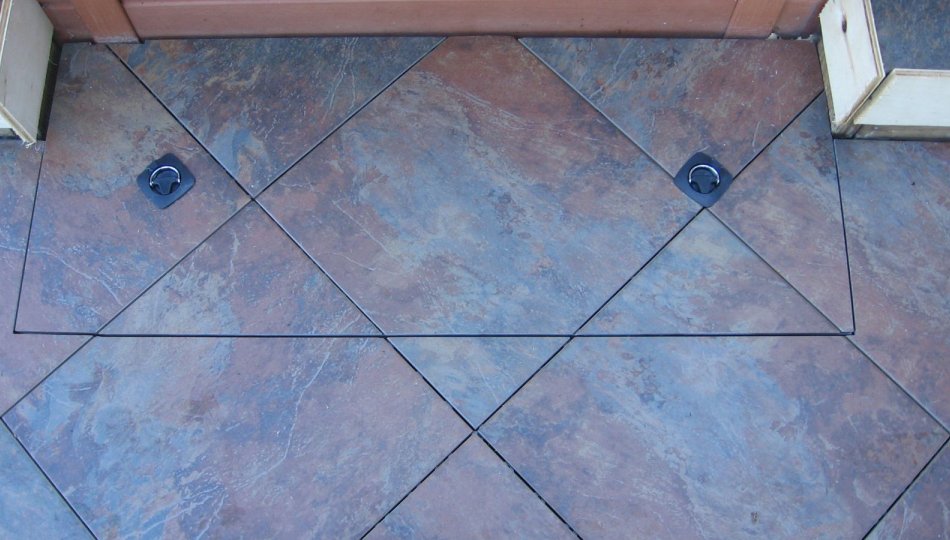
The porcelain tile was next. "Based on my limited experience I was certain that the porcelain tile would go down very fast." Tom started with the full pieces. Steph applied the adhesive to the back of each tile and Tom put the tile in place. "After five days working half time with entire days off to rest the back we had the tiles in place. The worst was over."
Tom will be finishing his deck rebuild with cedar deck post, some with lighting and a custom wrought iron railing. "The cost of the system is significant but all the neighbors have been extremely complimentary about the appearance. In addition to 'good looks', the deck surface is maintenance free. It's expensive but worth the investment."
And so, come next winter, Tom and Steph will be anxiously awaiting Spring with a lighter spirit and relaxed thoughts as they consider stepping onto their tiled GratedeX® outdoor floor without the weighty issues of traditional decking maintenance.
DexSystems was the former entity name for ODF Inc. Early production GRATEDEX® panels were 48”x48”.
Dragena
Ottawa, Canada
Our 18 year old deck was in need of repair and we were reluctant to replace it with another wood deck. We wanted something more exiting, with more pizzazz.
Read Full StoryOttawa, Canada
Dragena
Our 18 year old deck was in need of repair and we were reluctant to replace it with another wood deck. We wanted something more exciting, with more pizzazz.
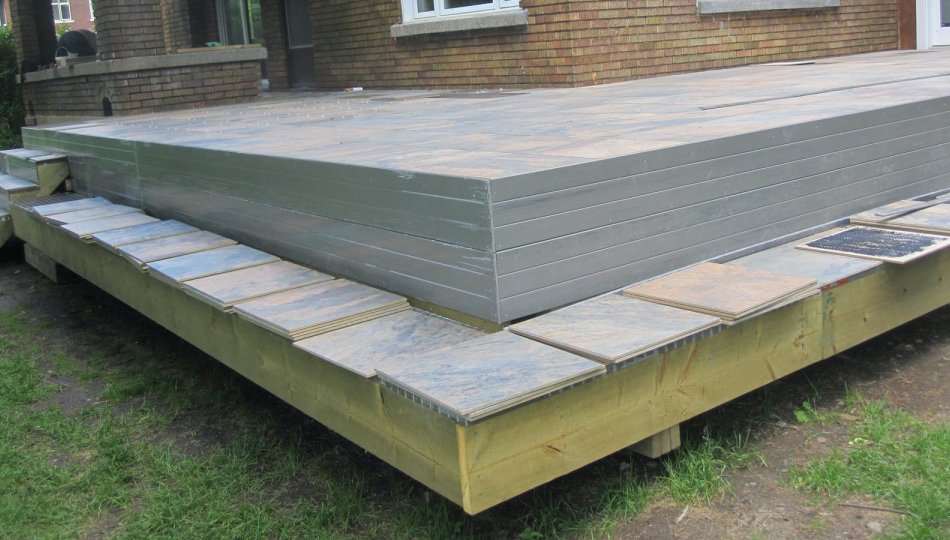
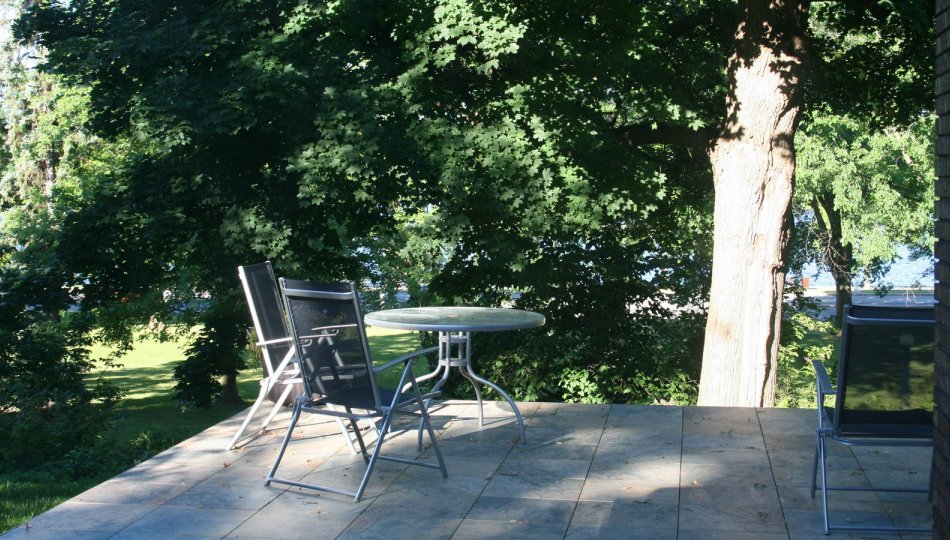
We were looking for a way to build an above ground tile deck that can survive the Canadian winter and after researching for quite a bit we found the solution with the DexSystems flooring panels and porcelain tiles. The resulting deck is “jaw dropping”, as my neighbor called it, and is maintenance free. There is no grout between tiles and the water drains very quickly.
The following are the main steps we followed to build the new deck:
- Removed the top boards of the 18 year old deck which was in need of repair. Used the old joists as the base for the new deck which has a larger footprint.
- Demolition of the old deck is a lot of fun!
- Discarding top boards from the old deck. The young and the restless don’t need to wheel a wheelbarrow. They just pick it up and go!
- Drilling for new pillars to expand the deck’s footprint.
- Ensured the hole is below the frost line (deeper than 4 feet).
- Preparing the hole to pour concrete for the new pillars.
- Pour the concrete.
- Expanding the deck and ensuring a flat base.
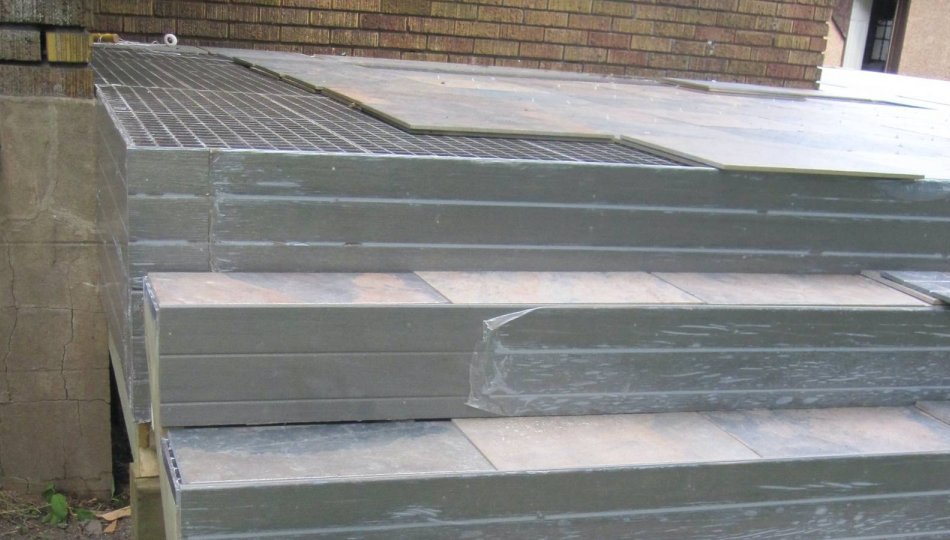
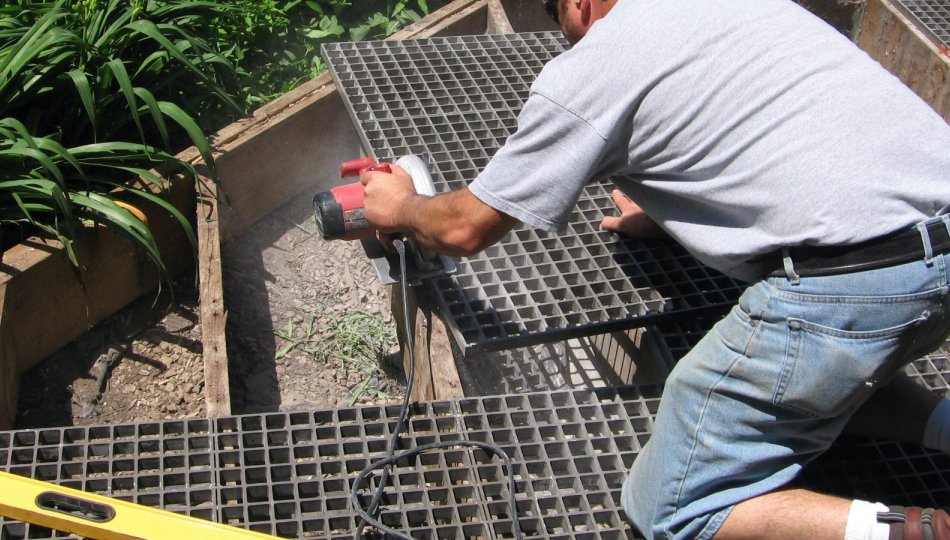
- Installing the DexSystems flooring panels was simple and easy to do with just a power drill and a skill saw with a concrete cutting blade.
- Built sitting benches all around the deck using the DexSystem flooring panels and porcelain tiles.
- Installing porcelain tiles using the DexSystem glue and small white plastic spacers.
- Installing porcelain tiles directly on the concrete of the old veranda adjacent to the deck.
- Installed Plexiglas board near the house to allow more light to the basement window below the deck level.
- Finished side of deck with plastic boards which are maintenance free, longer lasting and a better match for the porcelain tiles.
- Built steps at both ends of the deck using pre-cut step runners and DexSystems flooring panels.
- Enjoying the finished deck.
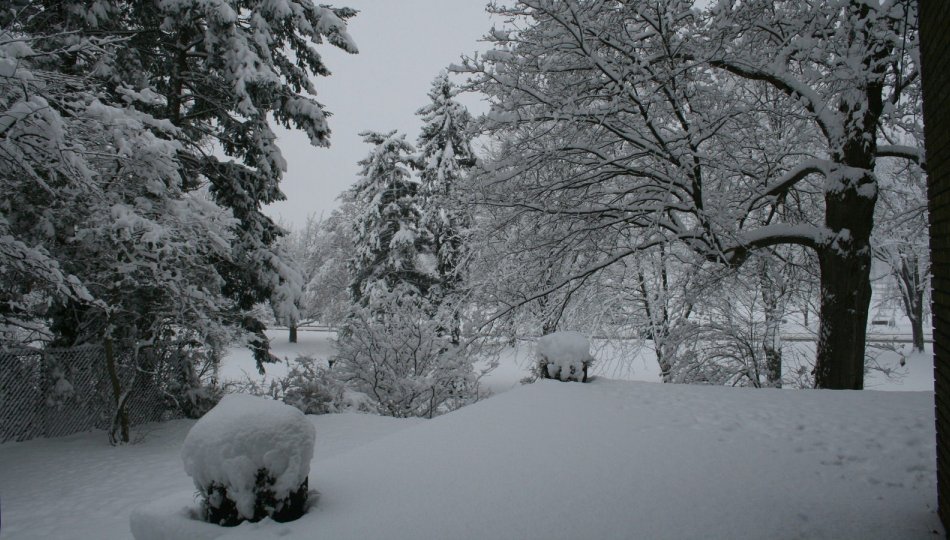
- Deck performed admirably during the Canadian winter.
DexSystems was the former entity name for ODF Inc. Early production GRATEDEX® panels were 48”x48”.
Nonns Flooring
Madison, Wisconsin
DexSystems® structural Outdoor Floor System® provides a better installation method for exterior tile decking and delivers greater contractor confidence.
Read Full StoryMadison, Wisconsin
Nonns Flooring
Nonn's Flooring has 25 years experience installing carpet, vinyl, tile, stone and granite in Wisconsin. For exterior decking applications over traditional 16" O.C. wood joist, Nonn's solution was to use a modified interior installation method.
This method consisted of first placing USG Durock®a water-durable, mold-resistant panel for use under tile and other finishes in a variety of interior and exterior applications over decking boards. Next the Schluter® Ditra System was applied, a polyethylene membrane with a grid structure of square cavities. The tile was thin-set to this surface.
This installation was the second attempt at this installation method. Unfortunately the system failed and Nonn's needed a more dependable solution for handling the extreme conditions of exterior tile deck installations. For this customer and others that wanted an exterior tiled deck, they had no other option other than reverting back to decking boards.
Nonn's had located DexSystems® GratedeX® Outdoor Floor System® for a previous application. GratedeX® is a structural flooring system for placing thin gauged natural stone or porcelain tile over traditional joist framing. This system was selected to replace the current failed tiled deck.
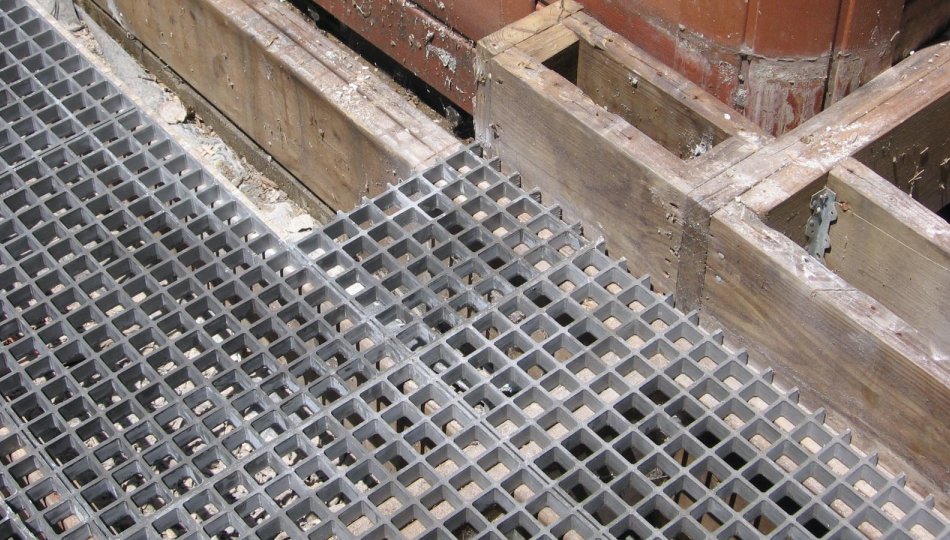
The tile, Schluter®, Durock® and decking boards were completely removed down to the decking joist. Once complete, the GratedeX® underlayment panels were fastened to the joist with the provided Bite-Tite® fasteners. Tile was glued to the GratedeX® panels with the Hold-Tite® TA flexible adhesive.
Nonn's Flooring found this to be an excellent way to install tile on an exterior deck. The combination of the free-draining open tile joints, open structural GratedeX® panel and the flexible Hold-Tite® TA adhesive, ensure the finish floor could withstand the freeze-thaw cycles of the Wisconsin winters. Nonn's is very pleased with the product and this exterior tile solution.
DexSystems was the former entity name for ODF Inc. Early production GRATEDEX® panels were 48”x48”.
Matt Wise
Redwood City, California
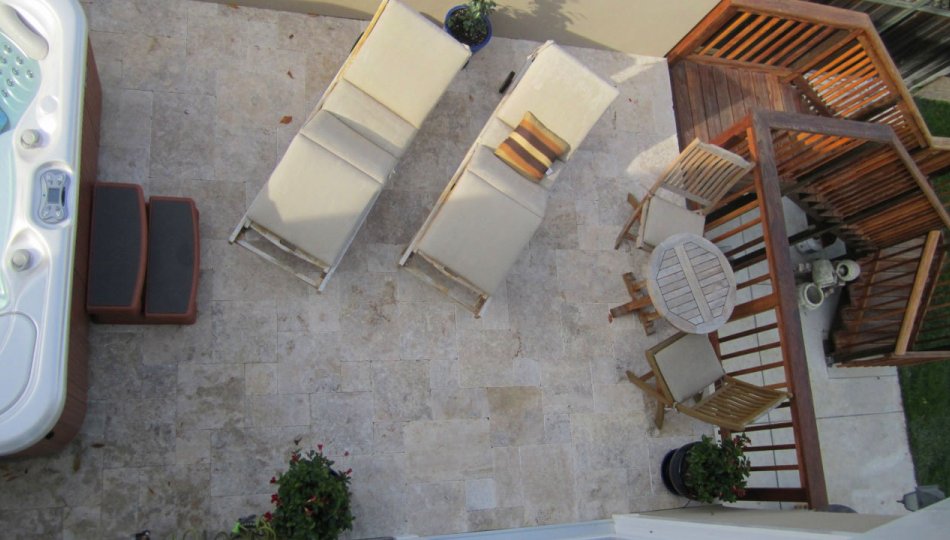
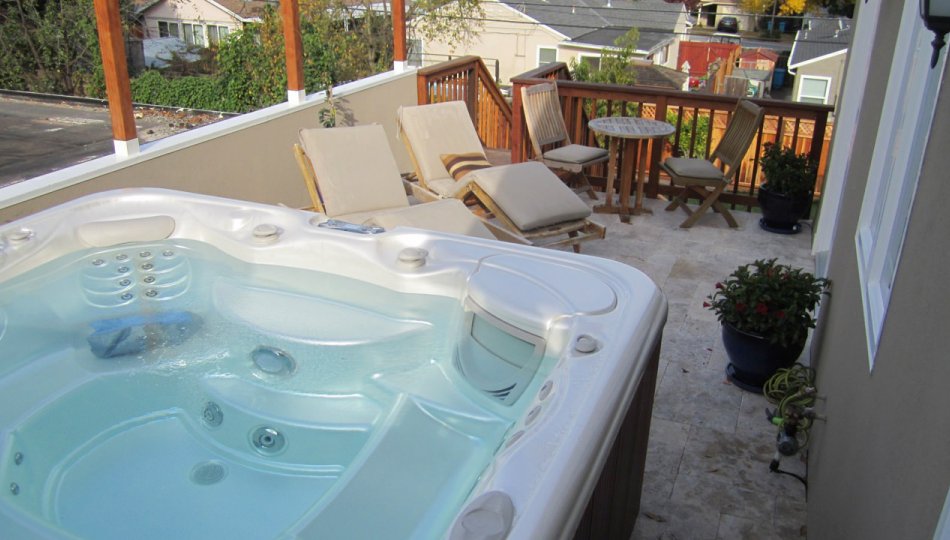
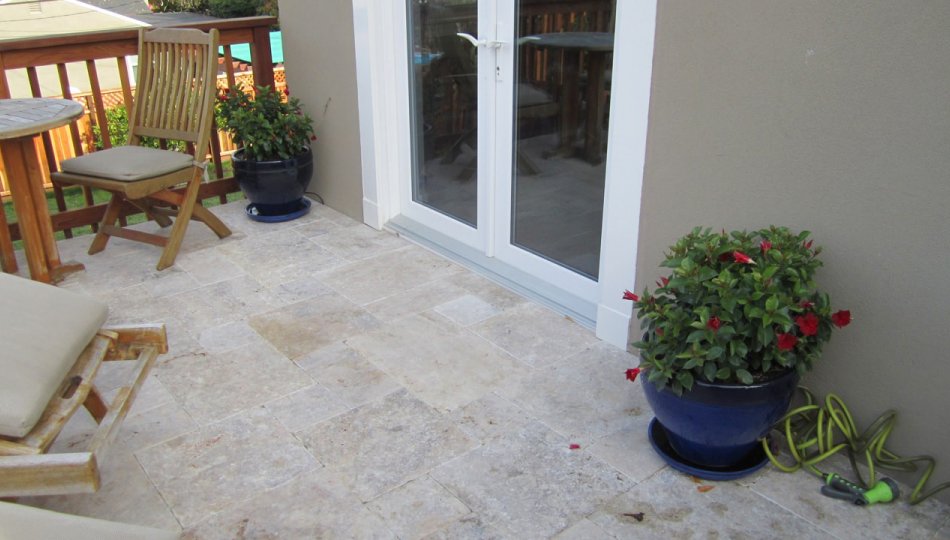
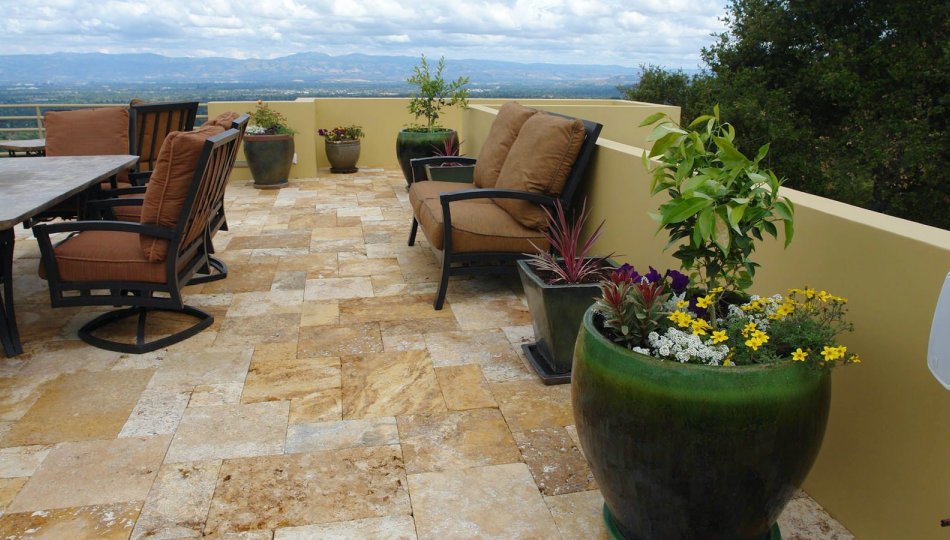
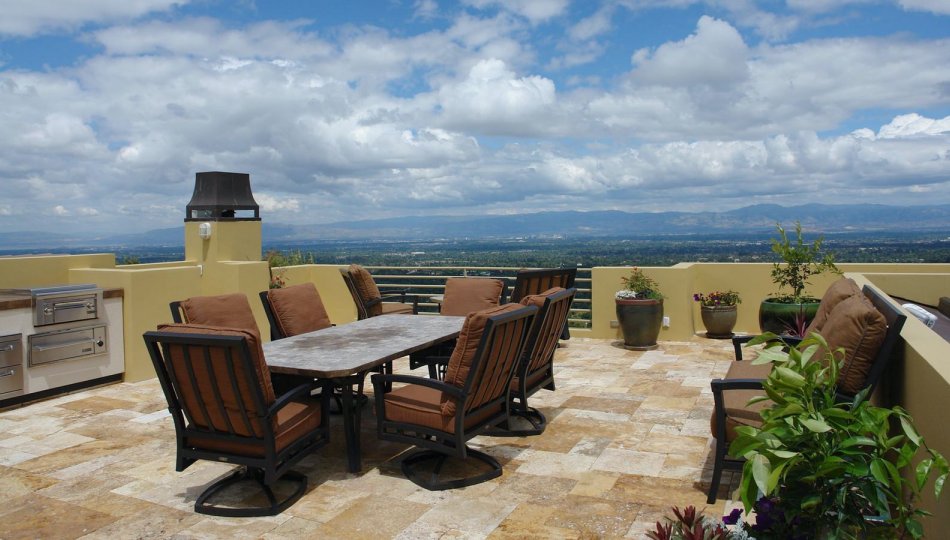
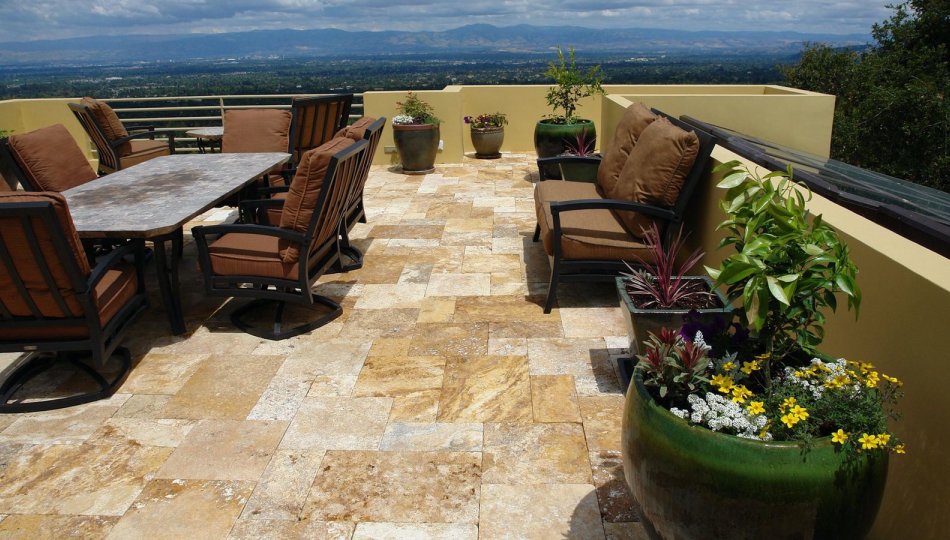
DexSystems® structural Outdoor Floor System® used with 1" Travertine natural stone for more durable rooftop terrace.
Read Full StoryRedwood City, California
Matt Wise
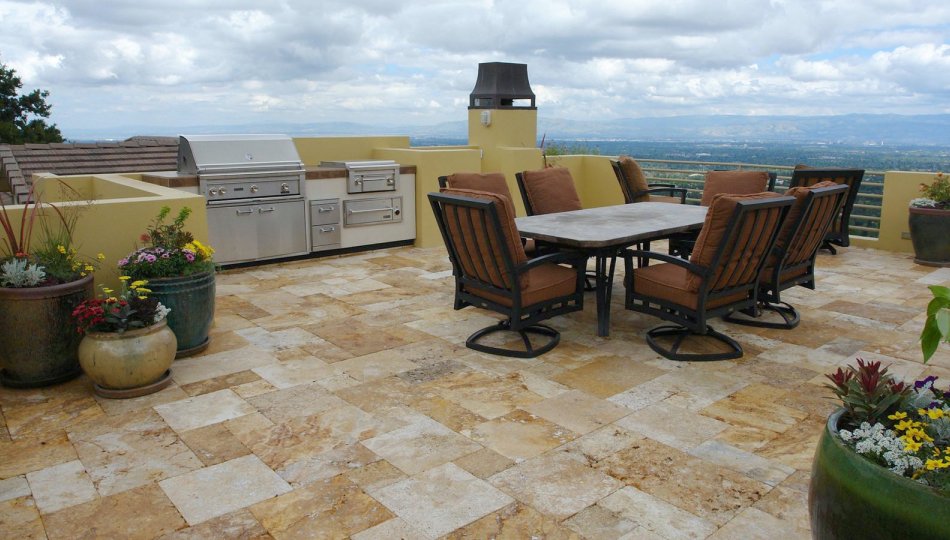
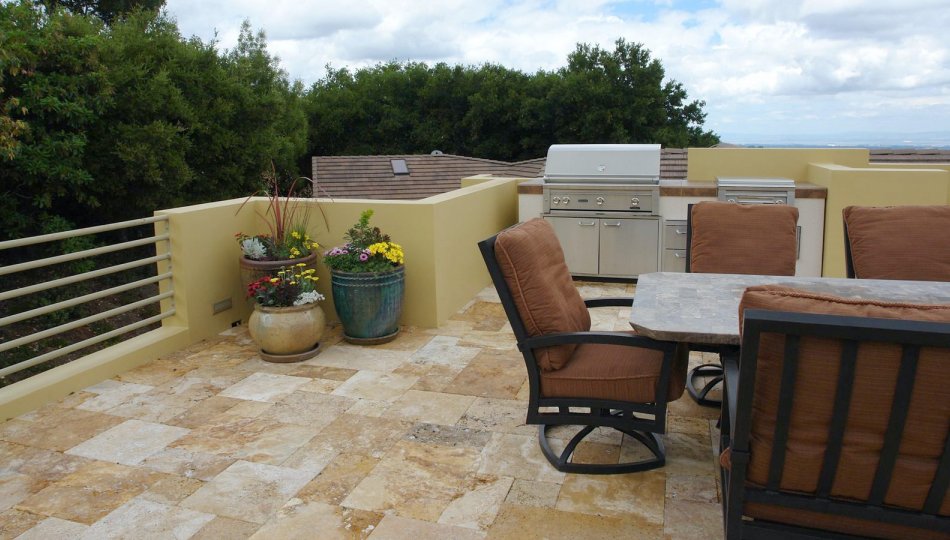
DexSystems® structural Outdoor Floor System® used with 1" Travertine natural stone for more durable rooftop terrace.
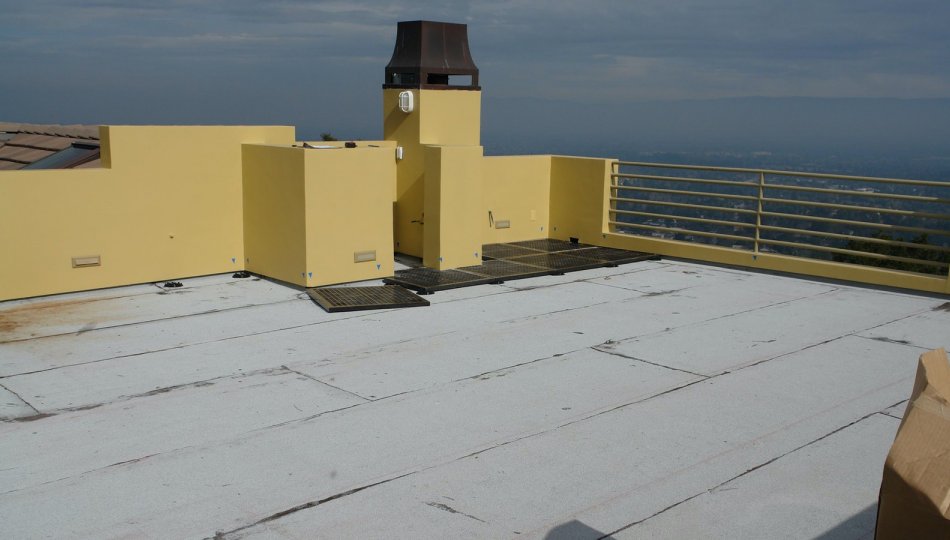
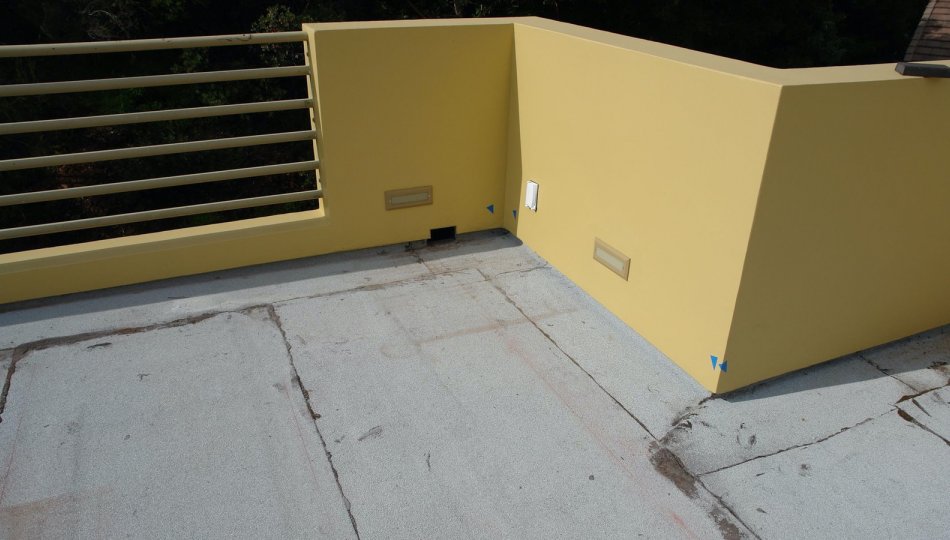
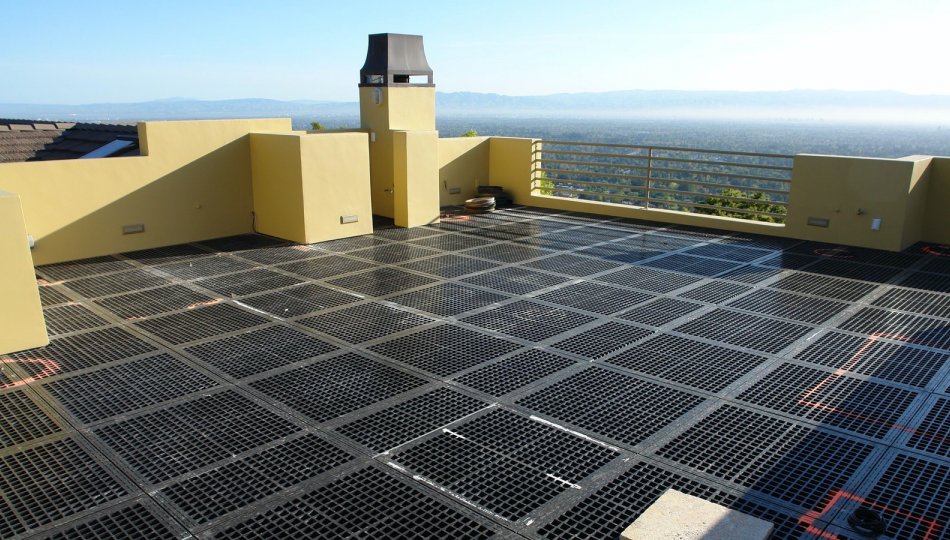
In 2007 my wife and I did a complete remodel of our home in Redwood City, California. During the design of the home, we built an outdoor patio on the roof above our living room. The roof is a 12'x24' deck with a 3.5 ft high stucco wall on one side, house on two other sides, and finally an open-railing overlooking our back yard on the drainage side. Although the structural design of the deck was done by our engineer, no specific design was mandated for the waterproofing of the ceiling and drainage of the roof.
Our contractor decided to go with a "traditional" deck-mud solution. A pitched plywood-base was installed on the existing flat structural beams. On top of the plywood was a 3/4" thick bed of deck-mud (very dry mortar base basically). A "waterproof membrane" was painted onto the deck-mud, before the actual ceramic tiles were installed. On the drainage edge of the wall, a galvanized steel capping was placed, intending to redirect water into a gutter.
After less than 2 years we noticed cracked tiles on our deck, discoloration in the grout, and symptoms indicating water was actually penetrating our wall rather than draining properly into the gutter.
In mid-2011 we decided that we needed to solve the problem before it got significantly worse. We started by tearing off the deck, and thats when we saw how bad the damage really was. The galvanized steel water drip edge was completely rusted through, the waterproof membrane was discolored and had failed. Water had penetrated through the membrane, through the deck mud and into the plywood sloped deck surface.
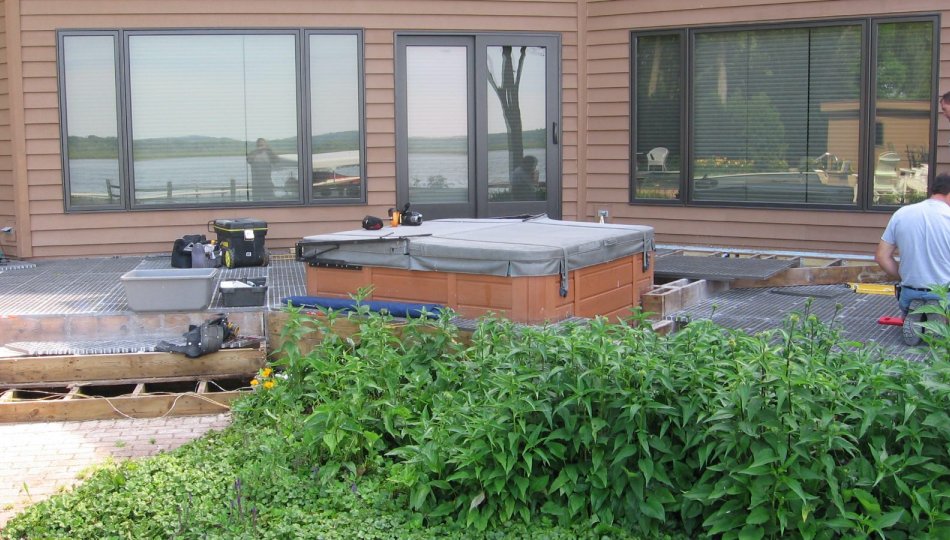
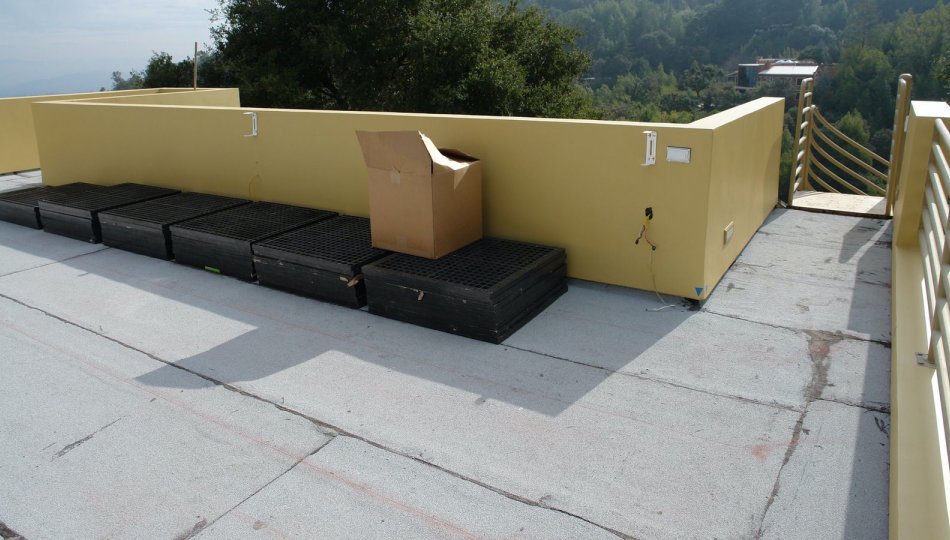
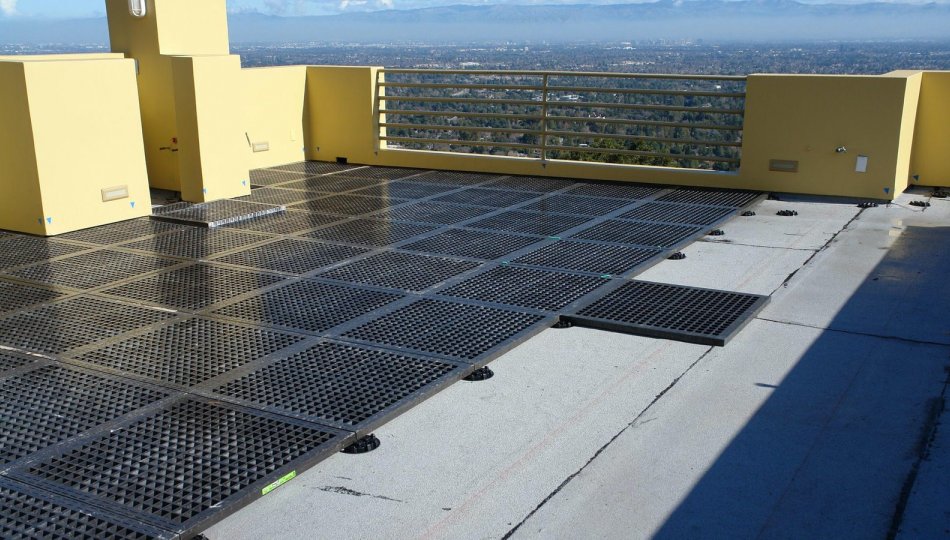
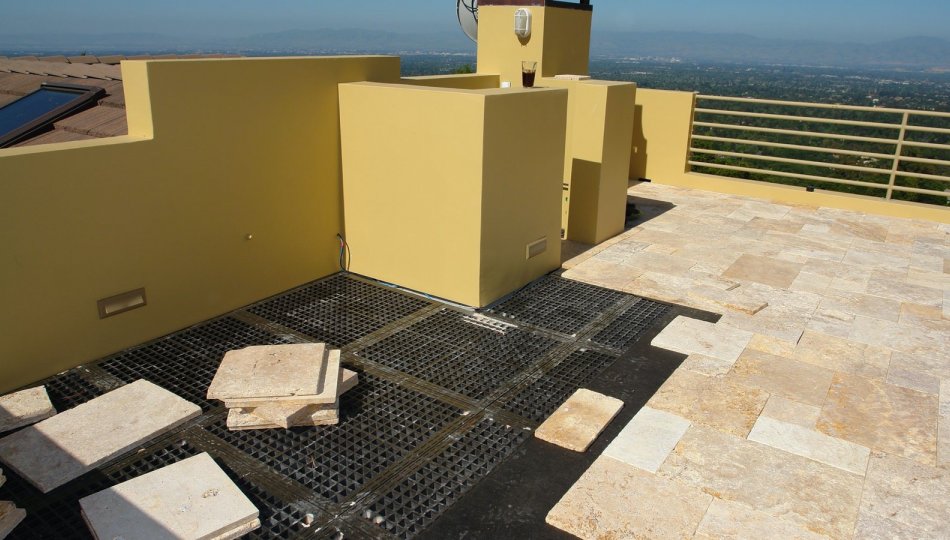
On top of the new roof, we laid down the Gratedex® underlayment panels on top of the Ped-Tite® spacer-connector 'pucks.' It took 1-2 hours to lay out the grid, and only a few more hours to properly level all of the pucks and grids. Leveling was done with spare pieces of roofing material, a 48" level, and a bit of patience. From our experience, I recommend first laying out all the panels, then coming back the next day to do the leveling; things had settled just slightly, I was in less of a rush and able to get it done properly. By the time we were done, the panels looked pretty flat!
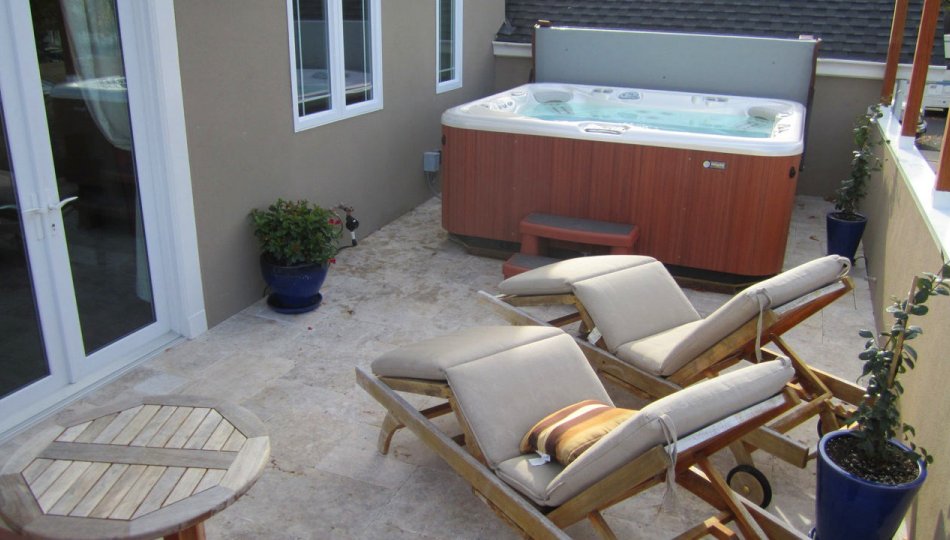
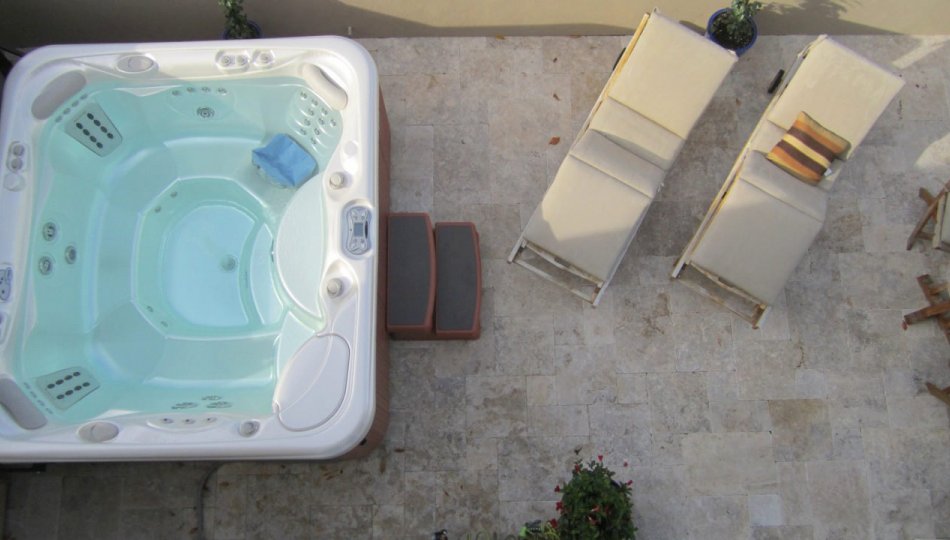
Since our deck was designed to support a hot tub (and we know we are going to install one in the coming weeks), we spent some time with the DexSystems® guys on the phone to determine how many additional 'pucks' would be required to support a hot tub on the Gratedex® underlayment panels. We then, for peace of mind, added 50% more Ped-Tite®. We added these only in the area where the hot tub would be sitting, and we made sure that they were positioned directly over the floor joist.
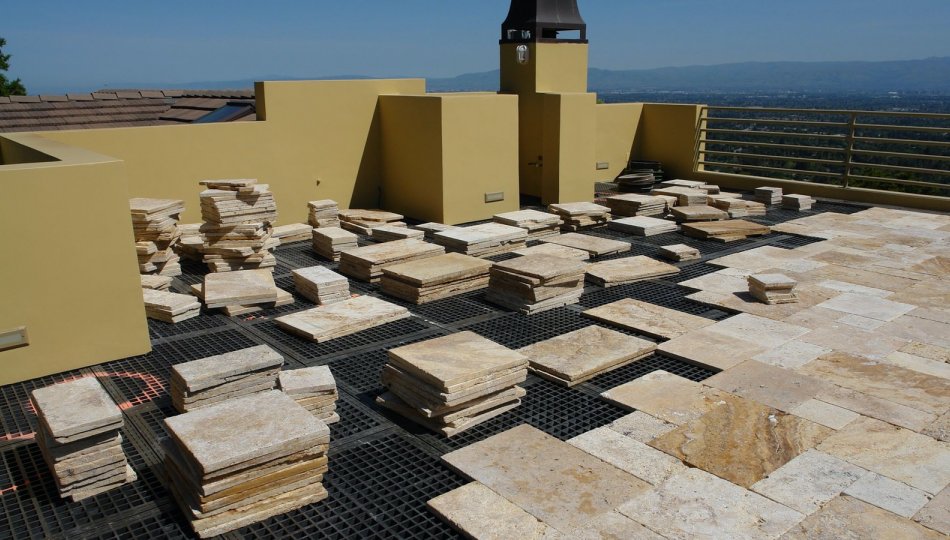
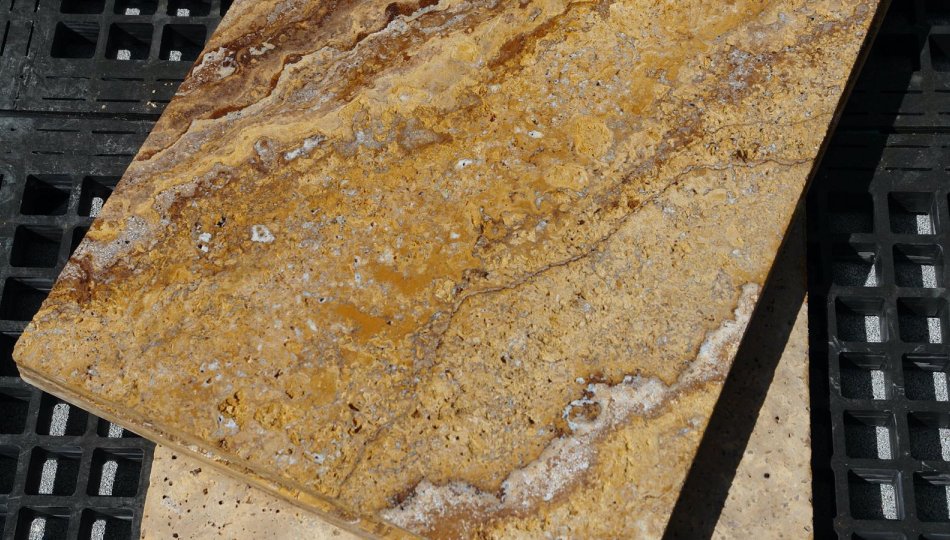
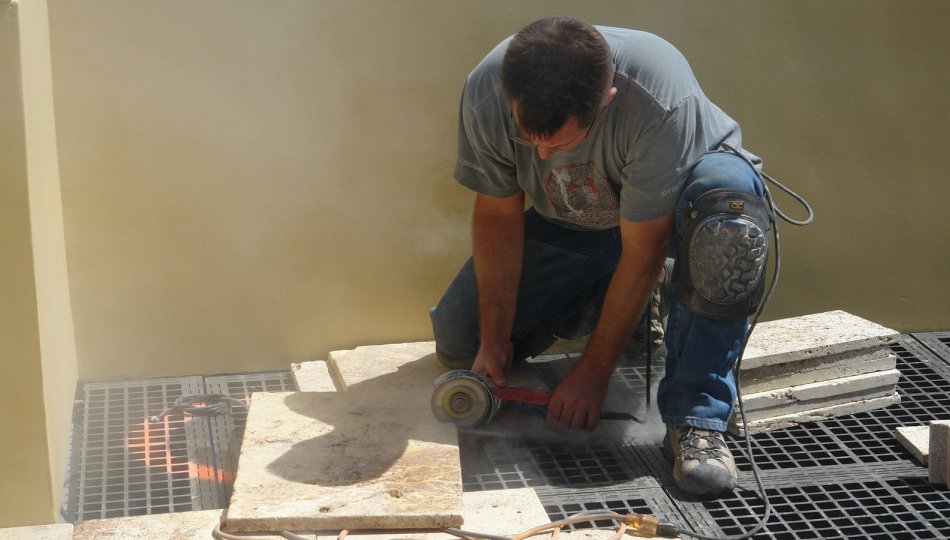
Once the DexSystems® solution was installed and leveled, we used 1" travertine pavers to finish off the deck. We used two layers of commercial-grade construction fabric for extra noise reduction (since we had previously had noise issues in our living room when people were on the deck) on the entire surface. DexSystems® Hold-Tite® TA adhesive adhesive was used only on the open-face of the deck facing our back yard.
DexSystems was the former entity name for ODF Inc. Early production GRATEDEX® panels were 48”x48”.
Rolling Ridge Deck
Conifer, Colorado
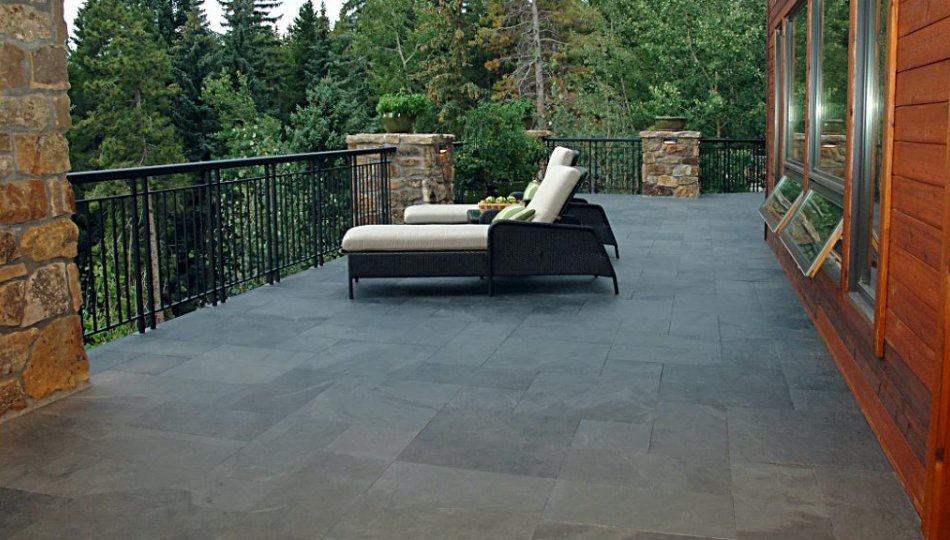
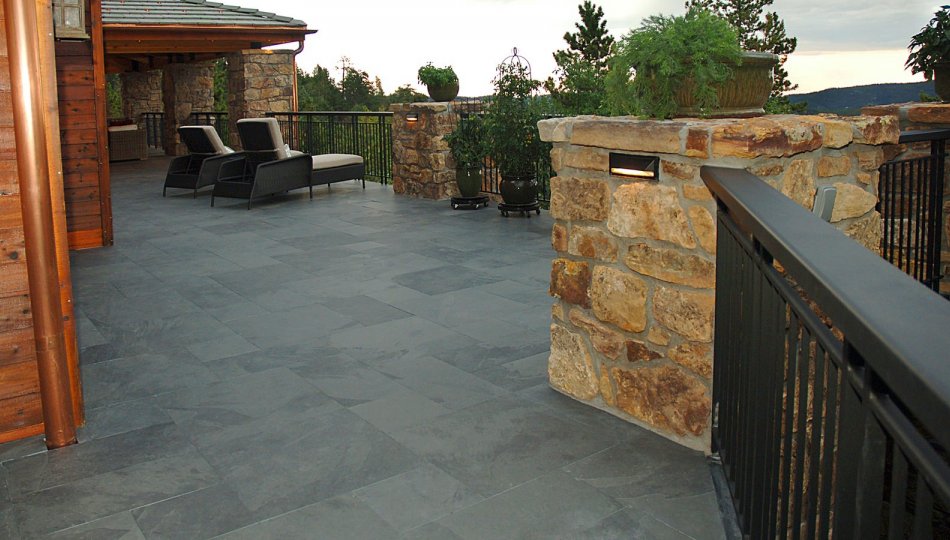
DexSystems® structural Outdoor Floor System used with steel framing members to support 1/2" slate tile in cold winter conditions.
Read Full StoryConifer, Colorado
Rolling Ridge Deck
Rolling Ridge Deck and Outdoor Living Company in Evergreen Colorado found a new way to address an old issue. How should natural stone tiles be installed on an exterior deck in cold winter or freeze-thaw climate conditions without it being a maintenance nightmare?
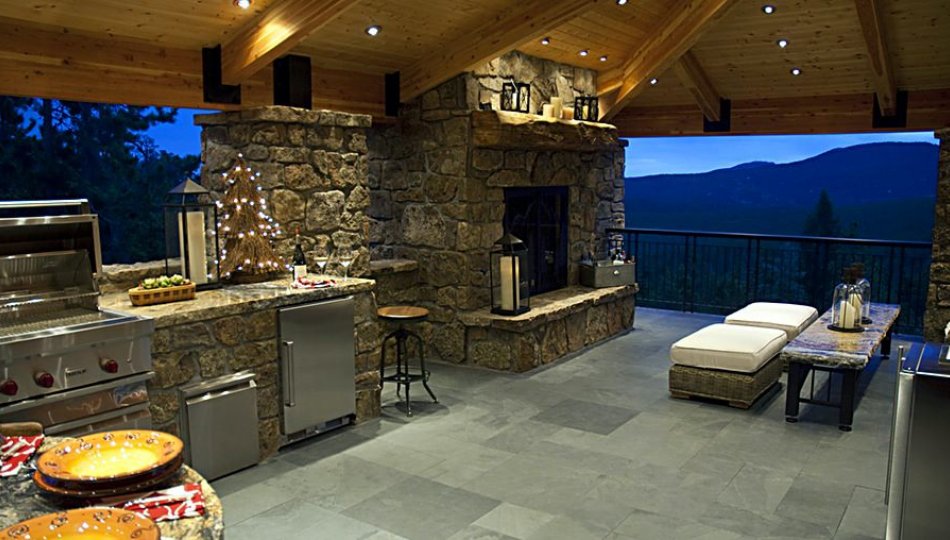
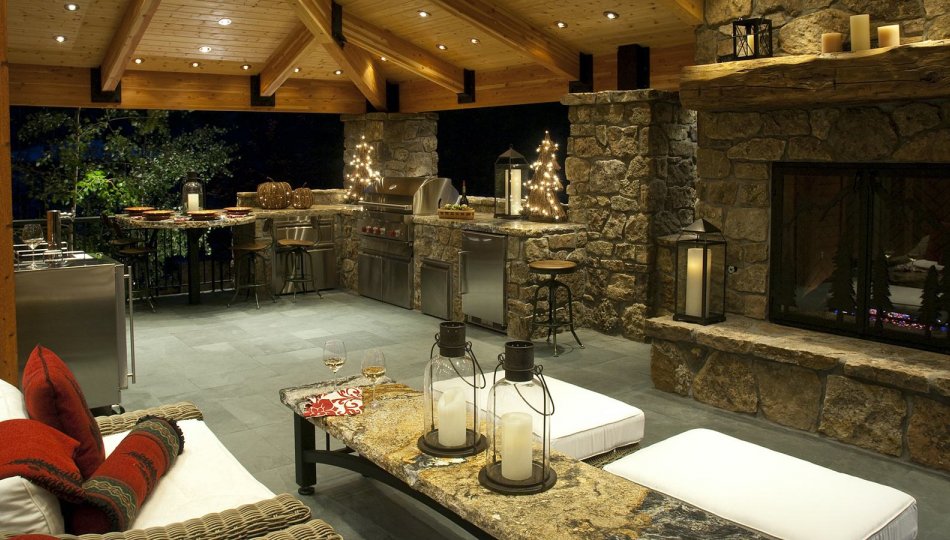
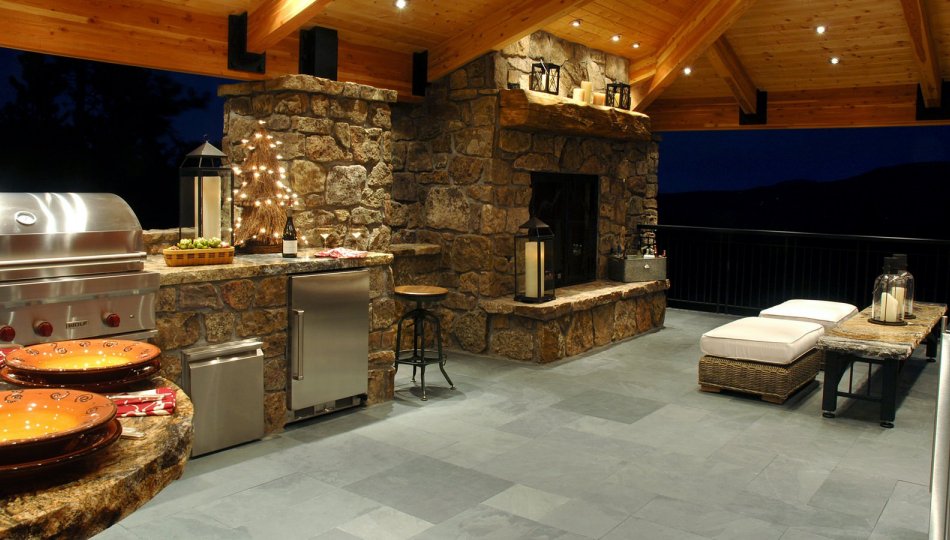
Rolling Ridge is a design-build company creating outdoor rooms such as outdoor kitchens for the growing outdoor living market. With 23 years of experience, they have seen all of the options. This residential application in Conifer Colorado was a redesign and rebuild of an exterior, elevated deck and outdoor living area. The space would include a kitchen, dining with a fireplace and extended living and seating. Natural stone would be used on the fireplace and some surrounding accent walls.
When it came to selecting the flooring surface, Rolling Ridge decided to go for strength from the bottom up. Composite decking was considered but soon passed over for something with greater durability. The designer and customer decided on a 1/2" Brazilian gauged slate. The rugged climate conditions of Colorado required a durable underlayment and attachment system. Through an online search, Rolling Ridge found DexSystems® Outdoor Flooring products. Their GratedeX® Outdoor Flooring System® for elevated decking was a strong solution that addressed all of the failings of old stone tile install methods with new components and methods that flexed with changing temperatures without breaking.
Steel framing was first selected instead of treated wood for the joist framing members. Next, instead of using some of the new and traditional thinset mats and tile setting methods, Rolling Ridge selected the GratedeX® Outdoor Flooring System®. The 48" square structural underlayment panels were fastened to the steel framing with the Bite-Tite® fasteners and a stainless Tex screw. In addition, the panels were bonded together edge-to-edge with the two-part Weld-Tite® adhesive for increased lateral strength. Once the GratedeX® flooring underlayment was in place, the natural stone tiles were placed using the Outdoor Flooring System® Hold-Tite® TA adhesive. This bonding agent was buttered on the back of the stone tile before placing and setting the stone tile with a 1/16"-1/8" open joint.
From the contractors perspective, the installation was smooth. The new technology and construction methods of the DexSystems® Outdoor Flooring ensure durability for the customer and confidence for the contractor. The free draining underlayment, flexible Hold-Tite® adhesive and open grout lines ensure a fail-proof stone and tile setting installation, even in the harshest conditions. As a tribute to the qualities and benefits of the GratedeX® Outdoor Flooring System® and the good work of Rolling Ridge Deck and Outdoor Living Company, this project was awarded the honor of the 2011 North American Decking and Railing "Best Alternative Deck Over 500 Square Feet".
DexSystems was the former entity name for ODF Inc. Early production GRATEDEX® panels were 48”x48”.
Sanders
Waynesboro, Pennsylvania
DexSystems® GratedeX® underlayment chosen by engineer to support porcelain tile outdoor deck floor for best all season durability.
Read Full StoryWaynesboro, Pennsylvania
Sanders
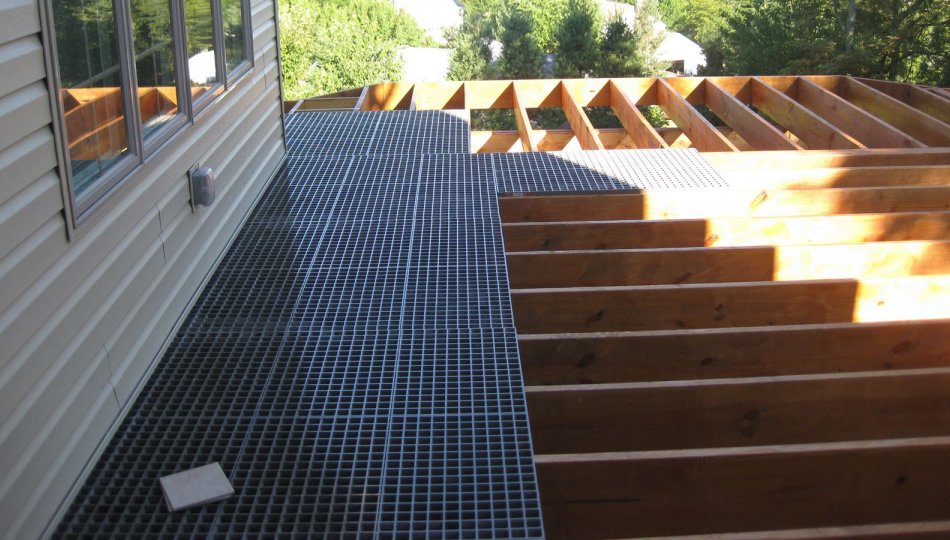
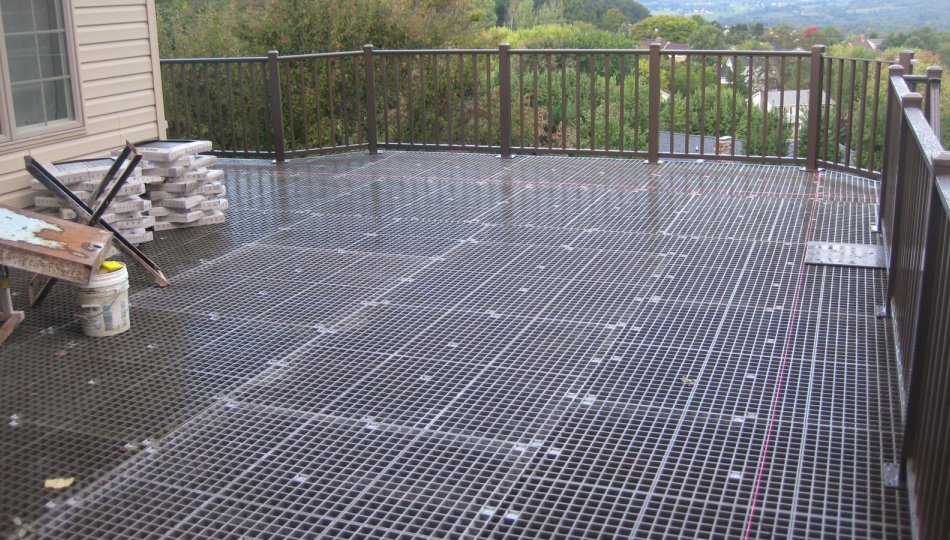
A single family home in beautiful southern Pennsylvania was receiving some updates and an addition. Part of this renovation project was a new second floor deck, optimizing the valley view. The owner, a structural engineer, and his wife, wanted a finished exterior deck with low maintenance and character.
He began researching all types of deck and decking materials but they all fell short of their requirements for form and function. They process uncovered horror stories about splintered wood, moldy composite, and scratched PVC decks. He had just about given up on a low maintenance deck when he came across the GratedeX® Outdoor Floor System®. "As an engineer, I was immediately impressed with the concept". This DexSystems® flooring underlayment had the structural ability to support tile without the traditional mud-set or thin-set application methods. The idea of having a porcelain tile deck or thin gauged natural stone deck meant "we had endless options to customize the look we wanted" for the finished floor surface. And the finished outdoor floor decking would be a durable, low maintenance deck for the cold Pennsylvania winters.
Framing for this elevated exterior deck was new construction. Pressure treated 2x12 were placed at 16" O.C. Joist size was increased from the required dimension to add greater stiffness and minimize any noticeable deflection.
This structural engineer was not afraid to know his product choice with DIY hands on installation. He found that laying the GratedeX® underlayment panels was very fast and easy. "They're simple to cut to size and to fasten down" to the framing. An aluminum railing was easily fastened over top of the GratedeX® underlayment with bolts passing through the GratedeX® underlayment panel openings and into the joist blocking.
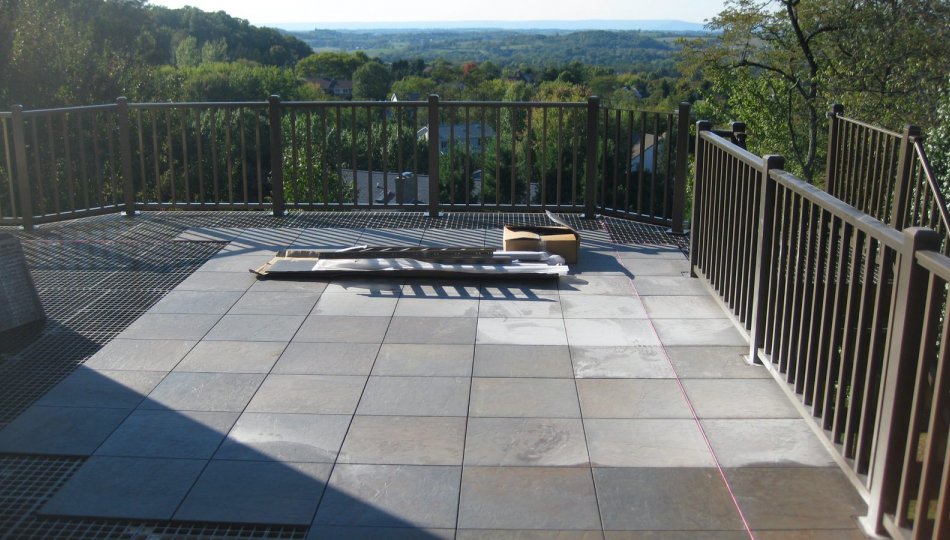
Slate was the preferred choice by this engineer, but because of the requirement to seal natural stone, a porcelain tile that had a natural look in color and no splitting was selected as the finished decking surface. The porcelain tile placement took a little longer to install then anticipated, due to all the needed cuts around the railing and stairs, but overall it went very well.
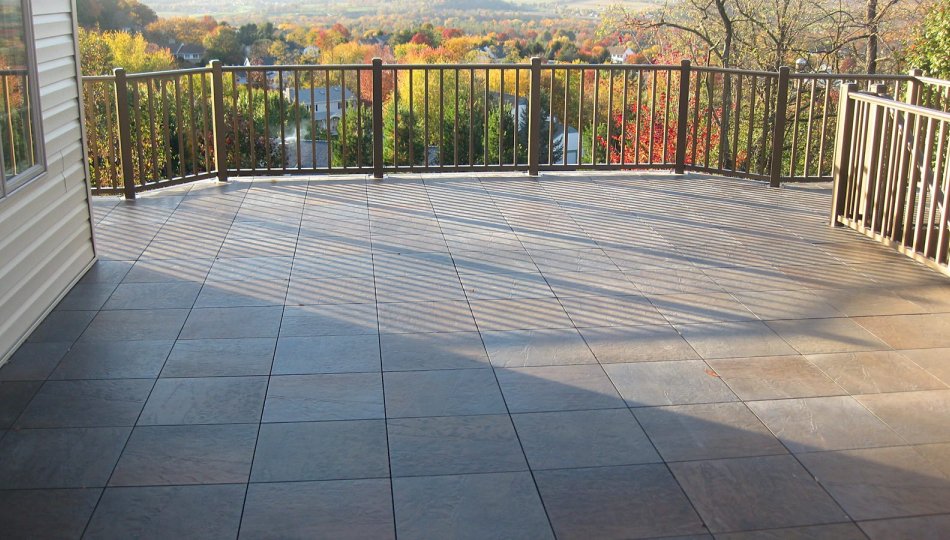
The deck was completed in fall of 2010 and has survived a Pennsylvania winter of snow and ice, a spring of continuous rain and one of the hottest, driest summers on record. "It looks like the first day we laid the tile" summarizes this structural engineers opinion. "No cracked tiles, no loose tiles, and no scratches (12 chairs, 2 kids and a quite a few friends running around). While the initial cost is higher than most other deck options out there, we consider this a long term investment. If the first year is any indication, this deck surface will outlast both of us and will allow us to enjoy using our deck instead of constantly maintaining it."
DexSystems was the former entity name for ODF Inc. Early production GRATEDEX® panels were 48”x48”.
Kelly Green
Henderson, Colorado
With great skill this homeowner places porcelain tile on outdoor floor decking in cold climate.
Read Full StoryHenderson, Colorado
Kelly Green
With great skill this homeowner places porcelain tile on outdoor floor decking in cold climate.
Outdoor weather conditions stretch and strain most outdoor flooring materials. This homeowner, living at 8200 feet in Colorado, new that to be true. Seven years prior he was ready to build a rap-around deck. As with most, he was diligent in looking for the best options. He walked Home and Garden shows and did some research on the internet but was unable to find what he thought was a good surface for his elevated outdoor floor decking.
It was important to have a finished surface that didn't require a lot of maintenance, such as staining, painting, sanding and power washing. His conclusion for the best option: a tile deck. His building technique: mud-set with slope. After building a standard wood framed structure, he installed 3/4" pressure treated plywood, 1/4" cement board and finished the surface with a thin-set porcelain tile.
Unfortunately this installation method lasted only 5 years. The homeowner did admit that if he had sealed the grout every year it could have lasted a couple more years. But as with most mud-set outdoor tile installations, the effects of freeze-thaw expansion and contraction would have eventually broken the entire floor system.
Being somewhat happy with the results of a tile deck, this homeowner was faced with a new challenge of repairing broken tiles and re-grouting the entire deck. So again he went to the internet looking for something to give him the long-term results he was looking for without a daunting maintenance problem. It was during that process that he located DexSystems® Outdoor Floor System®.
He found his answer: a sub-flooring underlayment system that would make it possible for him to tile his deck again but this time without the weaknesses of the previous installation including the grout. Upon demolition of his deck he found that the grout and tile bond was not his only problem. The thin-set he used to glue the cement board down had begun to deteriorate as well as the cement board.
He selected DexSystems® GratedeX® Outdoor Floor System®. This decking system made it possible for the owner to install his tile but without grouting the tile allowing the water to drain through and not be absorbed into the grout and cement based bonding material. In addition, this outdoor flooring system addressed the other traditional problems with a new solution. With GratedeX®, there would be no entrapped moisture with an open celled underlayment, no wood or cement based material with a fiber-reinforced underlayment that is inert to moisture and expansion contraction issues and no cement material in the flexible Hold-Tite® TA bonding adhesive used to bond the stone or tile.
The outdoor floor deck has finished with an 18" porcelain tile that's made to look like slate. It was much easier to use than slate because the tiles were uniform in size. In addition, they can be stronger and do not need to be sealed. The tiles were set in an off-set pattern with 1/16" open grout line.
This home owner is confident that the Colorado summer and winter extremes will have little effect on this long lasting GratedeX® Outdoor Floor System®. "I have a deck and a decking surface that should last for a very long time without any maintenance."
DexSystems was the former entity name for ODF Inc. Early production GRATEDEX® panels were 48”x48”.
Sean Adams
Saratoga, California
Home owner replaces failed poured concrete rooftop deck with a floating stone floor.
Read Full StorySaratoga, California
Sean Adams
The building structure had been designed and constructed with a rooftop patio. The builder had used stamped concrete directly over a torch-down membrane. Drainage was poor and membrane attachment around the perimeter of the roof was substandard. The rooftop terrace eventually started leaking into the house. Additionally, high thermal stresses on the roof, created extensive unsightly cracks in the thin concrete.
A roofing contractor removed the concrete and stucco on the parapet walls around the perimeter of the patio. They then installed a new three-layer torch down membrane, this time bringing it up into the walls around the entire perimeter to form a seamless "bathtub" waterproof rooftop surface. Finally the stucco was replaced and brought down to a drip-screed height of 2".
While the roofing demolition and re-construction work was in process, the owner researched better methods for installing stone or tile over a rooftop waterproof membrane . There were two important criteria for the new rooftop outdoor floor surface: (1) rapid drainage and (2) no direct attachment to the torch-down membrane. The rooftop pitch was shallow falling toward roof drains and would require only minor adjustments in places to bring the finished outdoor floor surface to a level finish.
The owners extensive research led him to the PierdeX® Outdoor Floor System®. One significant feature of this system is its large structural dimension; 32"x32". Unlike other rooftop terrace systems that support single tiles on individual pedestals, the PierdeX® system uses a large panel to support multiple tiles, either uniform sizes or random dimensions. Since the owner was not enthusiastic about square tiles for this application, this system opened many more creative choices for surfacing materials and layout patterns. In addition, the structural panel combined with the Ped-Tite® connector, interlocked all underlayment panels together into a continuous floating floor. The owner found this to be an easy method to achieve a uniform and sturdy outdoor floor surface which could still be dismantled in the future if necessary.
The PierdeX® Outdoor Floor System® could have been installed on pedestals, but the lower 2" clearance did not require this. Instead, the owner placed the Ped-Tite® connectors directly on the waterproof membrane and shimmed them as needed in a couple of places using additional scraps of torch-down waterproofing. Cutting and placement of the PierdeX® underlayment panel was simple, although it took some time to properly measure and optimize the panel layout before starting the installation.
Drip irrigation was to be used for potted feature plants. The 1/2"+ clearance between the bottom of the PierdeX® underlayment panel and the waterproofing provided a clear run for 1/4" drip lines directly from a central valve location to each of a dozen future pot placements. The drip lines simply pop up through the open structure of the PierdeX® panel to feed directly into the center of the pots, completely hidden. In addition to hiding all irrigation, it also provided a convenient raceway for low voltage wiring.
The Outdoor Floor was finished with a mixed pattern of 1" gauged travertine. With the paver thickness of the travertine, the owner was able to set the stone tile as a dry-laid placement over a recommended 4-6 oz. construction fabric. And with the uniform flatness of the PierdeX® underlayment panel, installation of the stone was completed efficiently. The results were pleasing; the stone attractive; the waterproofing and drainage are excellent; and the irrigation invisible. Best of all, the owner takes great pride in completing this PierdeX® Outdoor Floor and travertine stone surface as a DIY, hands-on owner installation!
DexSystems was the former entity name for ODF Inc. PierDex is an early production version of elePHOOT®.
Real Installation Stories
Discover how real people have successfully implemented Outdoor Floor System® in their projects across the US and Canada.
SUBMIT YOUR USER STORY
Have a great story to share about your Outdoor Floor System® installation? Our community would love to hear from you! To be included, complete the submission form below. Submit as many images as possible (.jpg only), the more the better including before, during and after. Paste your story copy into this text box also. Thank you in advance for your participation and your business.
Photo & Story Release Agreement
- This agreement is between ODF Inc., Portland Or., and the SUBMITTER of these photo images and text copy.
- The SUBMITTER is the individual whose name appears on this form and includes the correlating contact email, phone and signature.
- The SUBMITTER authorizes ODF Inc. to use all information submitted.
- This submission and authorization covers all text and photos, herein described as STORY, submitted through the outdoorfloorsystem.com online submission portal or any other subsequent copy or photos submitted directly to ODF Inc.
- The SUBMITTER by providing this information and authorizing it’s use is also confirming that they are the original owners of the photos and copy and therefore have legal right to transfer ownership and use of the information in the form herein described.
- This submission is an irrevocable, perpetual, royalty-free, transferable license of ownership of the information and it’s use to ODF Inc.. The SUBMITTER thereby releases all rights or claims for copyright, for all uses including website, print, other electronic distribution or other unknown promotional uses, and releases all claims for compensation or other remuneration or recognition for the information provided as part of this submission process.
- The SUBMITTER understands that the STORY will be used by ODF Inc., it’s officers, employees, agents and/or affiliated agencies for uses herein described and will not be sold or distributed to other agencies for sale or distribution.
- The SUBMITTER understands that this agreement includes a “No Obligation to Use” and “No Right to Review”. ODF Inc. is therefore under no obligation to use the STORY, nor does the SUBMITTER have a right to inspect and approve the finished product in which the STORY is used.
- The SUBMITTER understands that ODF Inc. may choose to edit, or adjust the STORY as it deems necessary and as the new owner of the STORY is under no obligation to use the STORY in it’s original form.
